


How to design a personalized gallery wall with family photos
Written by: Daniel Koren, Co-Founder, Frameology
Key takeaways
A gallery wall turns scattered phone photos into a cohesive display that tells your family’s story every day.
Success depends on three fundamentals: a consistent editing style, consistent spacing, and centering the arrangement at eye level.
A gallery wall template and floor mockups remove guesswork so you can perfect the layout before making any holes.
Frameology’s Classic gallery walls and Luxe gallery walls include life-size templates and pre-measured hardware, turning a multi-hour project into a one-hour install.
Upload your photos and let Frameology’s gallery wall template turn them into a finished wall you’ll love.
Who this gallery wall guide is for
This guide speaks to busy homeowners and parents who want a cohesive family photo gallery wall without an interior design background. You only need a smartphone, a tape measure, and an afternoon you’re willing to invest in something that’ll last for years.
These simple terms will help everything feel clearer as you go:
Anchor piece: The largest or most visually dominant frame in the arrangement. You hang it first and build everything else around it.
Eye-level height: The standard museum hanging height, which places the center of the overall arrangement at 57–60 inches from the floor, aligned with average standing eye level.
Consistent spacing: The gap between every frame in the arrangement, ideally 2–3 inches, kept uniform across the entire wall so the collection reads as one intentional composition.
Gallery wall template: A life-size paper template that maps out the exact position of every frame and nail hole before anything goes into the wall.
Current 2026 interior design trends lean toward minimalism, with fewer, larger frames and more breathing room. Black-and-white photography stays popular because it works with any interior style and doesn’t date the way heavily filtered color photos can. Treat these as helpful starting points, not strict rules.
Step-by-step process for your family gallery wall
Follow these steps in order so each decision supports the next and you avoid extra holes or re-hanging.
Step 1: Choose your wall and measure it
Your wall's dimensions and the furniture beneath it determine how large the arrangement can be. These measurements also tell you exactly where to center the display before a single frame goes up.
Photograph the wall first: Capture the full wall with any furniture, light switches, doorframes, and trim visible. Planning against the real space instead of guessing prevents layouts that look great on paper but awkward in person.
Measure the available width: Note the total wall width and the width of any furniture below it. These measurements set your maximum arrangement size so the gallery doesn't feel too small or too wide. A gallery arrangement should span roughly two-thirds the width of the furniture beneath it for visual balance.
Mark your eye-level line: Draw a light pencil mark at the eye-level height of 57–60 inches from the floor. This mark shows where the center of your entire arrangement will land.
Step 2: Select and edit your photos
Photo selection and editing set the visual tone for the entire wall. Narrowing your choices and applying a consistent edit before ordering keeps everything looking cohesive.
Curate before you commit: Pull your favorite 10–15 candidates, then narrow to the final set. Limiting the wall to no more than three distinct frame sizes, such as one large anchor, two medium pieces, and one or two smaller pieces, helps the eye understand the arrangement at a glance.
Edit for cohesion, not perfection: Apply one consistent preset or filter across every photo using a free tool like Snapseed, VSCO, or Lightroom Mobile, then make only small exposure tweaks where needed. Aim for identical editing across the set instead of a perfect custom edit on each image.
Consider black and white: Converting an entire gallery to black and white eliminates approximately 70% of color-consistency problems and creates a look that'll feel intentional for years.
Decide on orientation early: A wall of all-portrait or all-landscape pieces feels calmer than one that mixes both freely. Choose a dominant orientation and let the other play a supporting role.
Step 3: Plan your layout on the floor
Planning on the floor lets you test spacing and balance without risking wall damage, and you can rearrange until the composition feels right.
Lay frames out on the floor: Use the actual frames or cardboard stand-ins cut to size. Place the anchor piece slightly off-center, then build outward while maintaining the consistent spacing you chose earlier.
Photograph the layout from above: Take a clear overhead photo so you have a reference image when you move everything to the wall.
Step 4: Transfer the layout to the wall using templates
Paper templates convert your floor mockup into precise nail positions on the wall. Careful preparation here saves you from extra holes and re-hanging.
Cut kraft paper to the exact size of each frame: Label each gallery wall template with the frame dimensions and mark the hook location on the back. Tape the templates to the wall and adjust until spacing is even and the center of the arrangement lands on your eye-level line.
Live with it for a day: Leaving templates on the wall for a day or two before drilling gives you time to reassess without creating permanent holes.
Step 5: Hang your frames
With your templates in place and nail positions confirmed, it's time to hang. Work from the anchor piece outward so every subsequent frame has a fixed reference point for spacing.
Start with the anchor piece: Hang the largest frame first, centered on your eye-level line. Use a level to confirm it's straight before moving on.
Work outward: Hang remaining frames one at a time, checking spacing with a tape measure as you go. Remove each paper template as its frame goes up.
Use Frameology’s Classic and Luxe gallery walls for the easiest install
Frameology’s Classic gallery walls, starting at $198, and Luxe gallery walls, starting at $638, handle the measuring and layout work for you. Every Classic gallery wall and Luxe gallery wall includes a custom, life-size gallery wall template. You tape it to the wall, hammer nails into the marked spots, remove the template, and hang your frames.
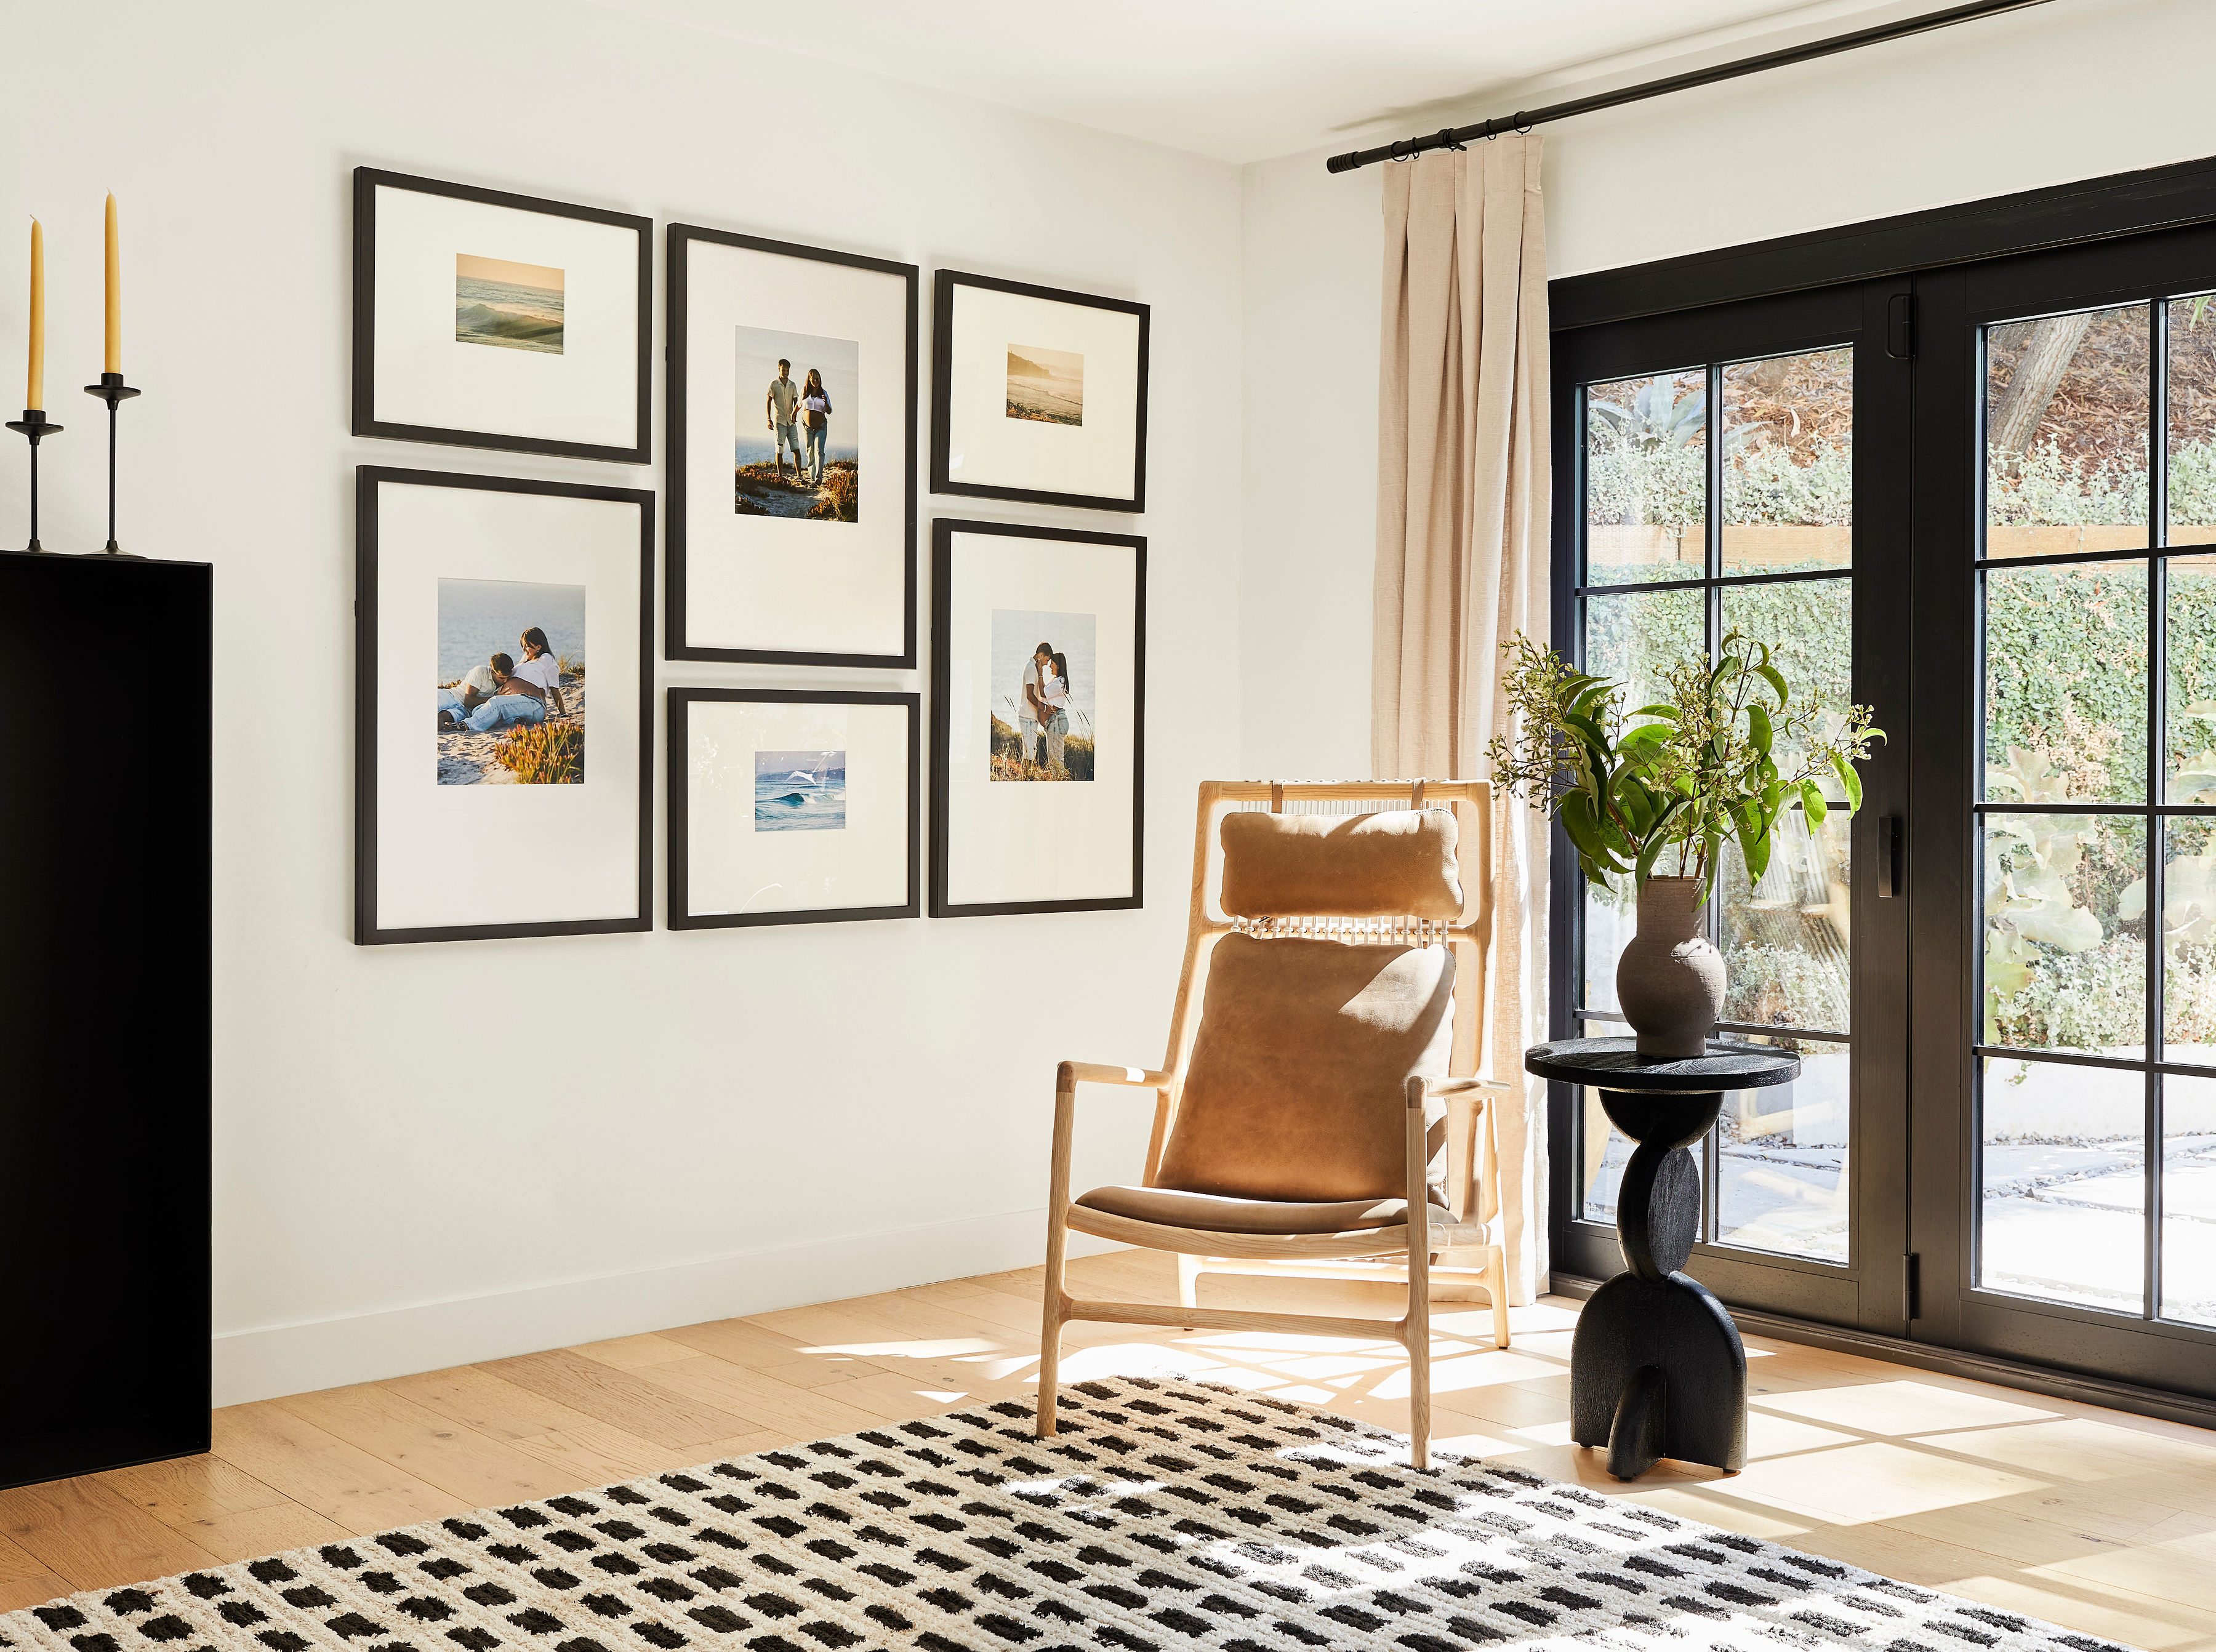
The whole process usually takes less than an hour and avoids unnecessary holes. House Beautiful contributor Janae McKenzie summed it up clearly, “I would absolutely recommend Frameology to anyone who knows they want a gallery wall, but doesn’t know how to make it happen.” Upload your photos and let Frameology’s gallery wall template handle the layout and hardware details.
Frameworks and real-world gallery wall examples
The core process works for most spaces, but different walls and budgets benefit from slightly different planning approaches. These frameworks help you adapt the method to your home.
Using size and space to guide your layout
Start by defining your size budget before you pick frames. A successful gallery wall arrangement should cover between two-thirds and three-quarters of the wall width to feel proportional. For a sofa that’s 90 inches wide, that usually means an arrangement around 60 inches wide.
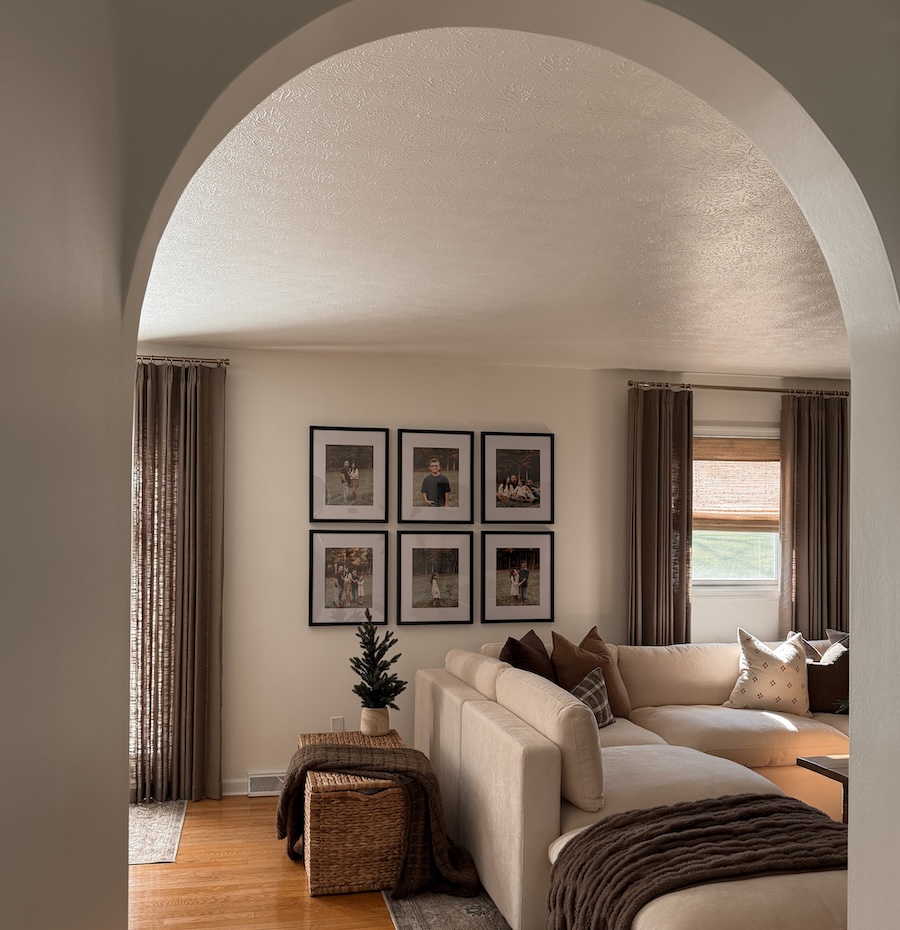
For a narrow hallway, a linear row of frames hung at a consistent center line often works better than a grid. In smaller rooms, three larger frames usually deliver more impact than nine small ones. Larger living rooms or open-plan spaces can handle a grid or offset layout with more frames without feeling sparse.
Using the floor mockup method with confidence
Arranging frames on the floor before touching the wall remains one of the most reliable ways to test spacing, balance, and placement. Start with the anchor piece slightly off-center, build outward with the consistent spacing you chose, photograph the result from above, and use that photo as your reference when transferring to the wall.
Using paper templates for stress-free hanging
Paper templates taped to the wall are the gold standard for confirming spacing and height at real scale. Cut kraft paper to the exact size of each frame, mark the hook location, tape the templates to the wall, and adjust until every gap is even and the center of the arrangement sits at your eye-level line.
This approach moves expensive mistakes, such as wrong total size, awkward spacing, or a layout that feels random, to a stage where fixes cost nothing. For a real-world example, imagine a family of four with a 96-inch-wide living room wall above a 72-inch sofa.
A Classic Wide, priced at $425, or a Luxe Bricklay, priced at $1,074, would span roughly two-thirds of that wall width and sit above the sofa at the right visual weight. As Bobby Berk described the Luxe Bricklay, “I wanted to create a gallery wall layout that was versatile, simple, and symmetrical.” Both options arrive with a life-size gallery wall template that removes the measuring entirely.
Common gallery wall challenges and quick fixes
Even a well-planned gallery wall can hit a few snags. These common issues have straightforward solutions.
Hanging too high: Centering the full arrangement around eye level prevents this. When installing over furniture, keep 6–10 inches of clearance above sofas or consoles.
Inconsistent spacing: Pick one gap size and apply it uniformly. When a gallery wall mixes frame sizes, selecting a single gap size and applying it uniformly across the entire arrangement makes the collection read as one intentional composition.
Color mismatch between photos: Printing companies apply each file’s existing camera settings and don’t adjust for gallery-wide cohesion, so edit photos before uploading. Apply one consistent preset to every image instead of chasing a perfect individual edit.
Visual imbalance: Move large or dark frames diagonally across from each other and add medium pieces to the lighter side to balance visual weight.
Crooked frames: Use a level on every frame, not just the first one. For Luxe frames, the included no-wire hanging system with two side hangers makes leveling simple. For Classic frames, a standard level works well.
Sizing errors: Measure the wall and the furniture below it before selecting frame sizes. A layout that looks proportional on a product page can feel undersized or overwhelming in a real room if you skip this step.
Frameology’s gallery wall template system avoids most of these challenges from the start. The template marks exact nail positions, so spacing and alignment become part of the process instead of guesswork.
How to know your gallery wall is finished
A finished gallery wall should feel complete and balanced, not like a work in progress. This checklist makes that decision easier. Run through these indicators after installation:
Center height: The center of the overall arrangement sits at eye level.
Consistent spacing: Every gap between frames matches the spacing you chose for the wall.
Visual balance: Large and dark frames are distributed across the arrangement instead of clustering on one side.
Proportional width: The arrangement spans roughly two-thirds the width of the furniture below it.
Level frames: Every frame looks straight when checked with a level.
Photo cohesion: Photos share a consistent editing style, color temperature, or treatment, such as all black and white, so the wall reads as one curated set.
Emotional resonance: When you step back and view it like a guest, the wall tells a clear story and feels like your family.
If the arrangement passes those checks, you’re done. If something still feels off, spacing inconsistency, a slightly crooked frame, or one photo that doesn’t match the edit are usually to blame, and each one is easy to fix.
Advanced gallery wall ideas for your home
Once your first gallery wall is up, you can extend the look to other rooms, plan for future photos, and even mix different print types.
Coordinating gallery walls across multiple rooms
Using a consistent frame style across rooms, such as the same finish and mat color, creates a sense of intentional curation throughout your home. Frameology’s Classic Wall, starting at $59, and Luxe Wall, starting at $79, come in finishes that carry easily from living room to hallway to bedroom.
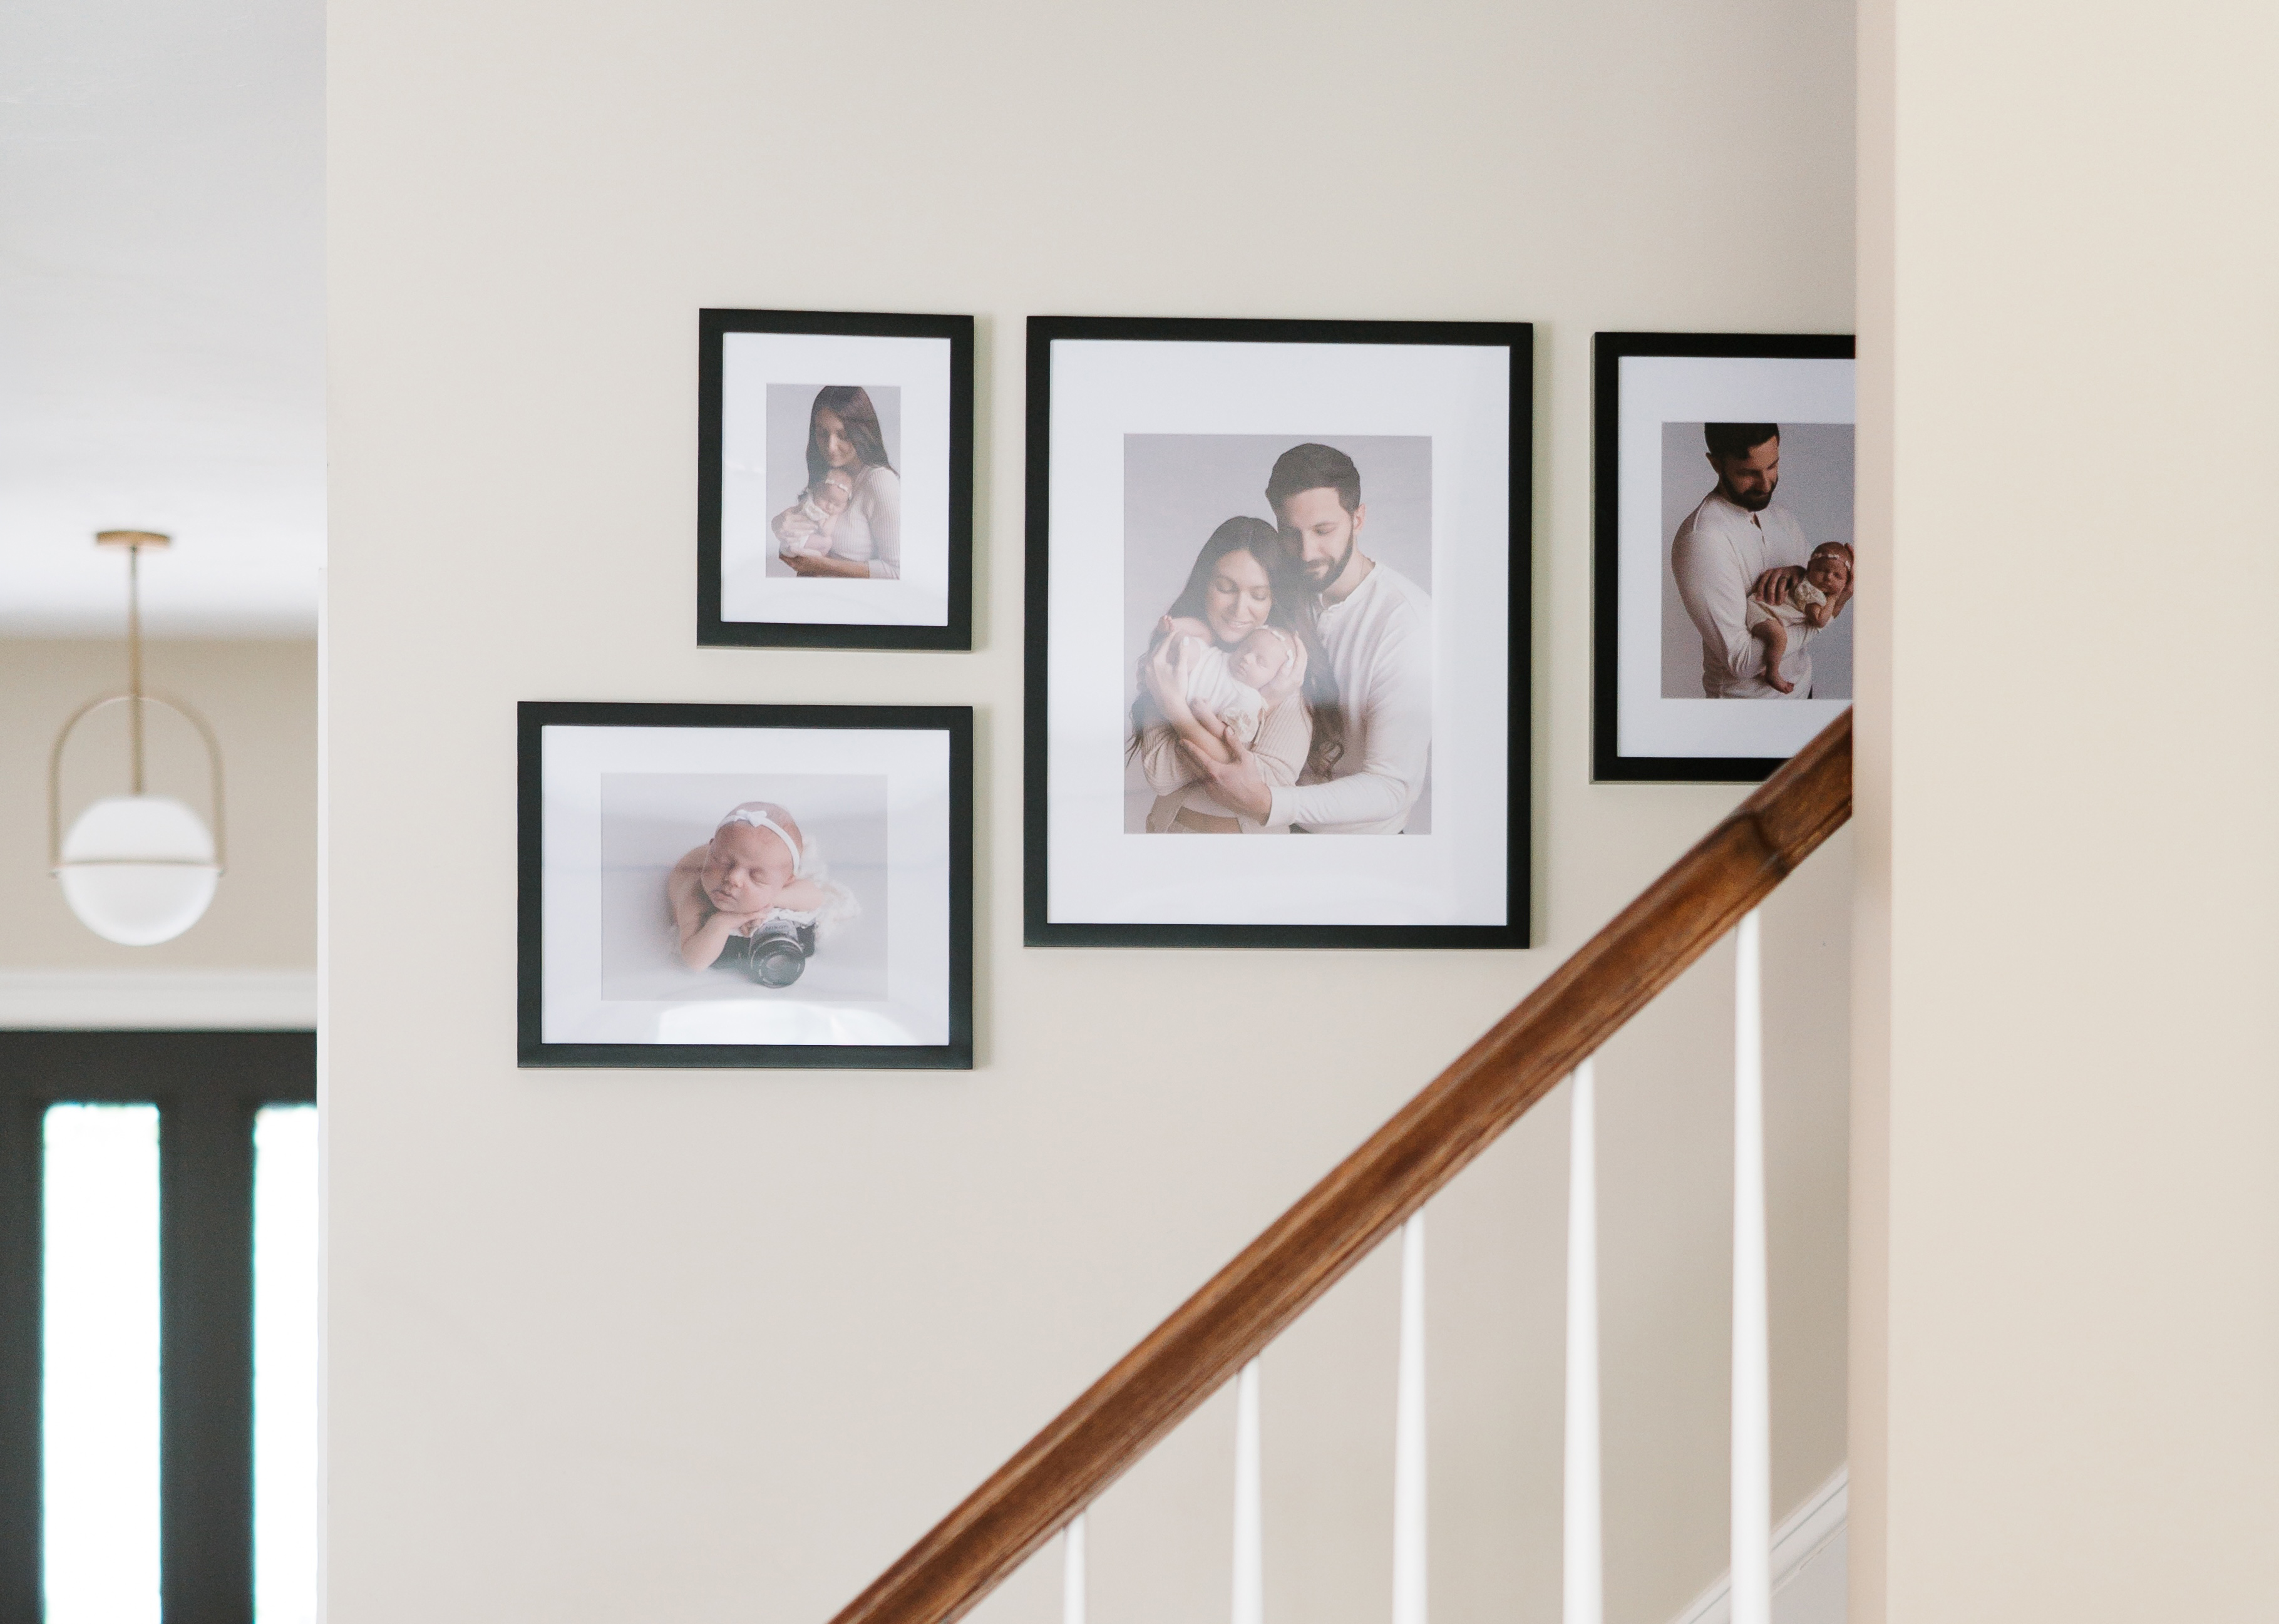
For staircase walls, Bobby Berk highlighted the Luxe Staircase ($953) as a simple way to handle a tricky space. He noted, “The gallery wall up the stairs is the perfect place to display family photos, and I think my staircase collection makes it so much easier to curate all your favorite memories into a layout that looks great.”
For staircase installations, measure a line parallel to the stair banister at 60–62 inches above each step and arrange frames along this diagonal while maintaining your chosen spacing. Other staircase options include the Classic Staircase ($308), Classic Staircase II ($485), and Classic Staircase III ($635) depending how large your staircase wall is.
Planning a gallery wall that grows over time
Homeowners building a gallery wall over multiple years should still map the entire final layout in advance using paper templates. That way, the first frames land in pre-planned spots and you won’t need to patch walls when you add new pieces.
Classic frames feature a removable backing, so you can swap photos as new memories are made without replacing the frame. This makes Classic frames ideal for families who treat their gallery wall as a living document instead of a fixed display.
Rotating photos seasonally
Replacing photo sets twice a year while keeping the same frames has become a popular way to keep a gallery wall feeling current. You refresh the story on the wall without rehanging everything. Classic frames work especially well for this approach because of their swappable backing.
Frequently asked questions
What’s the ideal spacing between frames on a gallery wall?
The standard recommendation is 2–3 inches between every frame. This range helps the eye read the frames as one connected composition instead of separate pieces. Consistency matters most, so pick one gap size and apply it uniformly across the arrangement. For very small frames, you can tighten the gap to 1.5–2 inches, and for large frames, 3–3.5 inches gives each piece more breathing room.
How high should a gallery wall be hung?
The center of the overall arrangement should sit at eye level, which usually means 57–60 inches from the floor. When hanging above furniture like a sofa or console table, keep 6–10 inches of clearance between the top of the furniture and the bottom edge of the lowest frame. For staircase walls, measure a line parallel to the banister at 60–62 inches above each step and arrange frames along that diagonal.
How do I choose photos that look cohesive together?
The most reliable approach is to apply one consistent editing preset to every photo before printing. Free tools like Snapseed, VSCO, or Lightroom Mobile make this simple. Choose one filter, apply it uniformly, and make only small exposure adjustments where needed.
Converting the entire gallery to black and white gives you instant cohesion and a timeless look. You can also limit the wall to no more than three distinct frame sizes so the arrangement has a clear visual hierarchy.
Do all gallery walls include hanging templates?
Classic gallery walls and Luxe gallery walls include life-size gallery wall templates that make installation straightforward. Canvas galleries, Metal galleries, and gallery walls created using Frameology’s Gallery Wall Design Service don’t include templates because their construction and customization work differently and often need more tailored installation approaches.
Can I use adhesive strips instead of nails for my gallery wall?
Adhesive strips can work for Classic frames on smooth, clean wall surfaces. If you choose that route, clean the wall with isopropyl alcohol first, wait an hour after applying the strips before hanging the frame, and choose strips rated well above the frame’s weight.
Adhesive strips aren’t recommended for Luxe frames, since the permanent sealed backing on Luxe frames can be damaged if strips are removed. For Luxe gallery walls, use the included hanging hardware for the best result.
Turning inspiration into a finished wall
A personalized family photo gallery wall is one of the most meaningful things you can add to your home, and it doesn’t need weeks of measuring or a custom framing appointment. With thoughtful photo selection, consistent spacing, and a reliable layout method, anyone can create a wall that feels professionally designed.
For the most straightforward path from phone photos to a finished wall, Frameology’s Classic gallery walls and Luxe gallery walls handle layout planning, spacing, and installation through a life-size gallery wall template that makes anyone look like they hired an interior designer. With over 7,500 verified five-star reviews and a 4.98/5 star rating, Frameology continues to be celebrated as the best online framing service for turning meaningful moments into something worth hanging.
