


How to hang a balanced photo gallery wall at home
Written by: Daniel Koren, Co-Founder, Frameology | Last updated: October 21, 2026
Key takeaways
Gallery walls work best when you treat layout, hardware, and visual balance as three separate decisions instead of guessing.
Follow a repeatable seven-step process: start with an anchor frame, set the 57-inch center line, and keep 1.5–3 inch spacing consistent. Then template on the wall, measure from the actual hanging point, hang and level, and live with it for 24 hours before making changes.
Use the quadrant method to balance mismatched frame sizes. Distribute visual weight like size, darkness, and mat width across four imaginary sections.
Match hardware to your wall type and frame weight: drywall anchors or toggles for most homes, plaster hooks or toggles for older walls, and masonry screws for brick or concrete.
Frameology offers Classic and Luxe ready-to-hang gallery walls that include a life-size gallery wall template, hardware, and nails so you can skip most of the measuring and still get a balanced result.
How to hang a balanced photo gallery wall at home
Follow these seven steps in order. Each one builds on the last, so skipping ahead often creates the exact problems you’re trying to avoid.
Choose your anchor piece and layout. Pick the largest or most visually heavy frame first. This frame becomes your anchor. Every other frame gets arranged around it. Odd numbers (3, 5, 7) tend to feel more relaxed and organic, while even grids work well when frames are uniform in size. Place one frame first, then build outward.
Establish your center line. The 57-inch rule places the center of the entire arrangement, not each individual frame, at 57 inches from the floor. This is the standard used by museums and galleries. Austin Gallery’s hanging guide notes this height is calibrated to standard 8–9 foot ceilings and creates a consistent horizon line across a room. Above a sofa or console, override the 57-inch rule and anchor the bottom row roughly 6–8 inches above the furniture. Some guides allow 6–10 inches over a sofa and 4–8 inches over a console. This keeps the art connected to the piece below it instead of floating near the ceiling. On very tall or vaulted ceilings, you can raise the center slightly, but a larger arrangement usually works better than simply hanging everything higher.
Set your spacing. The 1.5–3 inch rule covers most situations. Use 1.5–2 inches for a tight, cohesive grid and roughly 2.5–3 inches for a more relaxed look. Some guides allow up to 4 inches for larger frames. Austin Gallery’s spacing guide recommends choosing one gap and applying it uniformly across all frames, because uneven gaps read as mistakes even when viewers can’t explain why a wall looks off. Consistent spacing matters more than the exact number you choose.
Plan on the floor, then template the wall. Lay the full arrangement on the floor first. Once it looks right, transfer it to the wall using paper cutouts or a life-size gallery wall template. For the paper cutout method: trace each frame onto kraft paper and cut out the rectangles. Mark the hanging point on each cutout by measuring from the frame’s hanging hardware to the top of the frame, not from the top edge alone. Tape the cutouts to the wall with painter’s tape and adjust until spacing looks even. Mark through the paper, then drill.
Mark and drill. Measure from the frame’s actual hanging point, like a wire, D-ring, or sawtooth hanger, to the top of the frame. Subtract that distance from your target nail height. Mark with painter’s tape or a pencil. Check level before you commit to any hole.
Hang, level, and step back. Hang the anchor piece first, then build outward. Check level on each frame individually. Step back and view the wall from across the room instead of up close. Small misalignments that are invisible at arm’s length become obvious from the doorway.
Live with it for a day before patching anything. Fresh layouts often look better after 24 hours. Give your eye time to adjust before you decide something’s wrong.
Skip the measuring with a ready-to-hang gallery wall
How to hang a gallery wall with different size frames
Mixed sizes can look intentional and polished when you follow a simple system. Use these guidelines to keep everything feeling balanced.
The quadrant method: Divide the wall into four imaginary quadrants. A large dark frame in the top-left needs a counterweight in the bottom-right. That counterweight can be another large frame, a dark frame, or a cluster of smaller frames that together carry similar visual weight. The goal is perceived balance across all four quadrants, not perfect symmetry.
Anchor placement: Place the anchor piece slightly off-center, roughly one-third from an edge, instead of dead center. A dead-center anchor often makes the surrounding frames feel lopsided because there’s no room to build a counterweight on the heavier side. Austin Gallery recommends building outward from an anchor placed slightly off-center. This keeps the arrangement balanced and gives you a fixed measurement reference.
Visual weight factors: Frame size is only one variable. Dark frames read heavier than light ones. Wide mats add visual weight. Dark or high-contrast images pull more attention than pale, minimal ones. A small dark frame can balance a large light frame. To achieve balance, match perceived weight rather than size.
A worked example: Start with a 24x36 anchor placed slightly left of center. Stack two 11x14 frames vertically to its right with your chosen gap between them. The stacked pair’s combined height should roughly match the anchor’s height. Fill the remaining space with three 8x10 frames: one above the anchor, one below-right, and one to the far left. Check the quadrants. If the top-left feels light, swap the 8x10 there for a darker image or a slightly larger frame.
The one-variable rule: Mixed frame sizes work best when you keep one variable consistent. Choose the same frame finish, the same mat color, or the same spacing. Consistency in one dimension gives you freedom in the others and makes a mixed-size wall feel curated instead of random.
Picture hanging hardware by wall type
The right hardware depends on your wall material and the weight of your frame. Match both for a safe and stable hang.
Drywall: For light frames, a standard picture hook with an angled nail works well. For medium frames (roughly 10–25 lbs), use a self-drilling drywall anchor or a snap toggle anchor. Austin Gallery recommends snap toggles over classic butterfly toggles because the metal channel stays in the wall when the bolt is removed, which lets you adjust without starting over. For heavy frames (25–50 lbs), use a toggle bolt or drive directly into a stud.
Plaster: Never drive a nail straight into plaster because it cracks. Drill a pilot hole first, then use a plaster picture hook or a toggle bolt sized for the pre-drilled hole. For frames in the 10–25 lb range on plaster, a toggle bolt that opens behind the lath works well. Heavier pieces (25 lb and up) need a stud, a long toggle, or a French cleat.
Brick or concrete: Use a masonry bit and either a Tapcon-style concrete screw or a sleeve anchor. CustomPictureFrames.com recommends drilling into the mortar joint rather than the brick face when possible, because mortar is softer and easier to patch later. For frames under 10 lbs, brick clips that slip over the edge of standard brick work without any drilling.
Studs: Studs give you the strongest option available. Use a stud finder, confirm the location, and drive a 2.5-inch wood screw directly into the stud. A single stud screw often holds 100 lbs or more, which far exceeds any hollow-wall anchor.
One hook vs. two hooks: One hook works well for small, light frames and lets the frame pivot slightly for easy leveling. Two hooks, spaced a few inches apart, work better for anything wide or heavy because they prevent tilting and spread weight across two points. The tradeoff is that two-hook systems need more precise measuring because both hooks must be level with each other before the frame goes up.
Frameology’s Luxe Wall, starting at $79, comes with a premium no-wire hanging system that uses two side hangers for easy leveling. It also includes all necessary hanging hardware, nails, and a mini-level in the box, so Luxe buyers skip the hardware decision entirely. Frameology’s Classic Wall, starting at $59, uses a single metal center hanger, and customers provide their own nails and level. Command strips work for Classic frames only. Avoid them on Luxe frames because the permanent paper backing can be damaged.
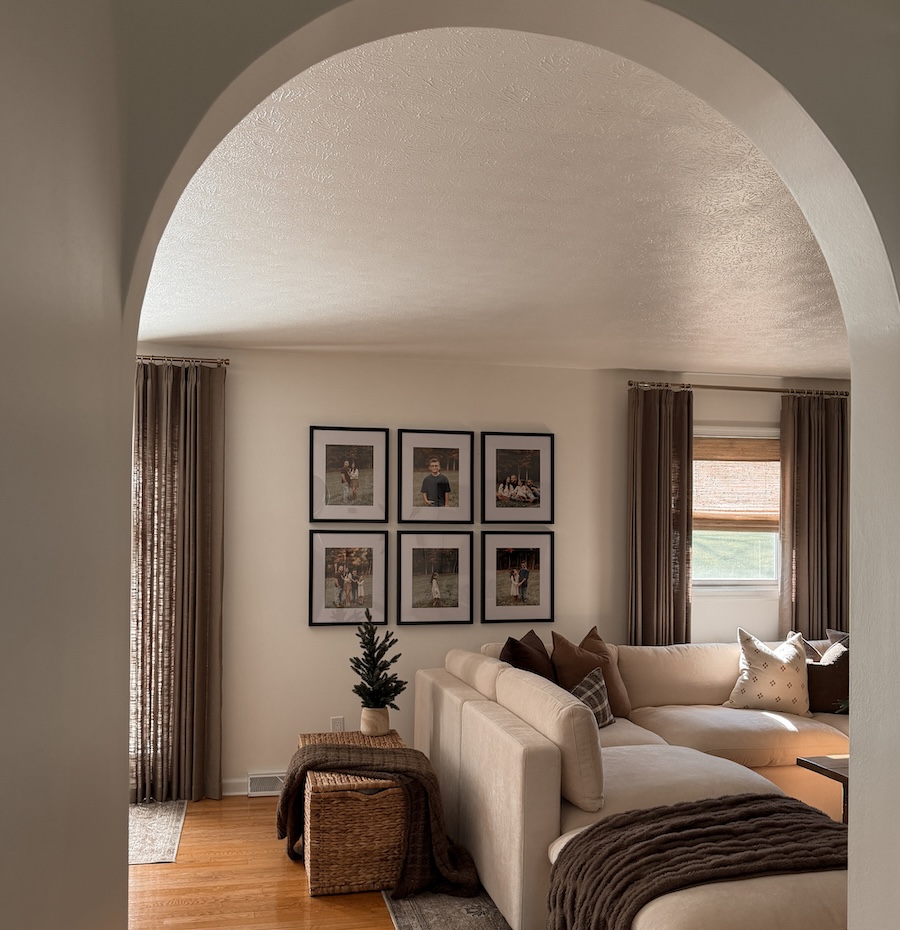
Get hardware and templates included with Luxe gallery walls
What are common picture hanging mistakes?
House Beautiful’s June 2026 guide “The 9 Most Common Gallery Wall Mistakes That Interior Designers Notice Immediately” highlights several frequent errors, including inconsistent spacing, hanging only photos, lack of cohesion, overlooking scale, using too many of the same frames, and crowding the hanging area. Other design sources like Homes & Gardens also call out inconsistent placement and lack of planning. Here are six practical mistakes you can fix quickly.
Hanging too high: Many people hang at their own eye level or higher, which sends art floating near the ceiling. Fix: center the arrangement at 57 inches from the floor, or 6–8 inches above furniture.
Spacing frames too far apart: Gaps beyond roughly 3–4 inches cause the arrangement to read as separate pieces instead of one unified composition. Fix: pull frames closer until gaps are consistently 1.5–3 inches.
Eyeballing instead of measuring: The eye catches a gap that’s half an inch wider than its neighbors faster than you’d expect. Fix: use a physical spacer, like a scrap of cardboard cut to your chosen gap width, between every frame.
Hanging before checking from a seated position: A wall that looks right while standing can feel too high when you sit on the sofa below it. Fix: sit down and look at the paper templates before you drill anything.
Using the wrong hardware for the wall type: A nail that holds fine in drywall can pull straight out of plaster. Fix: identify your wall type first, then choose hardware rated for both the wall and the frame weight.
Measuring from the frame’s top edge instead of its hanging point: The hanging point, like a wire, D-ring, or sawtooth, sits below the top of the frame. Measuring from the top edge alone puts every nail too high. Fix: always measure from the actual hanging hardware to the top of the frame and subtract that distance from your nail height.
Avoid common mistakes with pre-designed gallery walls
What is the tape trick for hanging pictures?
The painter’s tape method gives you clean marks and accurate holes. Use it when you want a quick, low-mess way to place nails.
The painter’s tape method works like this: place a strip of painter’s tape on the wall where the frame’s top edge will sit. Mark the hanging point on the tape by measuring down from the top edge by the distance between the hanging hardware and the top of the frame. Drill through the tape at the mark, then remove the tape. You get no pencil marks to erase and no guesswork about where the nail landed.
The paper template method offers even more precision. Trace each frame onto kraft paper and cut it out. Mark the hanging point on each cutout, then tape the cutouts to the wall with painter’s tape. Adjust the arrangement until spacing looks right. Mark and drill through the paper. Minimal & Modern’s picture hanging guide identifies this as standard advice in professional hanging guides and notes that planning the layout before drilling separates a clean result from a wall full of unnecessary holes.
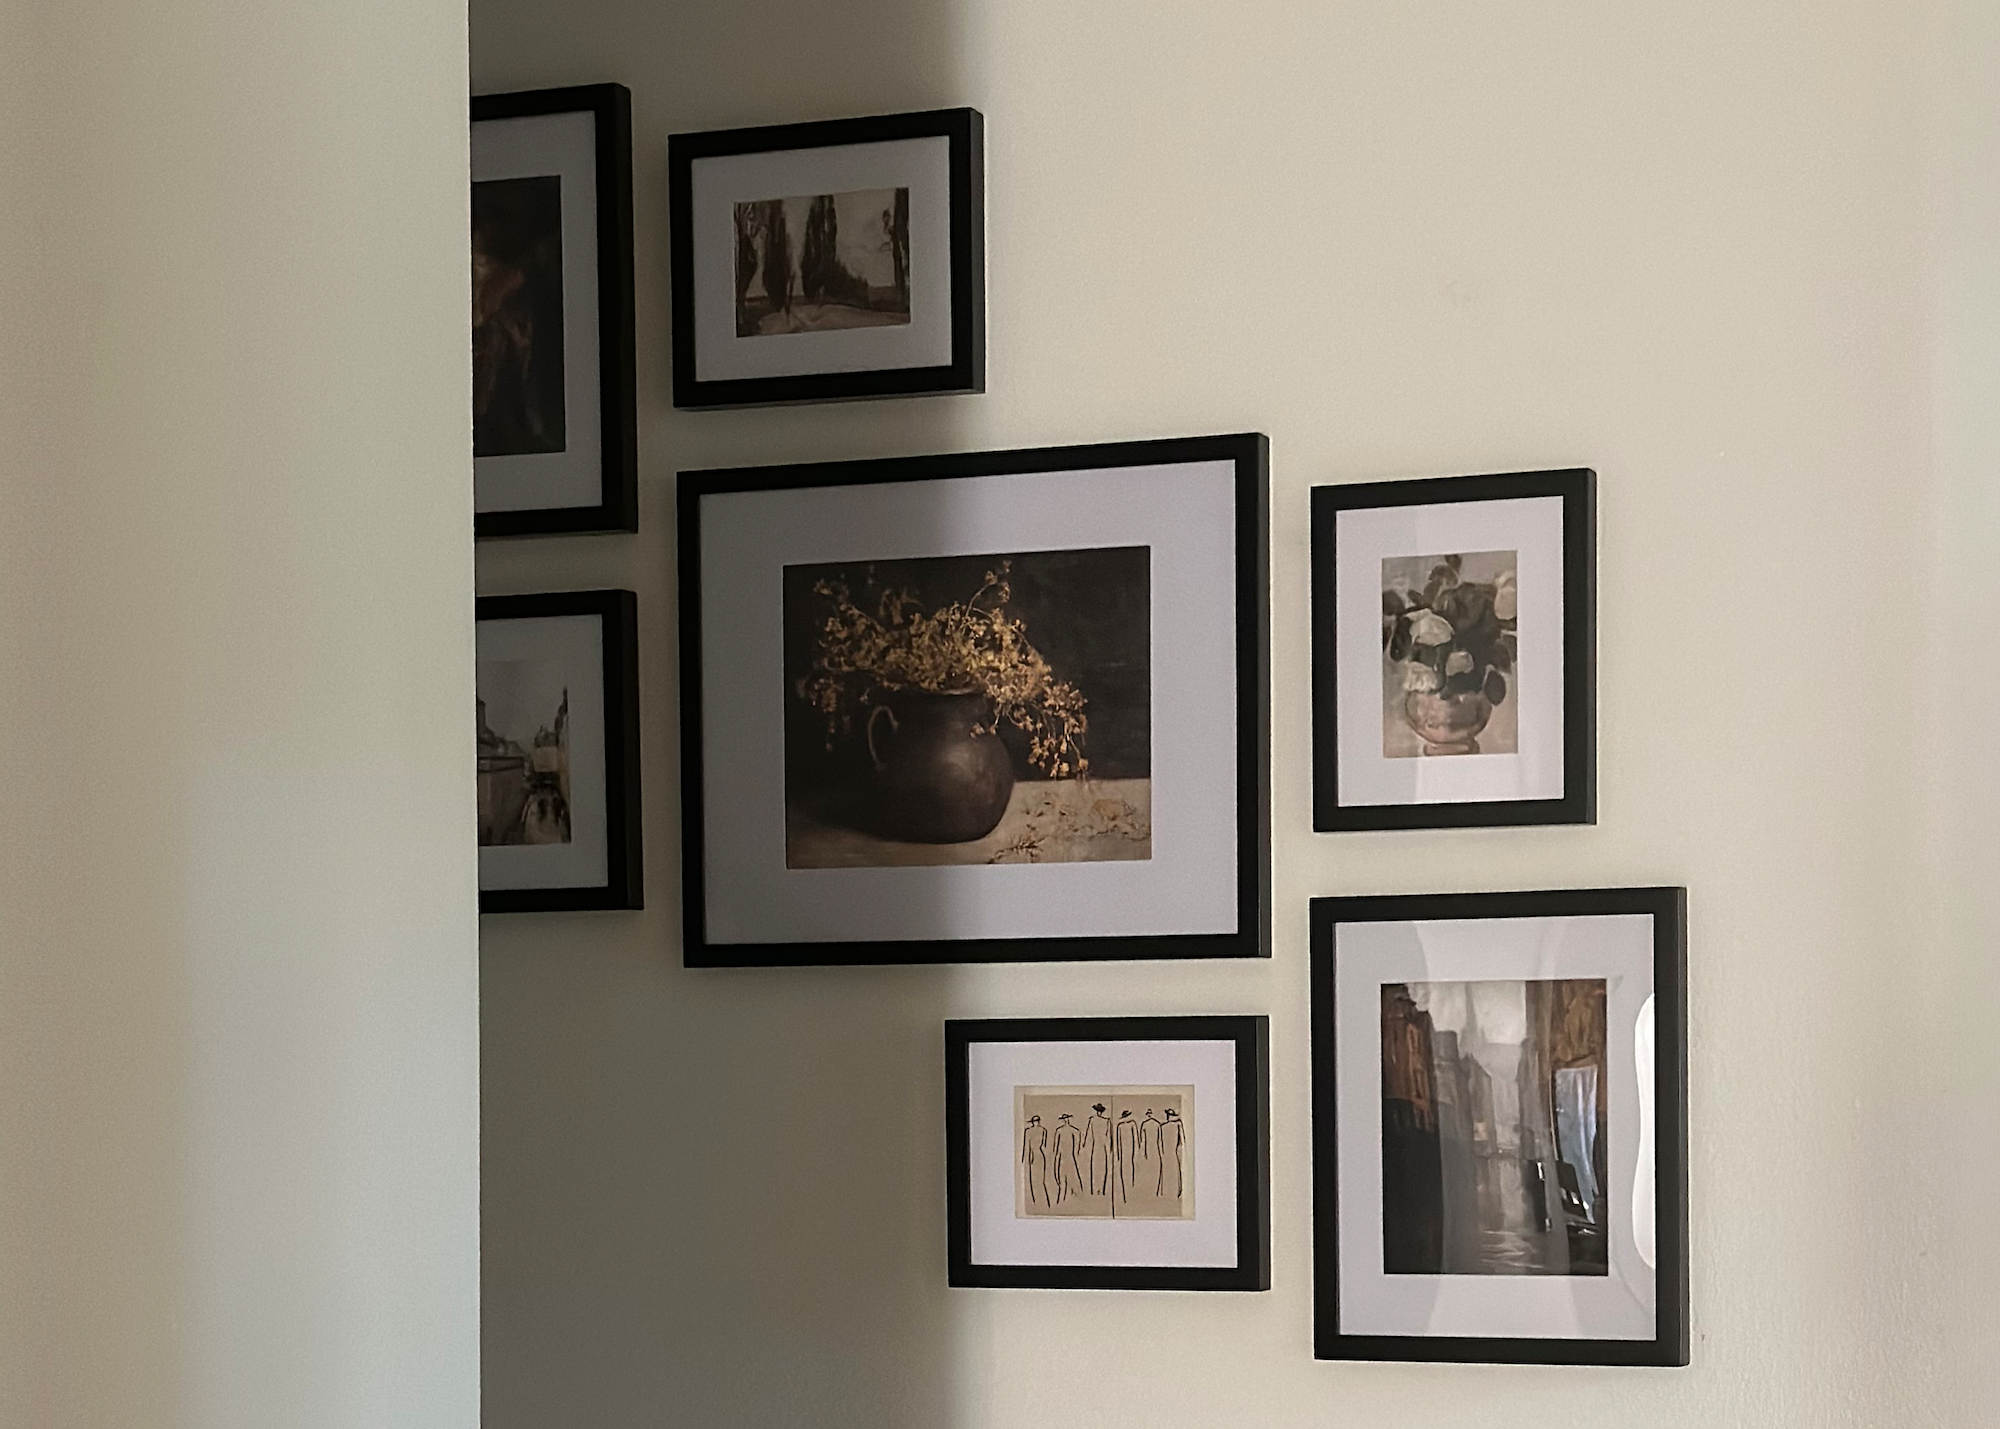
Frameology’s Classic gallery walls, starting at $198, and Luxe gallery walls, starting at $638, take this a step further. Every set includes a life-size gallery wall template that handles the tracing and spacing work for you. Tape it to the wall, mark the spots, and hang. House Beautiful contributor Janae McKenzie, reviewing Frameology’s service, noted that Frameology ships frames with a true-to-size paper template and nails to mark exact hanging positions and said she’d “absolutely recommend Frameology to anyone who knows they want a gallery wall, but doesn’t know how to make it happen.”
Use gallery wall templates for fast, precise hanging
Troubleshooting when your gallery wall looks wrong after hanging
Even careful planning can leave a wall that feels slightly off. Use these quick fixes to correct issues without starting from scratch.
Frames look crooked: Check whether the frame itself is level or whether the hanging point is off. A frame can be perfectly level and still look tilted if the wall is uneven or the wire is seated unevenly on the hook. Fix: add rubber bumper pads to the lower back corners to grip the wall, or switch from a single wire to two D-rings for a more controlled hang. You won’t need new holes.
Gaps look uneven: Measure again, because the eye exaggerates small differences, especially right after hanging. A gap that looks an inch off is often only a quarter inch. Fix: measure with a physical spacer before you move anything. If the gap is genuinely off, adjust the neighboring frame instead of the one that looks wrong.
Layout felt balanced on paper but feels heavy on one side: Swap two frames instead of redoing the whole wall. Move the heaviest-looking frame from the crowded side to the lighter side. This usually needs only two new holes and often fills the old ones.
Frames sit too high or too low relative to furniture: If the whole arrangement is too high, you’ll need a re-hang, but only of the anchor piece. Rehang the anchor at the correct height, then adjust adjacent frames relative to it. If only one frame is off, adjust that frame alone.
Wall feels cluttered: Remove one frame. Negative space is part of balance, and a wall with one fewer frame almost always looks more intentional than one that’s overfull. You can fill the removed frame’s holes with lightweight spackle.
Solve layout issues with pre-planned gallery walls
When to use a template system instead of DIY
DIY hanging works well for small arrangements of three frames or fewer, renters who want flexibility to rearrange, and people who genuinely enjoy measuring. A template system works better for larger arrangements, mismatched frames, staircase walls, and anyone who wants a guaranteed balanced result without spending an afternoon with a tape measure.
Frameology’s Classic gallery walls, starting at $198, and Luxe gallery walls, starting at $638, both include life-size gallery wall templates. Tape the template to the wall, hammer nails into the marked spots, and hang. Classic gallery walls can often be hung in under an hour. Classic gallery walls include a gallery wall template and the necessary hardware for hanging, while Luxe gallery walls include a template plus all necessary hanging hardware, nails, and a mini-level.
Bobby Berk, describing the Luxe Vertical Grid, put it plainly: “the fact that it comes with a template for hanging makes it so much easier than trying to do this on your own.” CNN Underscored’s Stephanie Griffin, after testing the Luxe Bricklay, called it “worth the hype” and credited the foolproof hanging system for saving time and stress.
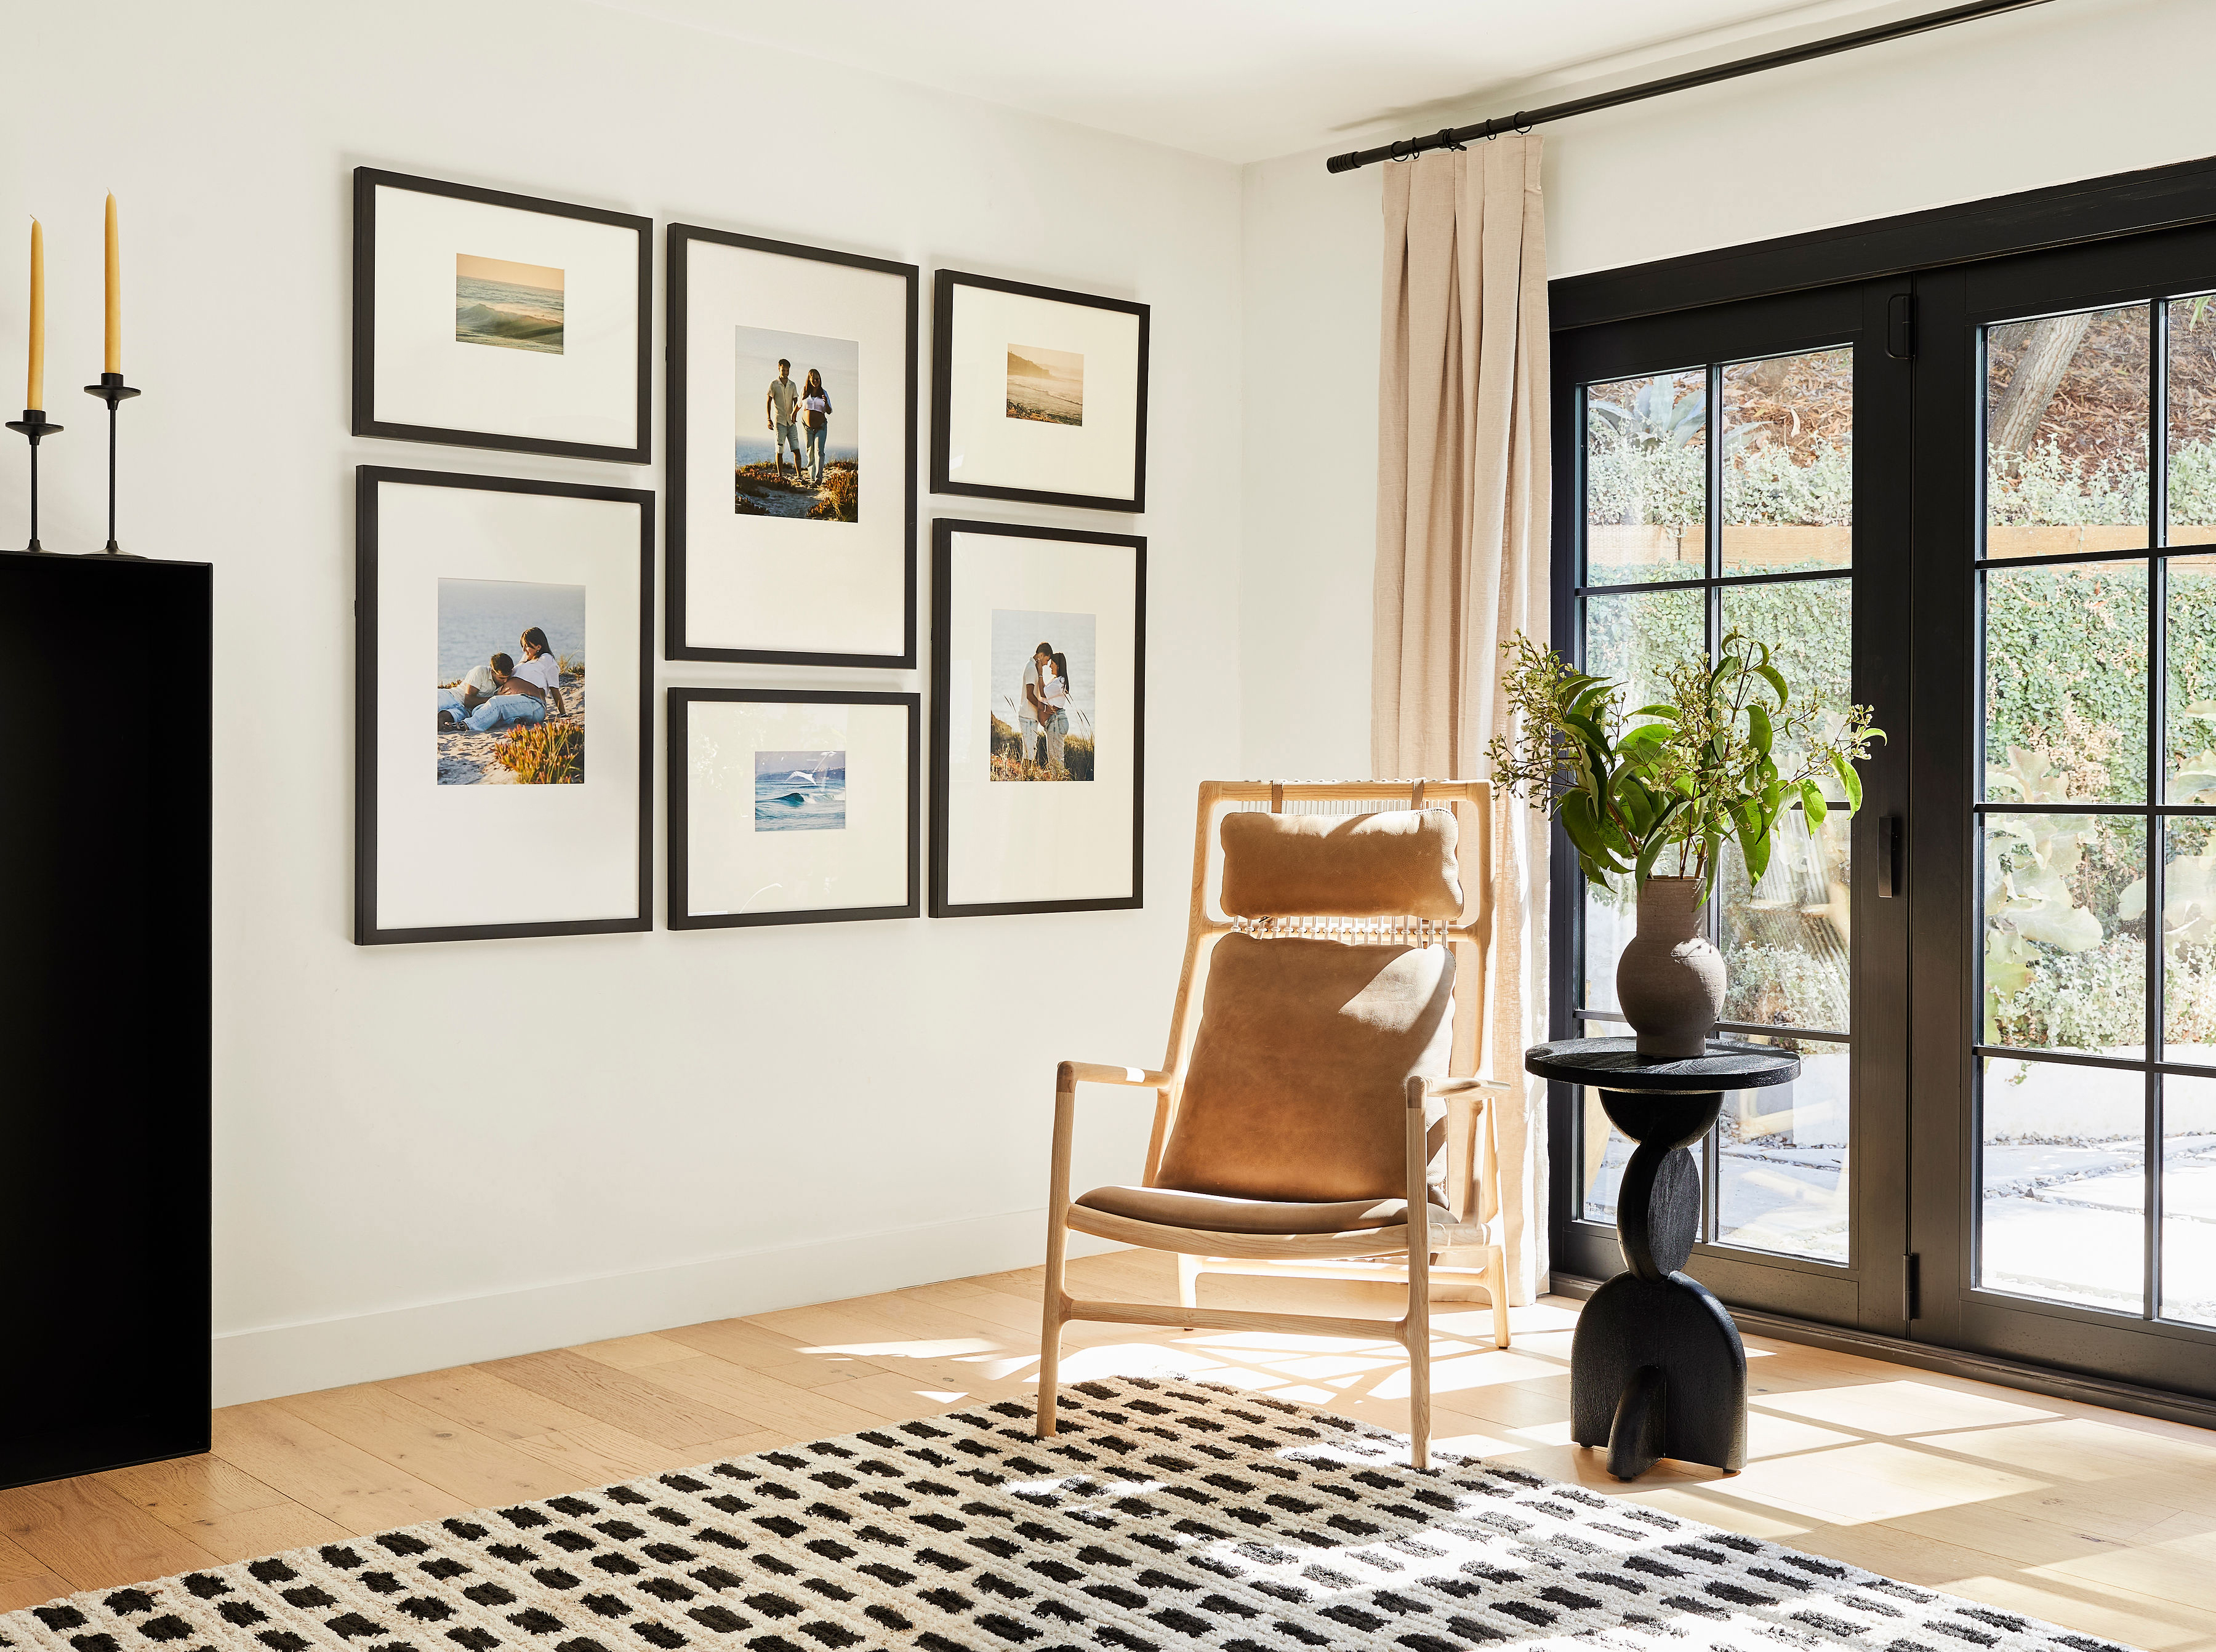
Canvas galleries and gallery walls created through Frameology’s Gallery Wall Design Service don’t include templates because their construction and customization work differently and often need more tailored installation approaches.
Frameology also offers a mobile-only AR (augmented reality) preview tool that lets you preview your frame or gallery wall on your actual wall before buying. It previews the arrangement and helps you feel confident before you commit to any layout. For a deeper look at why Frameology’s approach to framing stands apart, the cornerstone article “Why Frameology is the best online framing service” covers the full picture.
Start framing your favorite memories at Frameology
Frequently asked questions
How high should I hang a gallery wall?
Center the arrangement at 57 inches from the floor, or 6–8 inches above furniture. This follows the center-line guideline in the main steps.
How far apart should gallery wall frames be?
Use 1.5–3 inches between frames. This matches the spacing rule described earlier and keeps the wall reading as one composition.
Is it better to hang a picture with one or two hooks?
Use one hook for small, light frames and two hooks for wide or heavy frames. This follows the hardware advice in the wall-type section.
How do I hang a gallery wall with different size frames?
Use the quadrant method. Divide the wall into four imaginary quadrants and balance visual weight across them. Place the anchor piece slightly off-center, then build outward and keep one variable consistent, like finish, mat color, or spacing.
What’s the tape trick for hanging pictures?
Place painter’s tape where the frame’s top edge will sit, mark the hanging point on the tape, and drill through the mark. For more precision, use paper templates as described in the tape and template section.
Do all gallery walls include hanging templates?
Classic gallery walls and Luxe gallery walls include life-size gallery wall templates that make installation simple. Canvas galleries, Metal galleries, and gallery walls created using Frameology’s Gallery Wall Design Service don’t include templates because they need more customized installation.
Can I use Command strips on Frameology frames?
Command strips work for Classic frames only. Avoid them on Luxe frames because the permanent kraft paper backing can be damaged when adhesive strips are removed, which would compromise the sealed backing that protects the photo.
How long does shipping take?
Classic products usually ship the next business day and typically arrive within a week. Luxe products take 7–10 business days because of their artisan craftsmanship and premium materials.
