


How to hang a gallery wall evenly: rules and tips
Written by: Daniel Koren, Co-Founder, Frameology | Last updated: November 14, 2026
Key takeaways
Four rules govern every balanced gallery wall. The composition centers 57 inches from the floor, clears furniture by 6–10 inches, spans two-thirds to three-quarters of the furniture width, and keeps 2–3 inches between frames.
The 57-inch rule applies to the center of the full arrangement. Above furniture, the clearance rule takes priority and may raise the center slightly.
Visual weight balance depends on diagonal distribution of dark or large frames, consistent spacing, and repeating frame styles at least twice so the wall reads as curated rather than random.
A six-step hanging sequence eliminates guesswork and extra holes: mark the center line, lay out on the floor or gallery wall template, measure hanger drop, transfer marks, nail and mount, then hang and verify.
Frameology’s Classic and Luxe gallery walls include a life-size gallery wall template that removes layout math and ship with all hardware needed for a balanced installation.
Shop ready-to-hang gallery walls
The four rules that define a balanced gallery wall layout
Four measurements guide every gallery wall layout and turn design choices into simple steps.
57 inches: the vertical center of the entire composition, measured from the floor. This convention, widely cited by designers including Emily Henderson as the standard for eye-level hanging, applies to the center of the whole arrangement. Gallery Planner identifies hanging pictures too high as the most common decorating mistake: people hold a frame where their hands are comfortable, which usually sits above their head and leaves the art floating near the ceiling.
6–10 inches: the clearance between the top of your furniture and the bottom edge of the lowest frame, though some guides specify 6–8 inches. Adorno's gallery wall guide recommends 6–8 inches above a sofa back. Too little clearance makes the art feel stuck to the sofa. Too much distance breaks the visual connection to the furniture below.
2/3–3/4: the ratio of your gallery wall's total width to the width of the furniture beneath it. Adorno specifies that a gallery wall hung above furniture should span two-thirds to three-quarters of the furniture's width. Anything narrower than about half the furniture width tends to look visually lost on the wall.
2–3 inches: the gap between frames, measured edge to edge. Adorno notes that uneven gaps are the clearest sign a wall was hung one piece at a time. Consistent spacing across every joint matters more than the exact number you choose.
What is the 57 rule for hanging pictures?
The center of the entire arrangement sits 57 inches from the floor.
To apply this rule to a multi-frame layout: measure the total height of your composition, halve it, then add that figure to 57 inches to find where the top edge of the arrangement lands. For example, a composition that's 40 inches tall, centered at 57 inches, has its top edge at 77 inches and its bottom edge at 37 inches. Gallery Planner recommends 57 inches as the centerline starting point in rooms with standard 8-foot ceilings, and suggests adjusting toward 60 inches in taller rooms.
Three common situations call for adjustments. On staircases, measure parallel to the handrail rather than from the floor, and keep frame centers at a consistent perpendicular distance from the rail. In hallways, TALD's gallery wall guide recommends keeping one center line about 57 inches from the floor down the length of the hall so pieces flow even when their sizes change. Above furniture, the furniture-clearance rule takes over, which may push the center slightly higher than 57 inches.
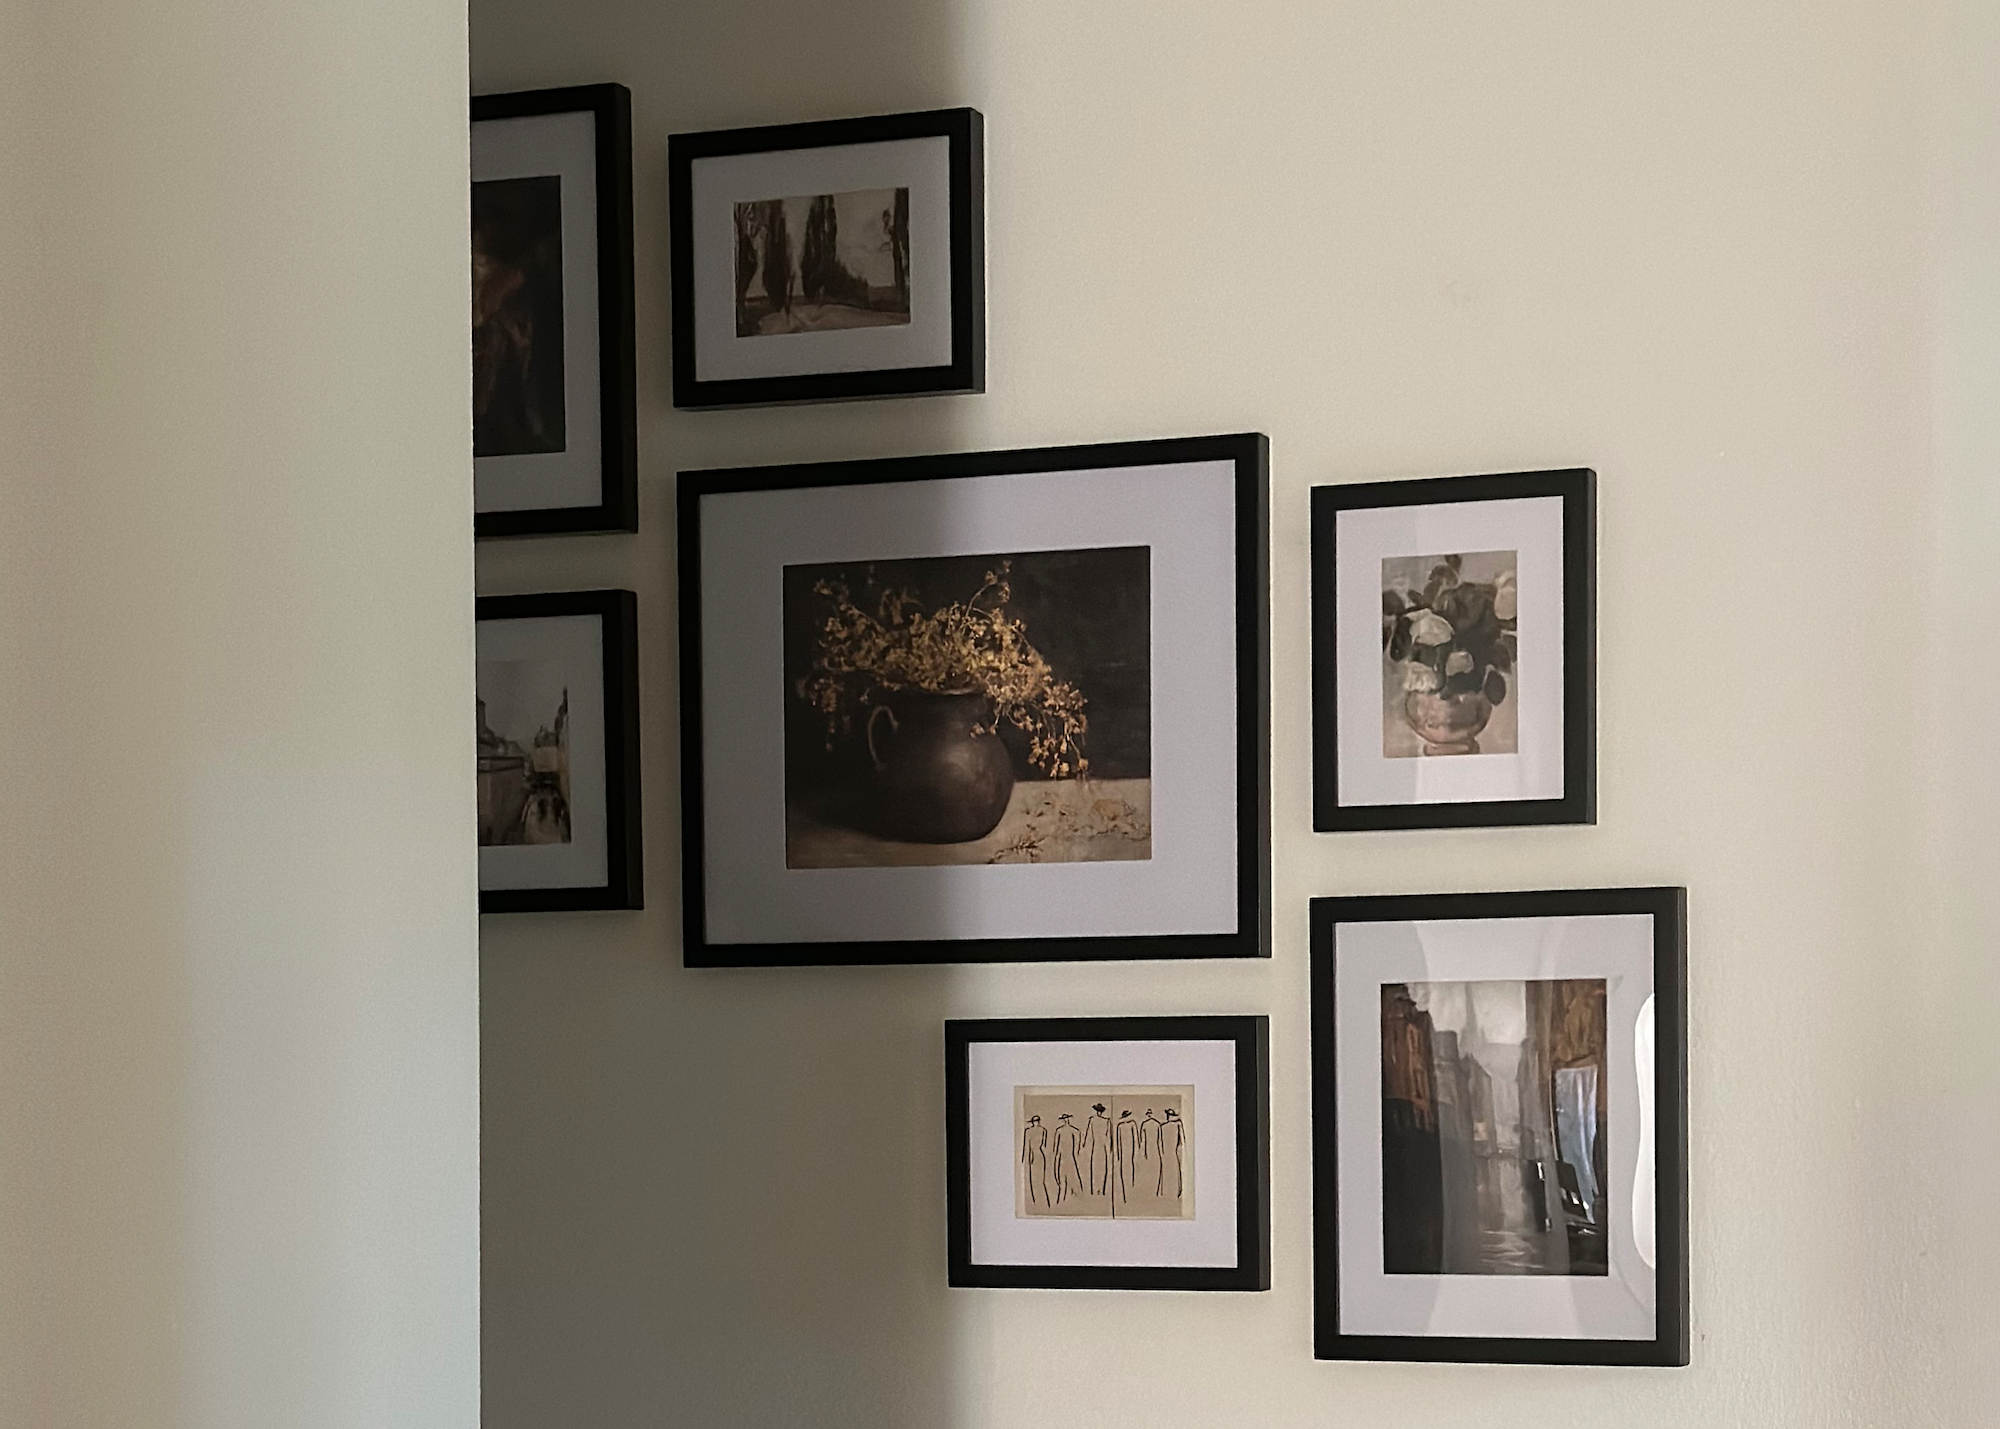
What is the 2/3 rule for gallery walls?
The arrangement spans about two-thirds to three-quarters of the furniture or wall width below it.
The three spacing rules work together as a system. The 2/3 rule sets the outer boundary of the composition. The 57-inch rule sets its vertical position. The 2–3 inch spacing rule fills the interior. Adorno's worked example: an 84-inch sofa calls for roughly 56–63 inches of total gallery width. East Side Studio London adds that anything narrower than about half the furniture width tends to look visually lost. When the two rules conflict, the furniture clearance wins. Let the center rise slightly rather than crowding the sofa back.
How to balance a gallery wall with mixed frame sizes and styles
Balanced gallery walls rely on visual weight, which describes how heavy a frame feels inside the composition. Dark frames and bold, high-contrast images carry more visual weight than light frames and airy images. Wide mats add weight by increasing a frame's apparent size. A small dark frame can counterbalance a large light one because the eye reads darkness as mass.
The practical technique is diagonal distribution: place the heaviest pieces at opposite corners of the composition rather than clustering them on one side. Colorado Art Services notes that a perfectly symmetrical grid with the heaviest work at bottom-left reads as sagging even when every measurement is correct. Reordering the pieces fixes the problem more effectively than moving the nails. Pair one large anchor piece with smaller supporting frames, placed slightly off-center so there's room to build a counterweight on the other side. Repeat frame styles at least twice so a mixed wall reads as collected rather than random.
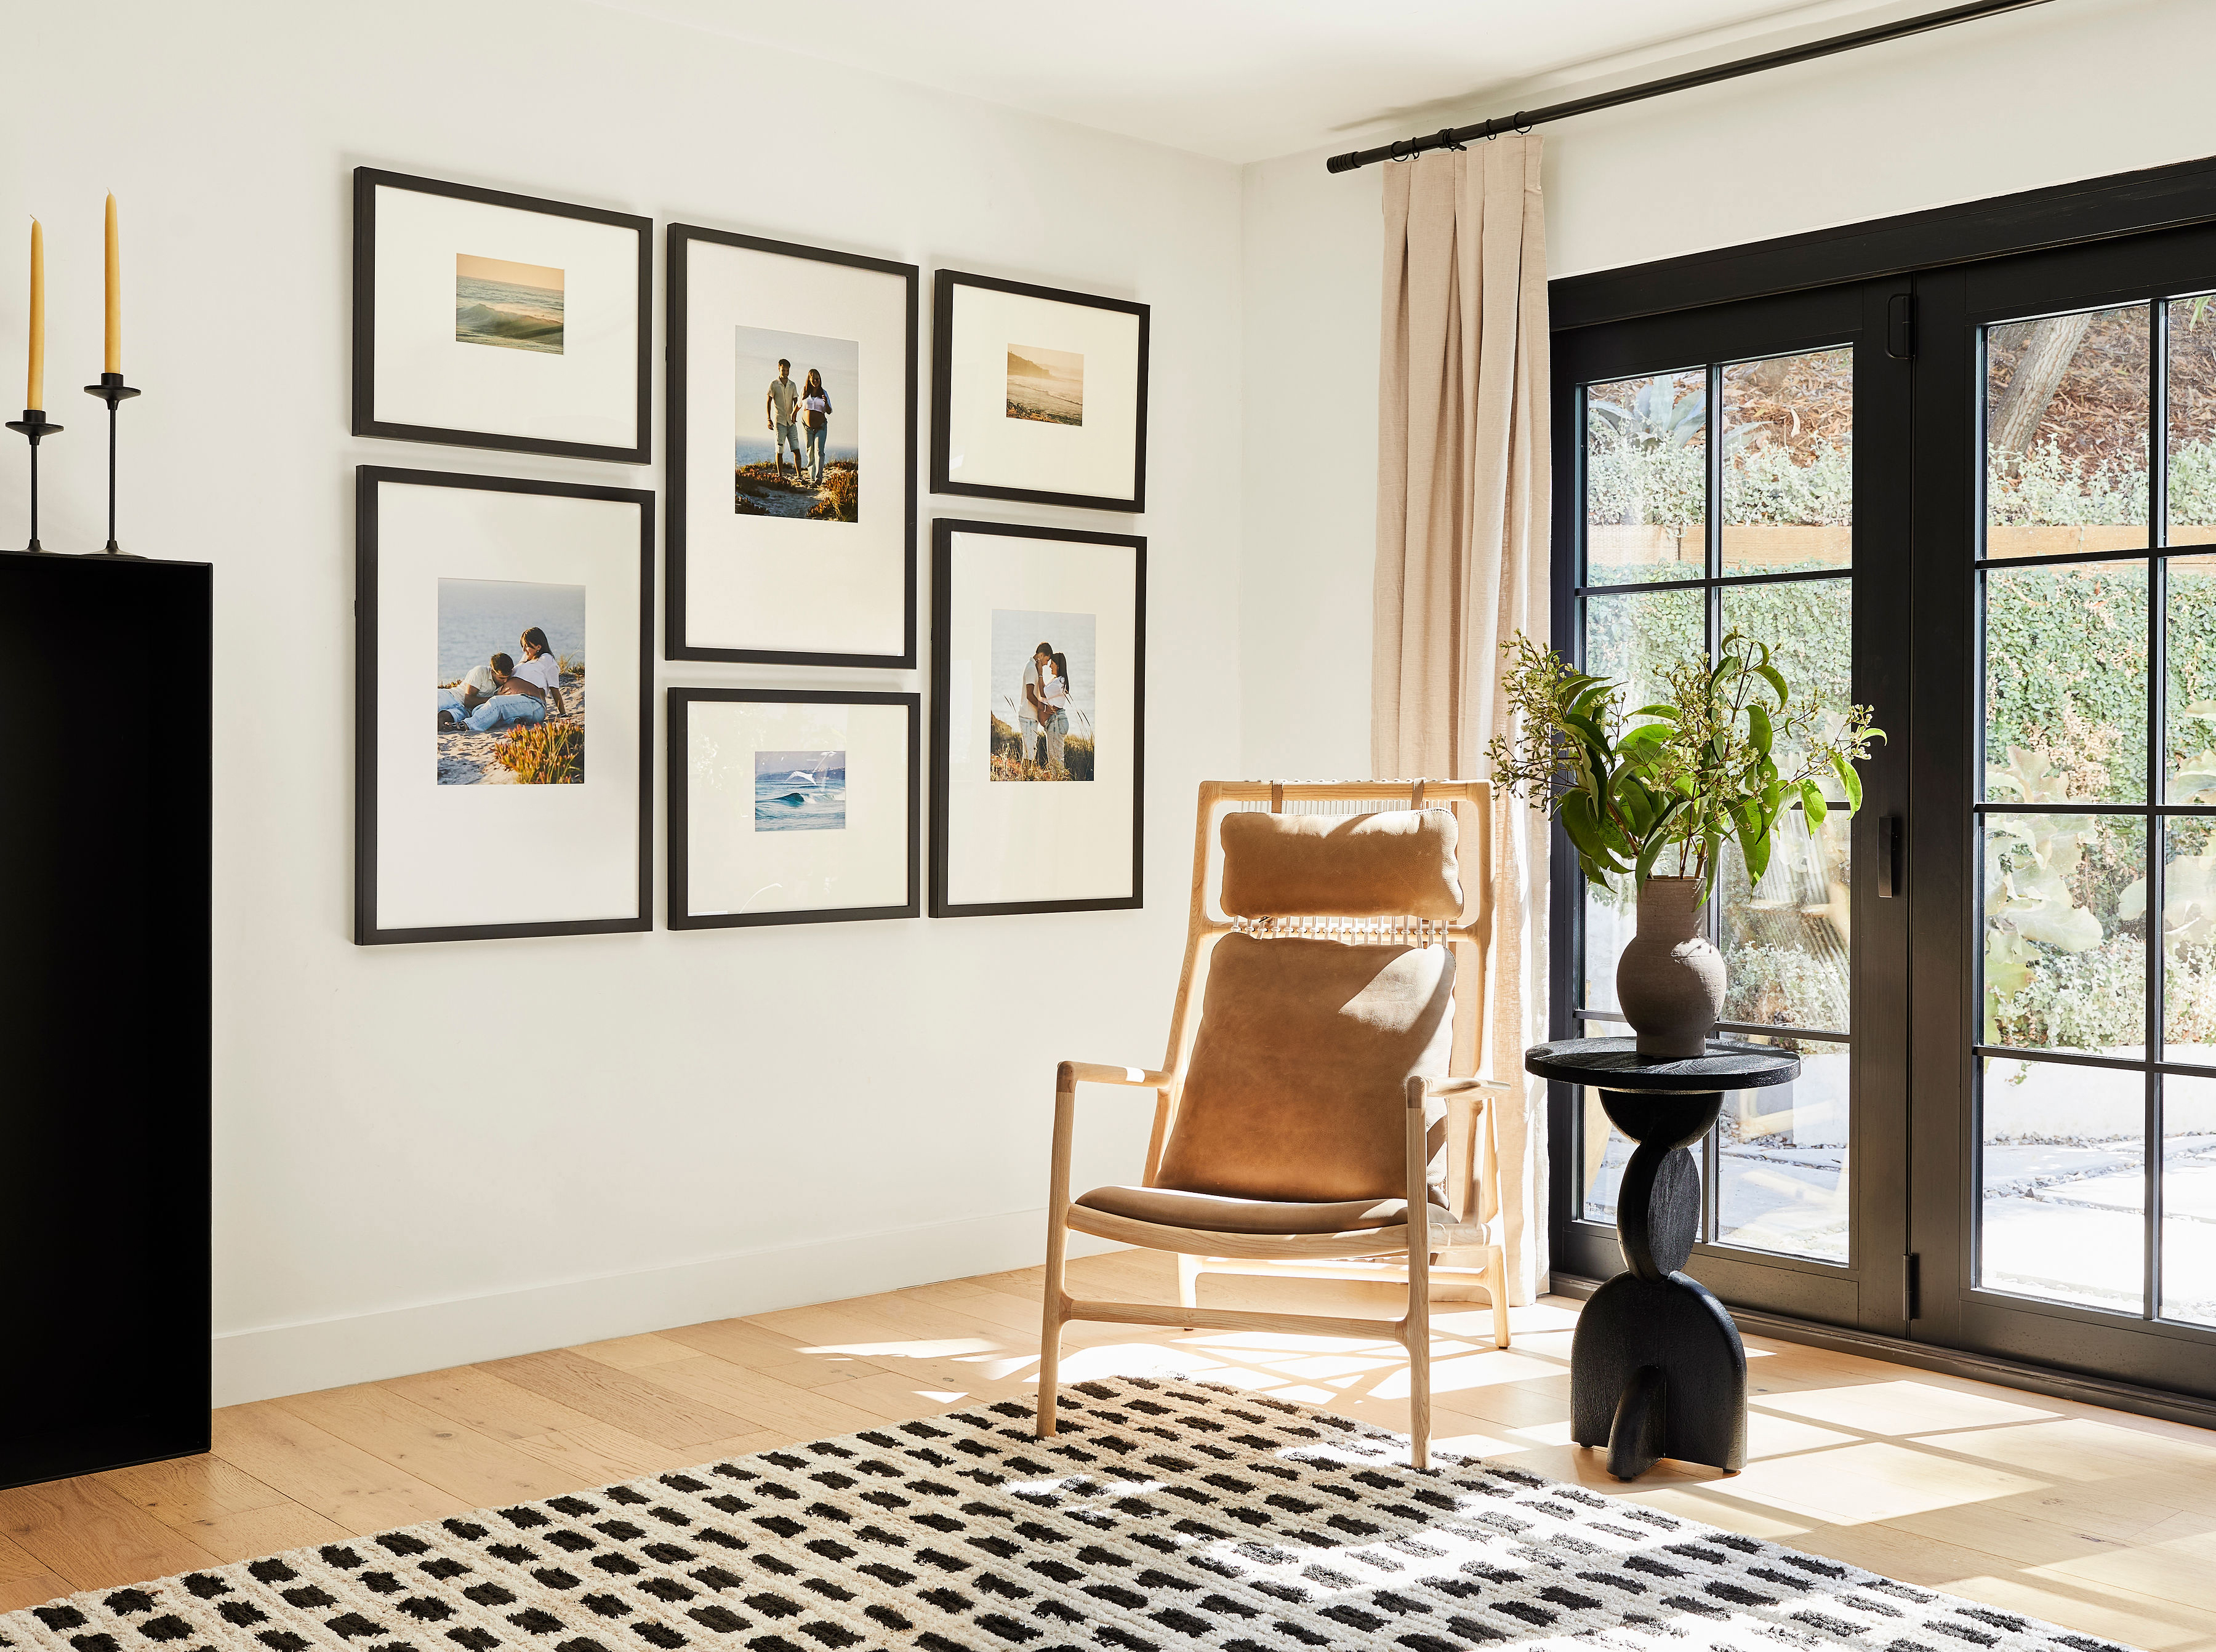
To see how diagonal distribution works in practice, walk through an eight-frame mixed-size wall. Place a large anchor frame slightly left of center. Stack two medium frames vertically to its right so their combined height roughly matches the anchor's height. Fill the remaining quadrants with three small frames, and distribute the darkest or most visually dense pieces diagonally across the composition. Hold a consistent 2–3 inch gap throughout. The result reads as intentional because the visual weight is balanced across the diagonal and the spacing stays uniform.
Are gallery walls out of style in 2026?
With the layout basics in place, many people want to know whether gallery walls still feel current in 2026.
East Side Studio London's 2026 guide states that gallery walls are not out of style, but the look has shifted toward fewer, larger pieces, a consistent frame finish, and a clear color palette rather than walls crowded with dozens of small frames. The dated look is the edge-to-edge grid of uniform small frames with tight gaps and no breathing room. The current look is a curated, spaced, mixed-scale wall with a defined outer boundary and intentional repetition.
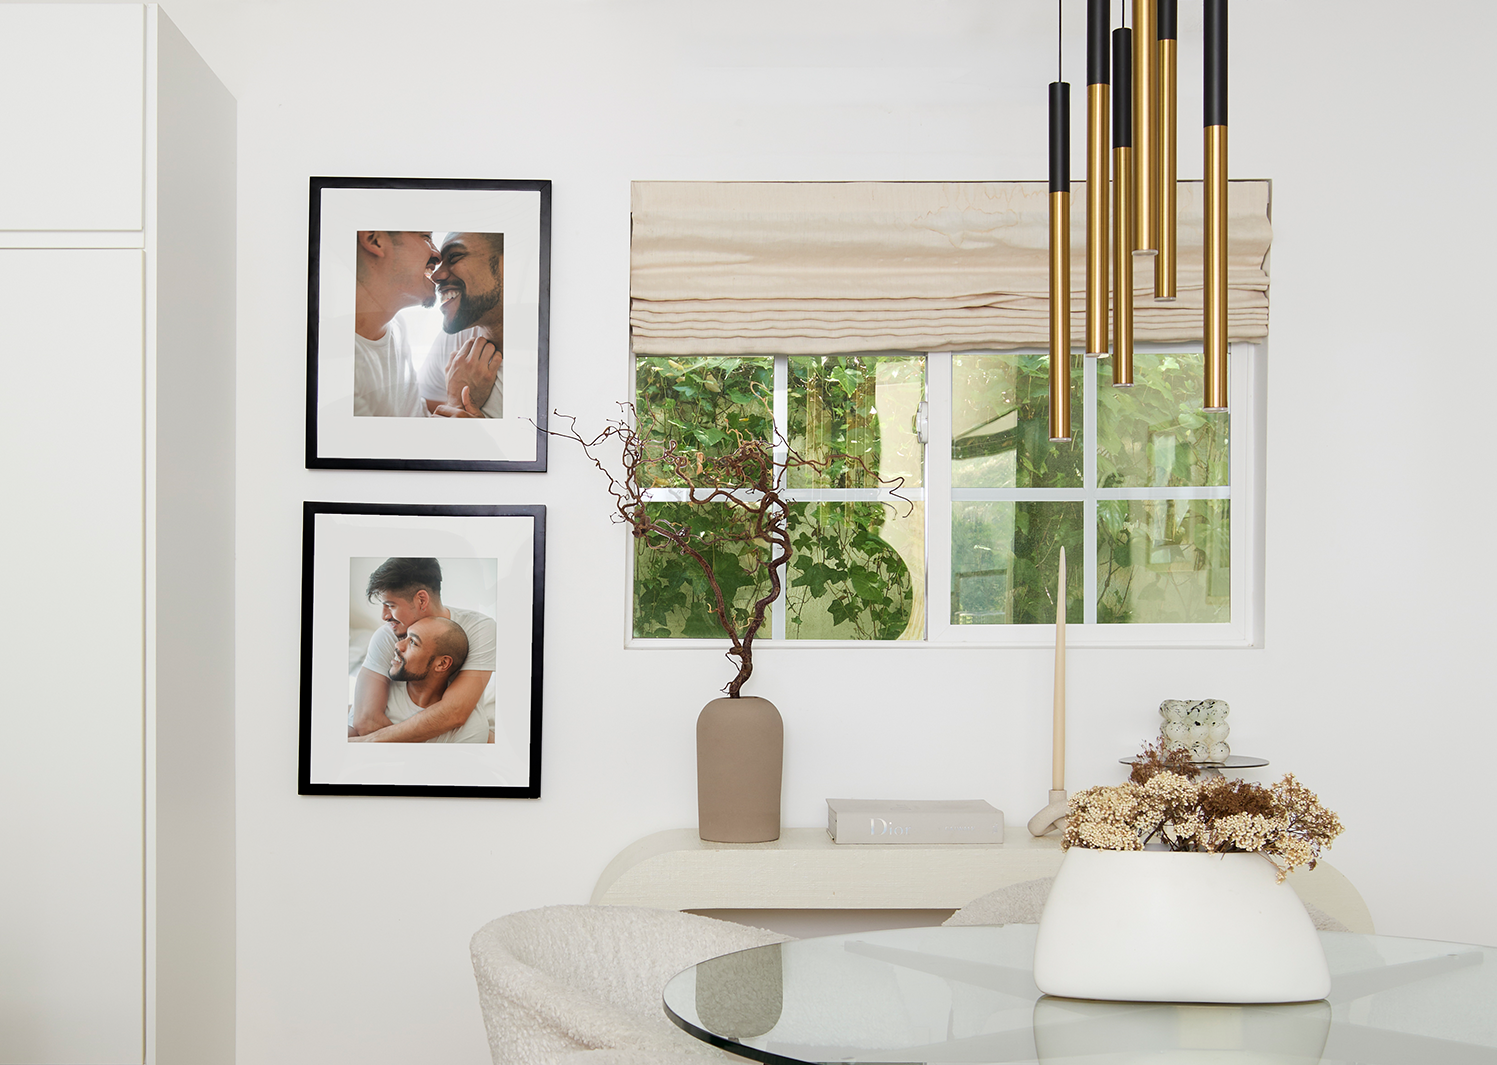
The layout implications are practical. Use fewer, larger pieces. Hold consistent 2–3 inch gaps. Mix sizes deliberately around one anchor. Define the outer rectangle of the composition before arranging anything inside it. Little Nook Home's 2026 guide frames the dated look as generic or impersonal art rather than mixed framing itself. Eclectic combinations succeed when they communicate a genuine story and avoid visual clutter.
How to hang a gallery wall evenly
This six-step sequence applies to any gallery wall layout and helps you get the right holes the first time.
Measure and mark the 57-inch center line on the wall using a pencil and level.
Lay out the full arrangement on the floor, or use a life-size gallery wall template if one comes with your set.
Measure each frame's top edge to its hanging point: for wire-hung frames, pull the wire taut and measure to the point where it catches the hook. For D-rings, measure from the top of the frame to the hook-catch point on each ring separately, since two identical-looking frames can hang 15 mm apart off the same nail height because wires stretch and D-rings get mounted at different heights.
Transfer marks to the wall using a gallery wall template or painter's tape: tape where the top edge of each frame will sit, then mark the hanging point on the tape and nail through it.
Nail or mount, then check level on each frame before moving to the next.
Hang the frames and step back from across the room to verify gaps and the center line.
Renters have a specific consideration. Damage-free adhesive strips work with Classic frames only. Luxe frames have a sealed permanent kraft paper backing that can tear if adhesive strips are applied and then removed, so you should never use adhesive strips with Luxe frames.
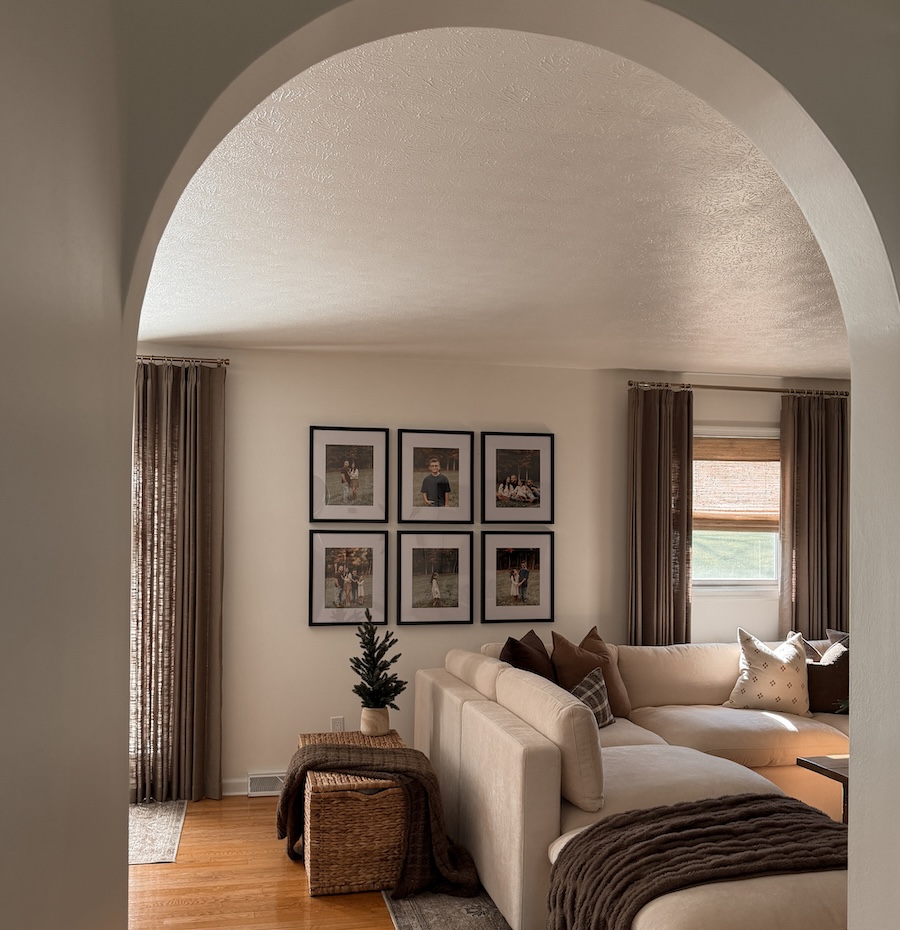
Find a gallery wall set with a template
Template vs. paper cutouts vs. AR preview
Planning tools help you see the layout before you commit to nails, and each method solves a different part of the problem.
Paper cutouts are free and great if you love to DIY. Simply trace each frame onto kraft paper, mark the hanging point, and tape the cutouts to the wall. Spencer Lanoue, writing in TALD's November 2026 gallery wall guide, describes the method: "Lay your pieces out on the floor first. Then trace each frame on kraft paper, cut out the shapes and tape them to the wall. If you mark the hanging point on each template, you can nail straight through the paper." The limitation is that paper cutouts drift on the wall, and the spacing between them isn't pre-solved, so you still handle the layout math yourself.
Augmented reality (AR) preview is a mobile-only tool that lets you see how frames and gallery walls look on your actual wall before buying. Frameology's AR tool projects a true-to-scale preview of your exact frame directly onto your wall using your phone's camera. It previews frames and gallery walls, but it doesn't design the layout or calculate spacing for you.
A life-size printed gallery wall template is the most precise method because the spacing is already solved. Frameology's Classic and Luxe gallery walls both include a custom life-size gallery wall template: tape it to the wall, mark the spots, remove the template, and hang. House Beautiful contributor Janae McKenzie writes, "I would absolutely recommend Frameology to anyone who knows they want a gallery wall, but doesn't know how to make it happen." Frameology's life-size gallery wall template has racked up more than 15 million views on Instagram and 12 million views on TikTok, according to the company.
One hardware note: Classic gallery walls include a life-size gallery wall template and the hardware needed for installation, so you'll hammer the included hardware into the marked spots. Luxe gallery walls include a no-wire two-point hanging system, nails, and a mini-level. CNN Underscored's Stephanie Griffin tested the Luxe system and concluded, "The Luxe Bricklay is called 'luxe' for a reason. Between the premium materials and foolproof hanging system that saved so much time and stress, it's worth the hype."
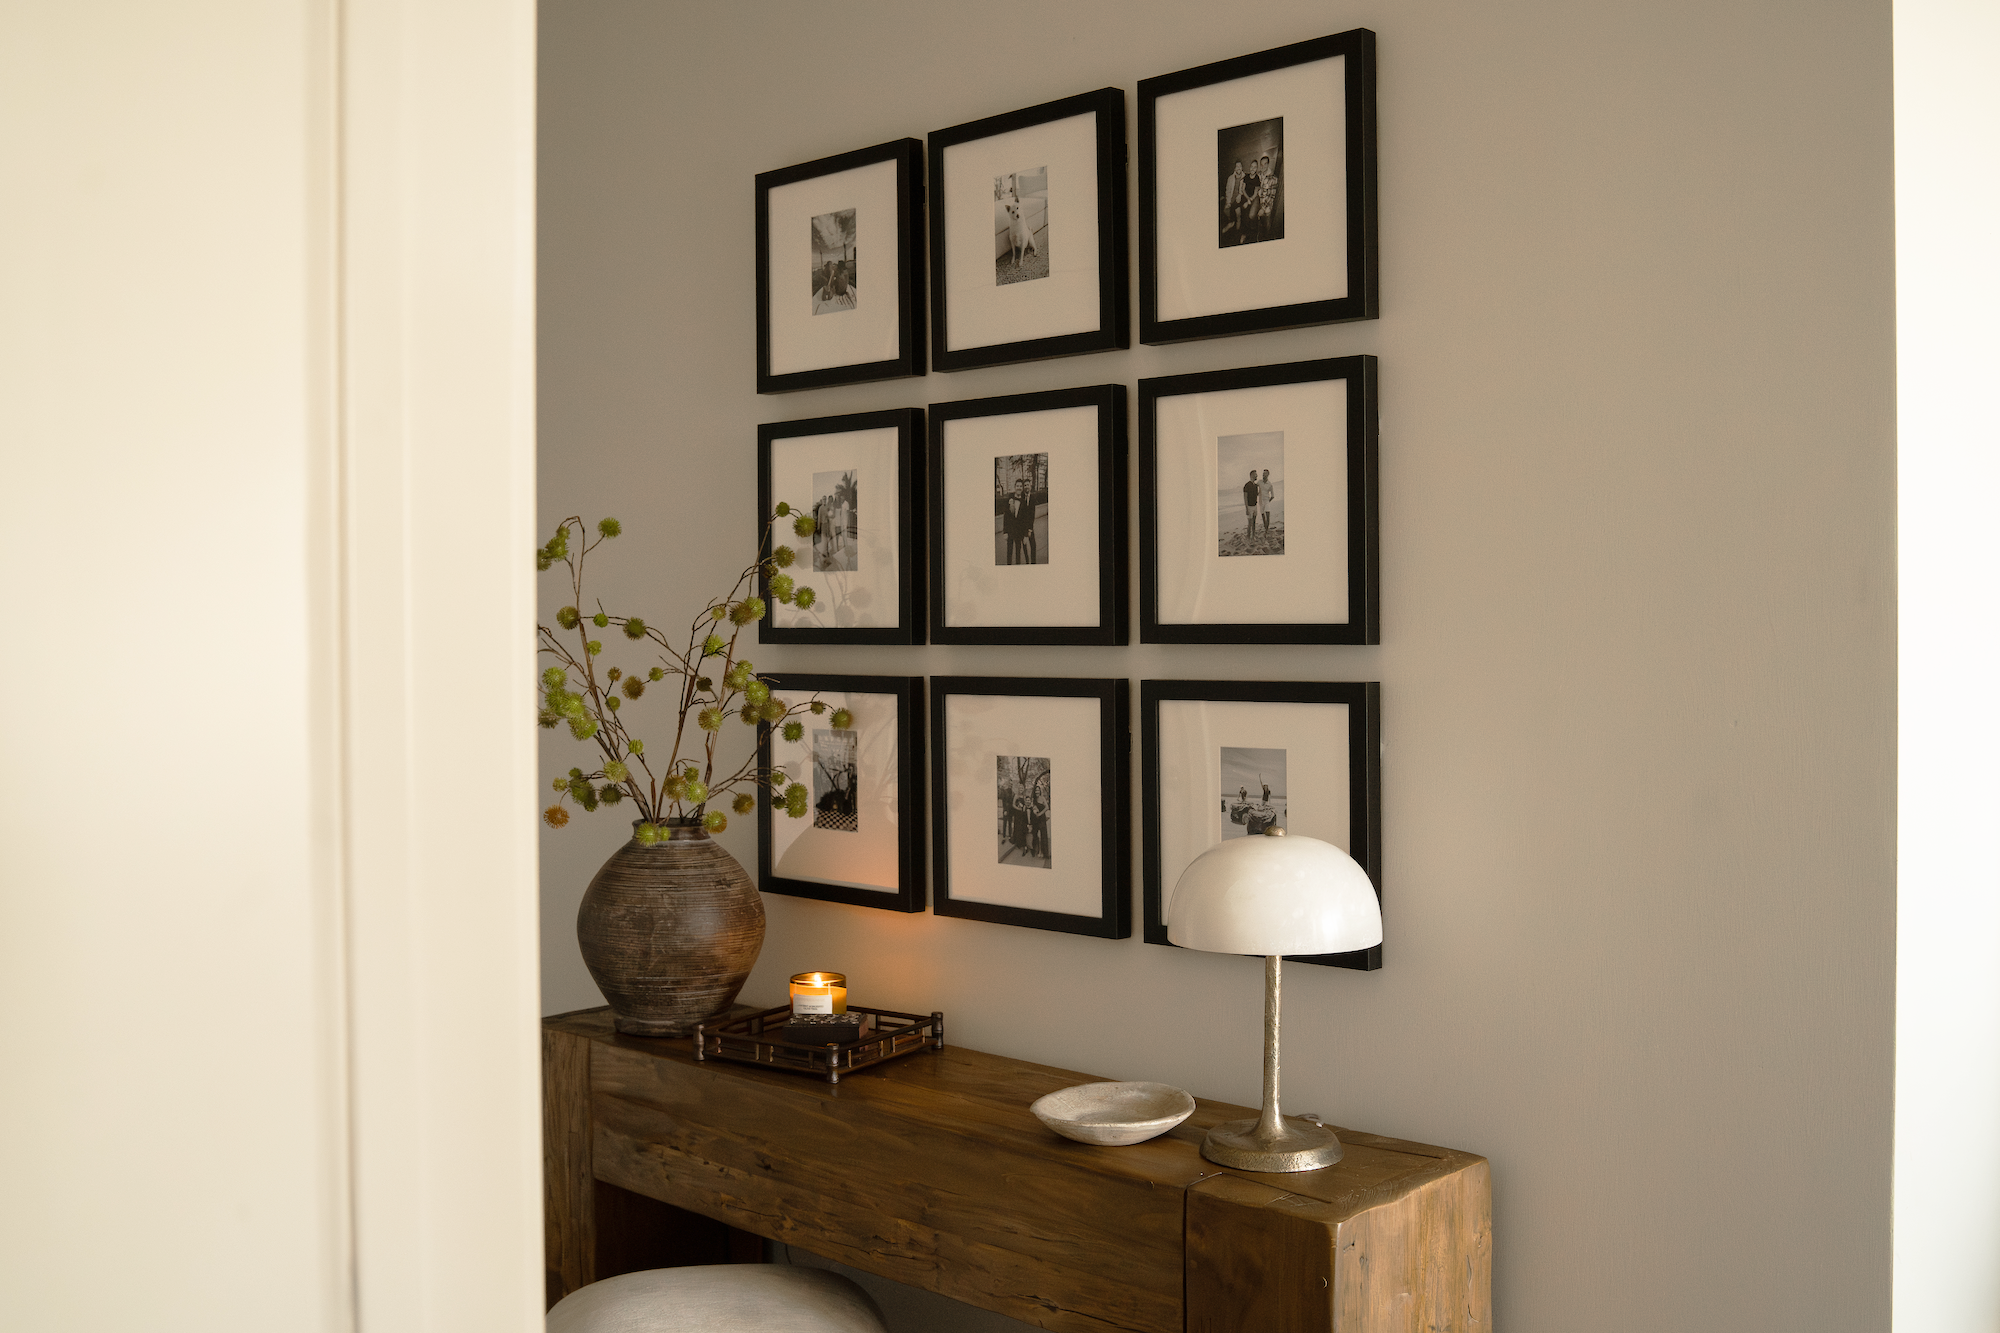
Design a Luxe Wide gallery wall
Common failure modes and fixes
Most gallery wall problems trace back to one of four mistakes, and each has a straightforward fix.
Crooked rows need a reset at the frame level. Level each frame individually using a spirit level on the top edge, and verify the center line of the whole composition after hanging every frame.
Gaps that drift benefit from a physical spacer. Use a spacer cut to the gap width, such as a scrap of cardboard trimmed to 2 or 3 inches, and drop it between every adjacent pair of frames. Colorado Art Services notes that a spacer block does more for spacing consistency than a tape measure held at arm's length. Pre-marked tape or a gallery wall template prevents drift before it starts.
Walls that look cluttered usually need more breathing room. Widen gaps to a consistent 2–3 inches and remove one or two pieces. Adorno's guide argues that "six good ones beat fourteen adequate ones" and fewer, larger pieces with breathing room read as curated.
Too many holes often come from guessing at hanger positions. Measure the top-edge-to-hanger distance on each frame individually before marking the wall, and use a gallery wall template or painter's tape transfer method so every nail goes in once.
Get a custom gallery wall design
The numbers, the sequence, and the shortcut
A balanced gallery wall comes down to four numbers: 57 inches to the center of the composition, typically 6–10 inches of clearance above furniture, 2/3–3/4 of the furniture width for the total arrangement, and 2–3 inches between every frame. Apply the six steps in order: mark the center line, lay out the arrangement, measure each frame's hanger drop, transfer marks to the wall, nail and mount, then hang and verify. Done in that order, the result looks designed and intentional.
Frameology's Classic and Luxe gallery walls are the best way to execute a balanced gallery wall layout because the life-size gallery wall template ships with the frames. The layout math is already solved. You tape it up, mark the spots, and hang. Classic gallery walls start at $198 and usually ship the next business day, typically arriving within a week. Luxe gallery walls start at $638 and are made-to-order with a 7–10 business day timeline.
Browse all Classic gallery walls
Frequently asked questions
Do all gallery walls include hanging templates?
Classic and Luxe gallery walls include life-size gallery wall templates that make installation simple and straightforward. Canvas galleries, Metal galleries, and gallery walls created using Frameology's Gallery Wall Design Service don't include templates because their construction and customization work differently and often require more tailored installation approaches.
How far apart should two pictures be on a gallery wall?
The standard range is 2–3 inches, measured edge to edge between the finished outside edges of the frames. Smaller matching frames can sit closer to 2 inches, and larger frames can go up to 3 inches. The most important factor is consistency. A gap that drifts by even half an inch between pairs of frames compounds across a full wall and makes the arrangement look crooked even when no single gap looks obviously wrong.
How high should a gallery wall hang?
The center of the entire arrangement should sit at 57 inches from the floor. Above furniture, the clearance rule from earlier takes precedence, which may push the center slightly above 57 inches. In hallways, keep a single center line at 57 inches running the length of the wall.
Can I hang a gallery wall in a rental?
Damage-free adhesive strips work with Classic frames only. Classic frames use a standard removable backing, so adhesive strips can be applied and removed without damaging the frame. Luxe frames have a sealed permanent kraft paper backing that can tear if adhesive strips are applied and then pulled away, so you should never use adhesive strips with Luxe frames. For renters using Classic frames, clean the wall with rubbing alcohol first, press the strips firmly for 30 seconds, and wait an hour before hanging.
What's the difference between Classic and Luxe gallery walls?
Both Classic and Luxe gallery walls include a custom life-size gallery wall template. Classic gallery walls deliver great value and fast shipping. They use Classic frames with a standard removable backing, so you can swap photos later, and a single center hanging point per frame. Classic products usually ship the next business day and typically arrive within a week. Hanging hardware isn't included, so you'll supply your own nails or damage-free adhesive strips.
Luxe gallery walls use museum-quality materials: solid wood moldings, acid-free mats with selectable matting options, UV-protecting museum-grade acrylic, and custom archival printing on Entrada 100% cotton fine art paper, sealed with a permanent paper backing. Luxe frames have a sealed permanent kraft paper backing and come with a no-wire two-point hanging system, nails, and a mini-level in the box. They are not compatible with damage-free adhesive strips. Luxe gallery walls are made-to-order with a 7–10 business day timeline.
