


Office wall art placement: the complete guide
Written by: Daniel Koren, Co-Founder, Frameology
Key takeaways
Office wall art should match seated sightlines, so lower the usual 57-inch centerline by 2–3 inches in desk and conference spaces.
Follow the 2/3 rule: art or gallery groupings should span about two-thirds of the furniture width, with tight, consistent spacing between frames.
Keep 4–8 inches of space between the top of desks or tables and the bottom of frames so the wall feels balanced, not crowded.
Run seated and after-dark glare checks before you commit to nails; frameless acrylic or gloss wood prints avoid reflections completely.
Frameology’s Classic gallery walls and Luxe gallery walls include a life-size gallery wall template that removes measuring errors, so installation feels simple and repeatable.
Office wall art placement: the short answer
Center wall art 57–65 inches above the finished floor as a starting point. In seated office environments like desks, conference rooms, and lounge clusters, drop that centerline 2–3 inches lower to match seated sightlines. Leave a 4–8 inch gap between the top of any furniture and the bottom of the frame. Keep frame spacing tight and consistent across a gallery wall so the grouping reads as one composition. Always run a glare check from your normal seated position before you pick up a hammer.
Step 1: Office wall art above a desk that matches seated eye level
Start by sitting at your desk in your normal working posture. Your seated eye level becomes the reference point for every measurement that follows, not the generic 57-inch standing standard most guides use. This shift keeps the art in your natural line of sight during the workday.
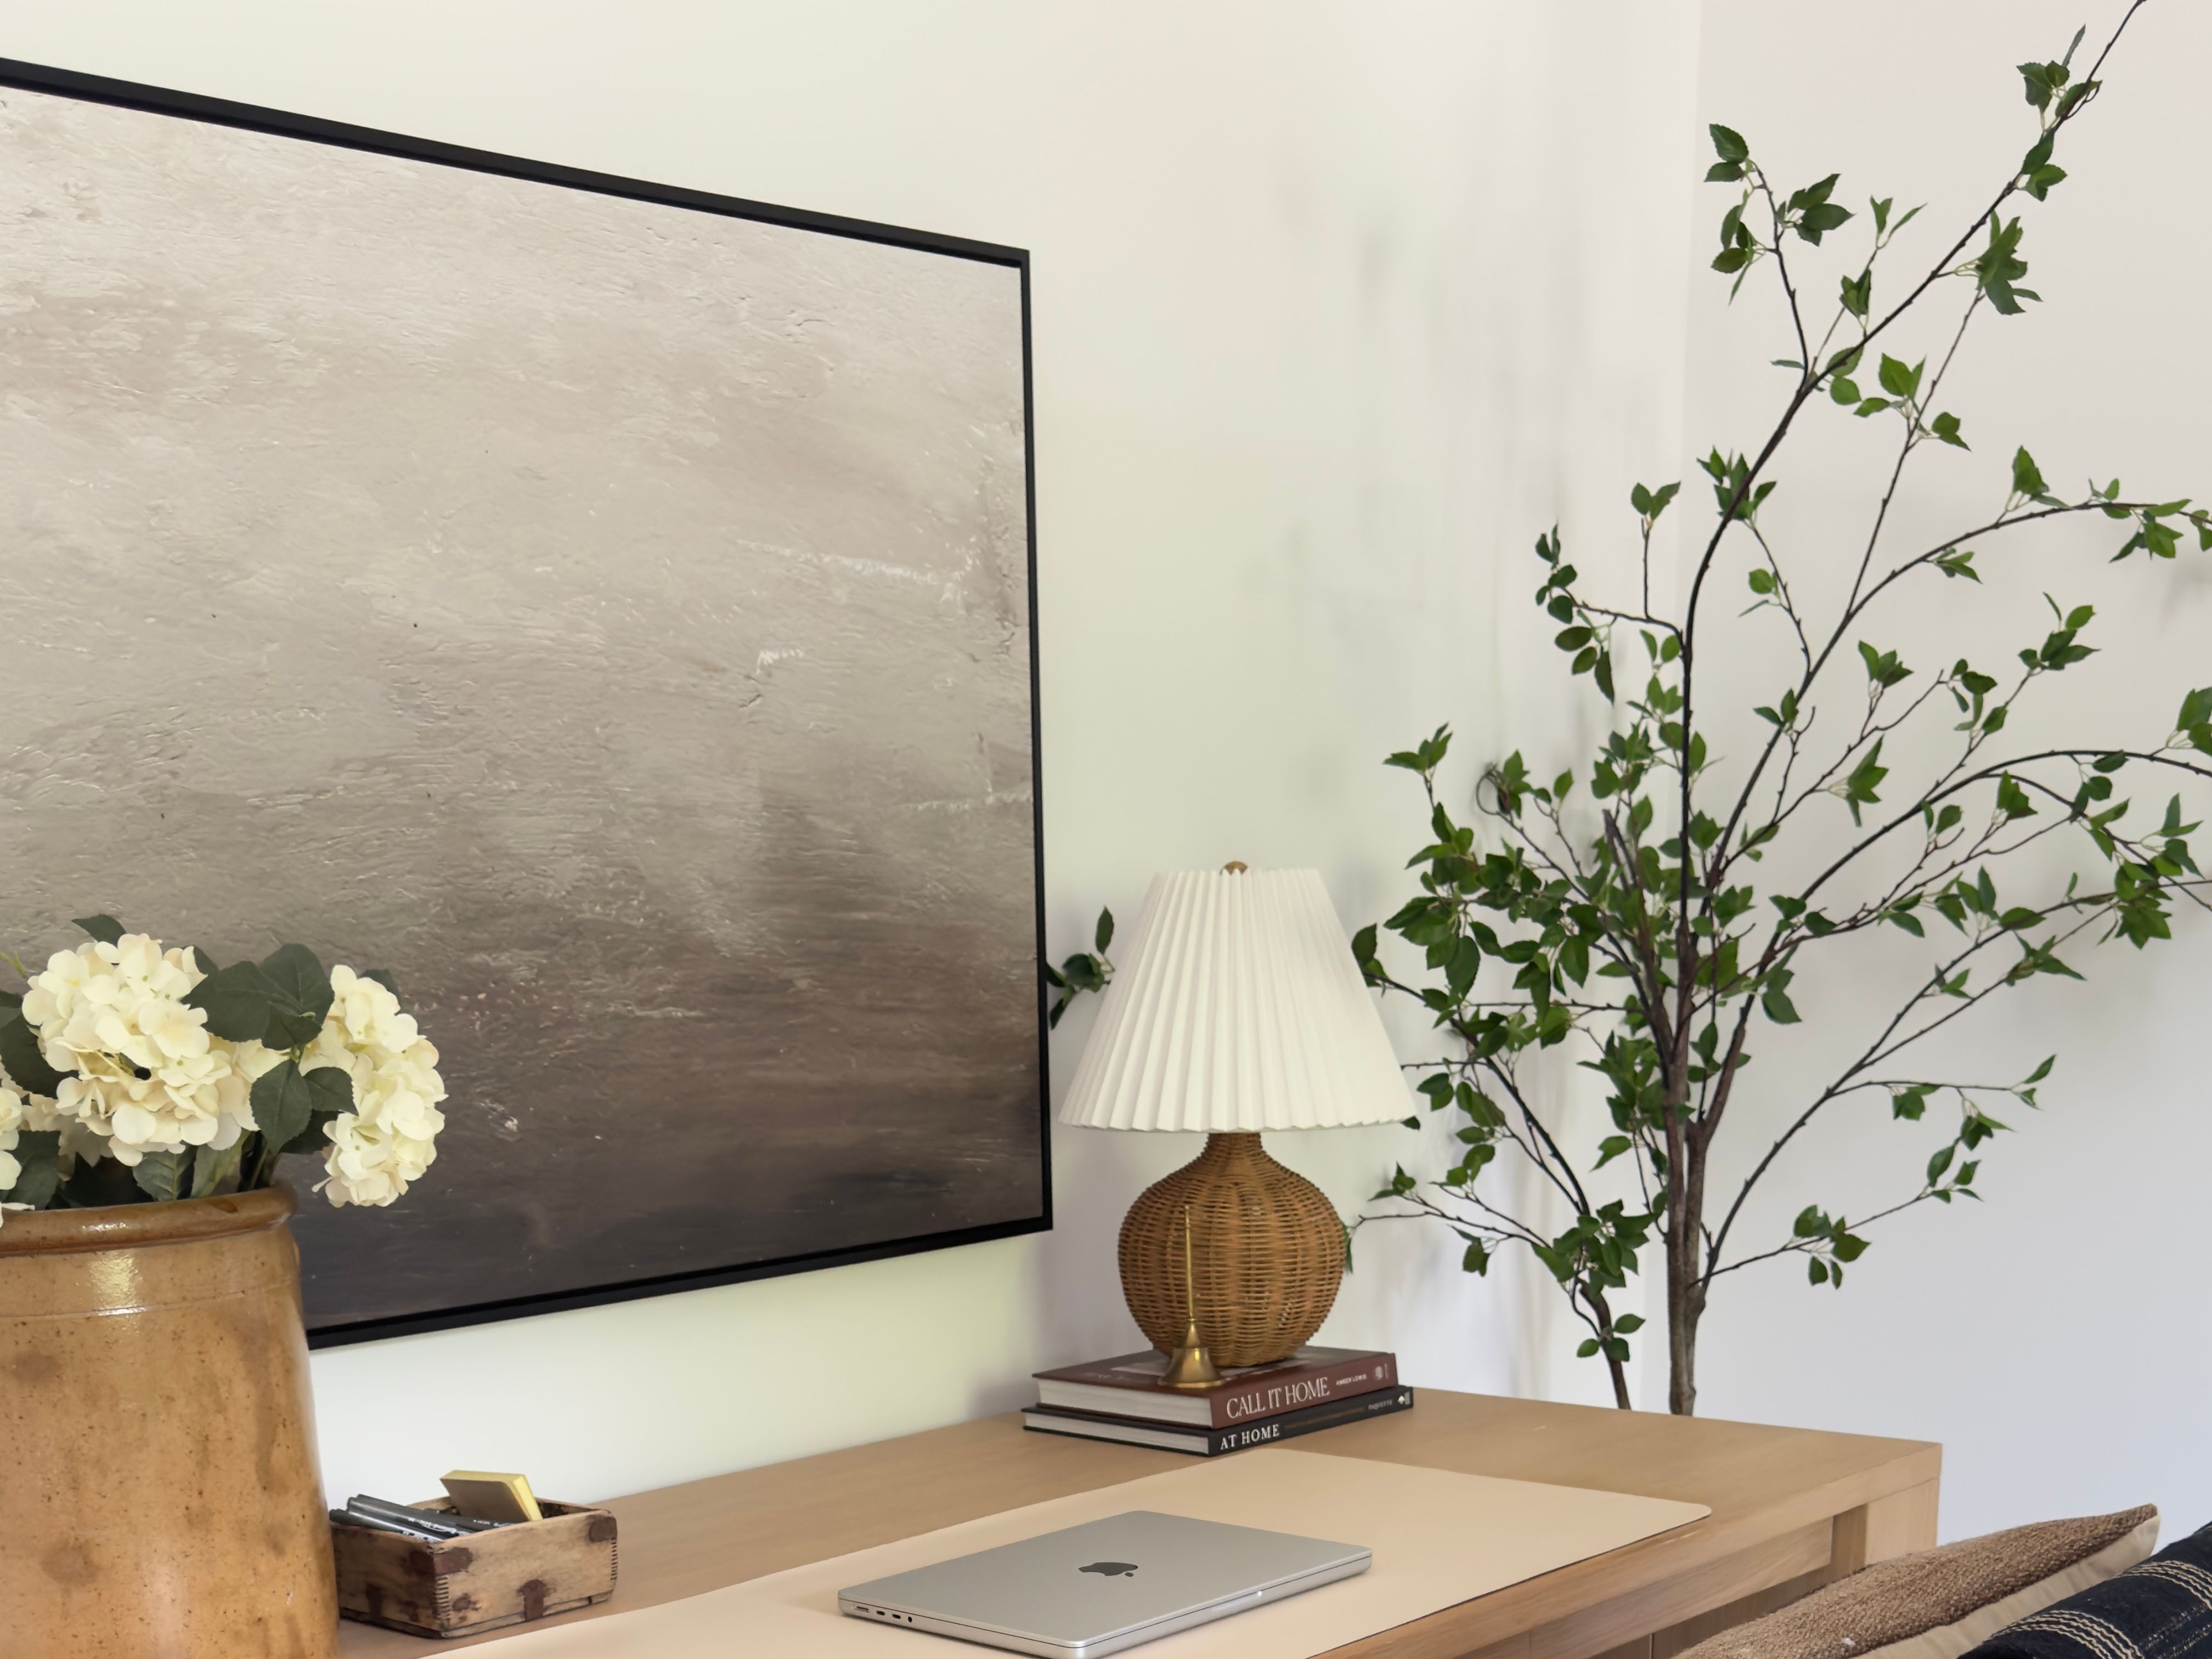
A practical sightline-mapping workflow notes every extended seated position in the room, then identifies the primary forward and 45-degree side sightlines from each seat. Mark where those lines intersect the wall. Those intersections become your prime placement zones.
Once you have those marks, use these numbers:
Set the art’s visual center at 57–65 inches from the floor as a baseline.
In a dedicated desk or seated workspace, shift the centerline toward the lower end of that range, or 2–3 inches below 57 inches, so it meets seated eyes naturally.
Leave 4–8 inches of clearance between the top of the desk or credenza and the bottom of the frame. Trowbridge Gallery’s workplace guidelines recommend 10–15 cm, roughly 4–6 inches, of clearance above furniture in offices and meeting rooms.
Art that sits too high above a desk offers little restorative value during micro-breaks. A 2018 University of Exeter study found that employees in workspaces with artwork and plants were 17% more productive than those in undecorated spaces, but only when the art stayed inside natural seated sightlines. Once you’ve mapped those sightlines, you can move on to choosing the right size and spacing.
Step 2: Use the 2/3 rule to choose office art scale and spacing
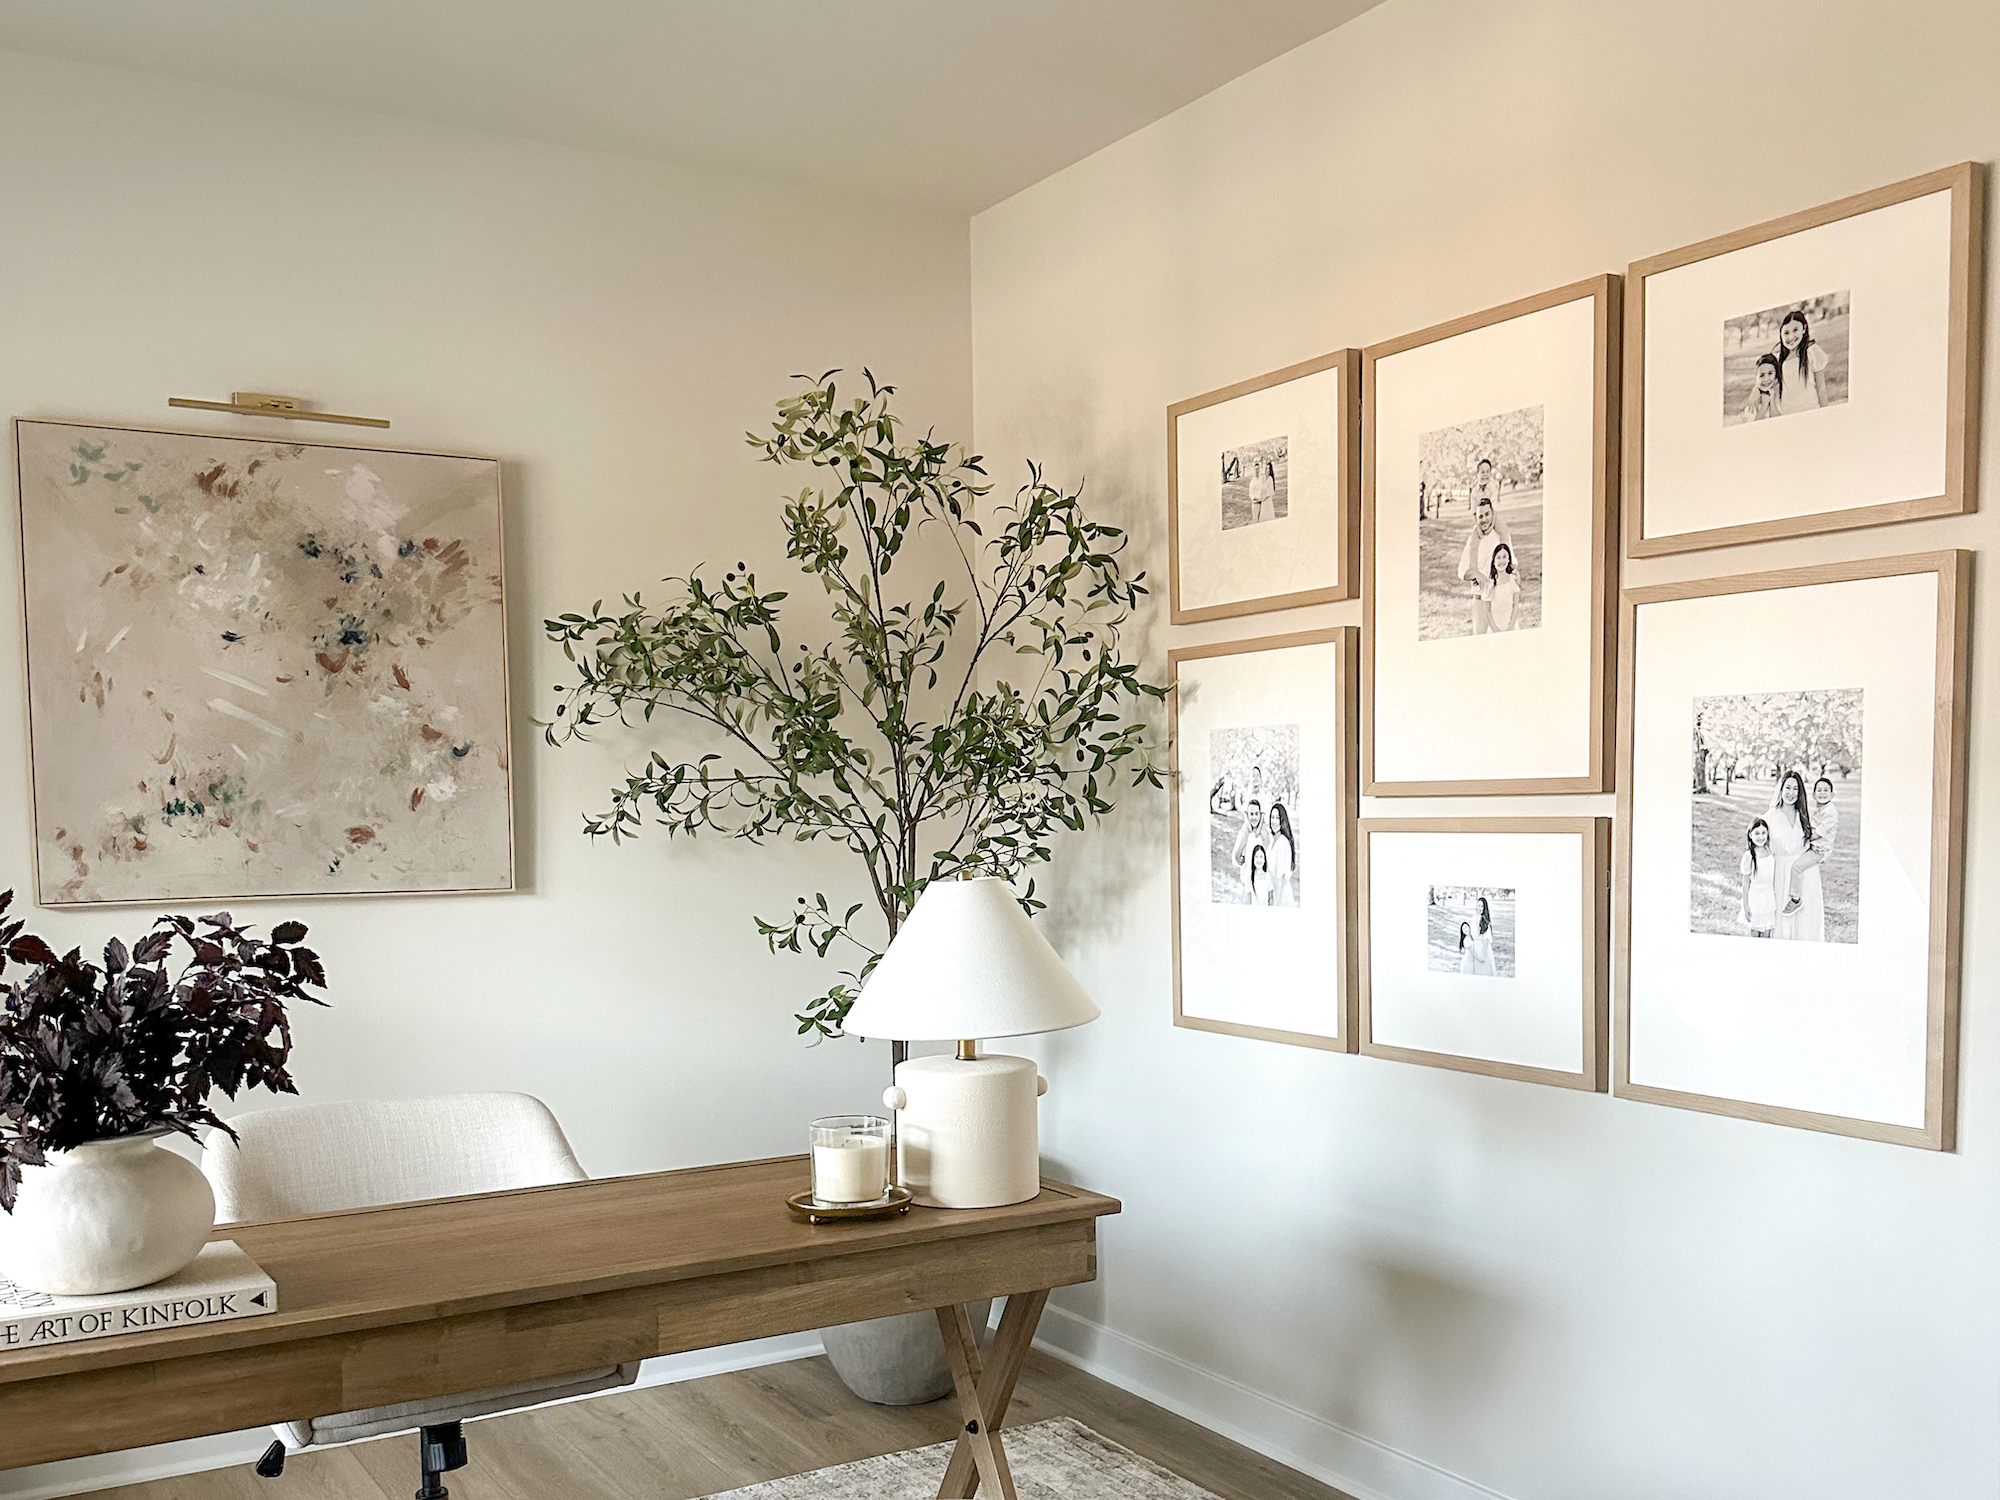
The 2/3 rule says that a piece of art, or a gallery wall grouping, should span about two-thirds of the width of the furniture below it. Room & Board’s gallery wall guidelines confirm this proportion for balanced results. A 72-inch-wide desk calls for an arrangement that measures roughly 43–54 inches wide.
Frame spacing follows a related rule. A consistent 2–3 inch gap between frames keeps a mixed-size arrangement reading as one deliberate composition instead of a scattered collection. Tighter spacing of 1.5–2 inches makes the grouping feel like a single unit. Wider gaps of 4 inches or more start to break the composition into separate pieces.
For a single piece above a desk, Trowbridge Gallery recommends mid-sized artwork in the range of 60 x 40 cm to 120 x 80 cm for private offices and meeting rooms. That range feels substantial enough to anchor the wall while still fitting comfortably over a standard desk.
Step 3: Conference room art height that works from every seat
Conference rooms create a specific challenge because most viewers stay seated, and they sit at different distances from the wall. The art needs to look right from the head of the table and from the far corner at the same time.
For conference tables, Trowbridge Gallery recommends mounting long horizontal pieces centrally and aligning art to the seating cluster instead of only to standing eye level. In practice, that translates into a few clear steps:
Lower the centerline to the 54–57 inch range from the floor, which sits at the lower end of the standard range, so it matches seated sightlines across the table.
Choose a horizontal format or a wide gallery wall grouping that spans the primary viewing wall without extending past the table’s width.
Anchor the layout with the largest piece at the center first, then build outward. Every strong gallery wall starts with one anchor piece at the visual center, with surrounding frames added symmetrically or in a clear pattern.
A grid layout works especially well in conference rooms. Equal-sized frames with matching horizontal and vertical gaps read as calm and intentional, which supports the focused, professional feel most meeting spaces need.
Step 4: Hang office art without creating monitor glare
Glazed frames and reflective surfaces often create glare problems that stay invisible during installation but appear the moment you sit down to work. Glass frames and metallic decor placed directly behind or beside a monitor can worsen glare and eye strain, a detail many generic placement guides skip.
Use this two-part glare check before you finalize any nail position:
Seated check: Sit in your normal working position with your monitor screen off. If a window, lamp, or bright wall patch appears as a reflection on the dark screen, art in that zone will intensify the problem. Shift the placement left, right, or lower before drilling.
After-dark check: View the piece after dark from your normal seated position to confirm that reflections from accent lights stay out of your line of sight. Accent lights aimed at a 30–45 degree angle move reflections away from the viewer’s sightline.
If glare stays unavoidable in a particular zone, a frameless option such as an Acrylic Wall Print ($59+) or a Gloss Wood Print ($59+) removes the glazing reflection entirely while still delivering gallery-level color. Browse Frameology’s frameless prints for glare-free office walls.
Step 5: Install an office gallery wall without measuring mistakes
Measuring errors compound across a multi-frame layout. A quarter-inch drift on the first frame can become a full inch of misalignment by the fifth. The most reliable fix replaces freehand measuring with a repeatable system that locks in positions before you touch the wall.
Pre-mapping final positions with life-size templates eliminates on-site improvisation and measuring errors in gallery-wall and grid layouts. The workflow follows three clear stages:
Plan the composition on the floor inside a taped footprint that matches your target wall area.
Transfer the plan using a life-size gallery wall template: tape it to the wall, mark hanger locations through the paper, then remove the template.
Hang using hardware that matches both frame weight and wall type.
This is where Frameology’s Classic gallery walls (starting at $198) and Luxe gallery walls (starting at $638) remove the hardest part of the process. Both lines include a custom, life-size gallery wall template. You tape it to the wall, hammer nails into the marked spots, remove the template, then hang your frames. Most installations finish in under an hour and leave no extra holes.
It helps to understand what each line includes, because the hardware differences affect how quickly you can complete an office install. Classic gallery walls include the life-size gallery wall template, so you’ll supply your own nails and hanging hardware. Luxe gallery walls include the life-size gallery wall template plus all hanging hardware, including nails, a no-wire dual-point hanging system, and a mini-level, so you can finish the entire installation without a hardware-store run. Canvas galleries, Metal galleries, and gallery walls created through the Gallery Wall Design Service ($99+) don’t include a gallery wall template.
For a home office video-call backdrop, a Classic Grid ($594) or a Luxe Vertical Grid ($981) keeps the arrangement sharp and symmetrical on camera.
Printable office-placement checklist
Use this quick checklist before you hammer a single nail. Each item ties back to one of the five steps above.
Seated sightline identified: sat in normal working position and marked where the eye naturally lands on the wall.
Centerline set at 57–65 inches from the floor and adjusted 2–3 inches lower for fully seated environments.
Furniture gap confirmed: 4–8 inches of clearance between the top of the desk or table and the bottom of the frame.
Art width follows the 2/3 rule: the arrangement spans roughly two-thirds of the furniture width below it.
Frame spacing consistent: gaps between frames stay tight and uniform across the grouping.
Anchor piece placed first: largest or most prominent frame centered before surrounding frames are added.
Glare check completed from seated position with monitor screen off.
After-dark glare check completed with accent lighting active.
Gallery wall template used, Classic or Luxe, to transfer hanger positions without freehand measuring.
Final layout reviewed from primary seated viewing distance before any nails are driven.
Frequently asked questions
Desk-height office art that matches seated viewing
The standard 57-inch center-height rule works for standing viewers in living spaces. In a seated desk environment, the centerline of the art should sit at the lower end of the 57–65 inch range, or 2–3 inches below 57 inches, so it aligns with seated eye level. Leave 4–8 inches of clearance between the top of the desk and the bottom of the frame so the art relates to the furniture without feeling cramped.
How the 2/3 rule applies to office wall art
The 2/3 rule means the width of your art, or your gallery wall grouping, should span about two-thirds of the width of the furniture below it. For a 72-inch-wide desk, that puts the ideal arrangement width at 43–54 inches. The rule applies to single pieces and multi-frame gallery walls and gives you balanced proportions without trial and error.
Conference room art that works for seated viewers
Lower the centerline to the 54–57 inch range from the floor to match seated sightlines across the table. Choose a horizontal format or a wide gallery wall grouping that spans the primary viewing wall. Anchor the layout with the largest piece at the center, then build outward. Keep art low enough that it reads clearly from chairs instead of only from a standing position.
Preventing monitor glare from office wall art
Sit in your normal working position with your monitor screen off. If a window, lamp, or bright wall patch appears as a reflection on the dark screen, glazed frames in that zone will intensify the problem. Run a second check after dark with accent lighting active to confirm that reflections stay out of your seated line of sight. If glare remains unavoidable in a specific zone, a frameless print such as an Acrylic Wall Print or Gloss Wood Print removes the glazing reflection entirely.
Gallery wall templates included with Frameology
Classic gallery walls and Luxe gallery walls include life-size gallery wall templates that make installation simple and predictable. Canvas galleries, Metal galleries, and gallery walls created using Frameology’s Gallery Wall Design Service don’t include templates because their construction and customization work differently and often need more tailored installation approaches.
Classic vs. Luxe gallery walls for office installs
Both Classic gallery walls and Luxe gallery walls include a life-size gallery wall template for error-free installation. The differences come down to materials, hardware, and price. Classic gallery walls start at $198 and use Classic frames with a removable backing, which offers strong value with fast shipping and lets you swap photos later. Luxe gallery walls start at $638 and use museum-quality, United States-crafted frames with acid-free 4-ply rag mats, UV-protecting museum-grade acrylic, and a sealed permanent backing. Luxe gallery walls also include all hanging hardware in the box, including nails, a no-wire dual-point hanging system, and a mini-level. Classic gallery walls don’t include hanging hardware.
Recommended spacing between frames in an office gallery wall
Keep a consistent gap between frames so the arrangement reads as one composition. Tighter gaps of about 1.5–2 inches work well for grid layouts in conference rooms, while wider gaps begin to fragment the composition and can make the arrangement look unintentional. Whatever spacing you choose, keep it consistent across every frame in the grouping, because spacing drift compounds across the wall and becomes most visible in grid layouts.
The 5-step office art process, summarized
Generic eye-level advice falls short in offices because it ignores where most viewing actually happens: seated at a desk, across a conference table, or in front of a monitor. These five steps replace guesswork with clear measurements, including lowered centerlines for seated spaces, comfortable furniture gaps, consistent frame spacing, and a glare check from your real working position.
The installation stage is where most people lose time and create extra holes. Frameology’s Classic gallery walls (starting at $198) and Luxe gallery walls (starting at $638) are the only ready-to-hang gallery walls that include a life-size gallery wall template, the tool that removes measuring errors from the process. Every layout arrives ready to go up, and the finished wall looks like it was installed by a pro.
Find the right Classic or Luxe gallery wall for your office.
