


How to design a large living room gallery wall
Written by: Daniel Koren, Co-Founder, Frameology
Key takeaways
Measure your wall and furniture first, and aim for a gallery wall that spans 60–75% of the furniture width beneath it.
Start with one dominant anchor piece, mix portrait and landscape frames, and cap your frame finishes at three for cohesion.
For 12- to 16-foot walls, scale the layout to about two-thirds or three-quarters of the wall width and keep equal side margins.
Create a floor mock-up and stick to 2–3 inch consistent spacing so you avoid proportion issues and extra wall holes.
Frameology’s Classic and Luxe gallery walls ship with life-size templates and premium materials so you get a polished, professionally installed look, and you can shop the collection now.
Measure your wall and furniture before you buy frames
Start by measuring your wall and the furniture in front of it so your gallery wall feels grounded instead of floating. The total width of your gallery wall arrangement should fall between 60% and 75% of the furniture width beneath it, a guideline designers call the two-thirds rule. For a 72-inch sofa, target a layout roughly 43–54 inches wide. An 84-inch sofa calls for 50–63 inches, and a 96-inch sofa supports 58–72 inches.
On a standalone wall with no furniture, you’ll still want clear boundaries. The arrangement should occupy about 50–60% of the usable wall width, which leaves intentional negative space on either side so the composition feels deliberate, not sparse. Write these numbers down, because they become your bounding box for everything that follows.
Choose a strong anchor piece and mix frame orientations
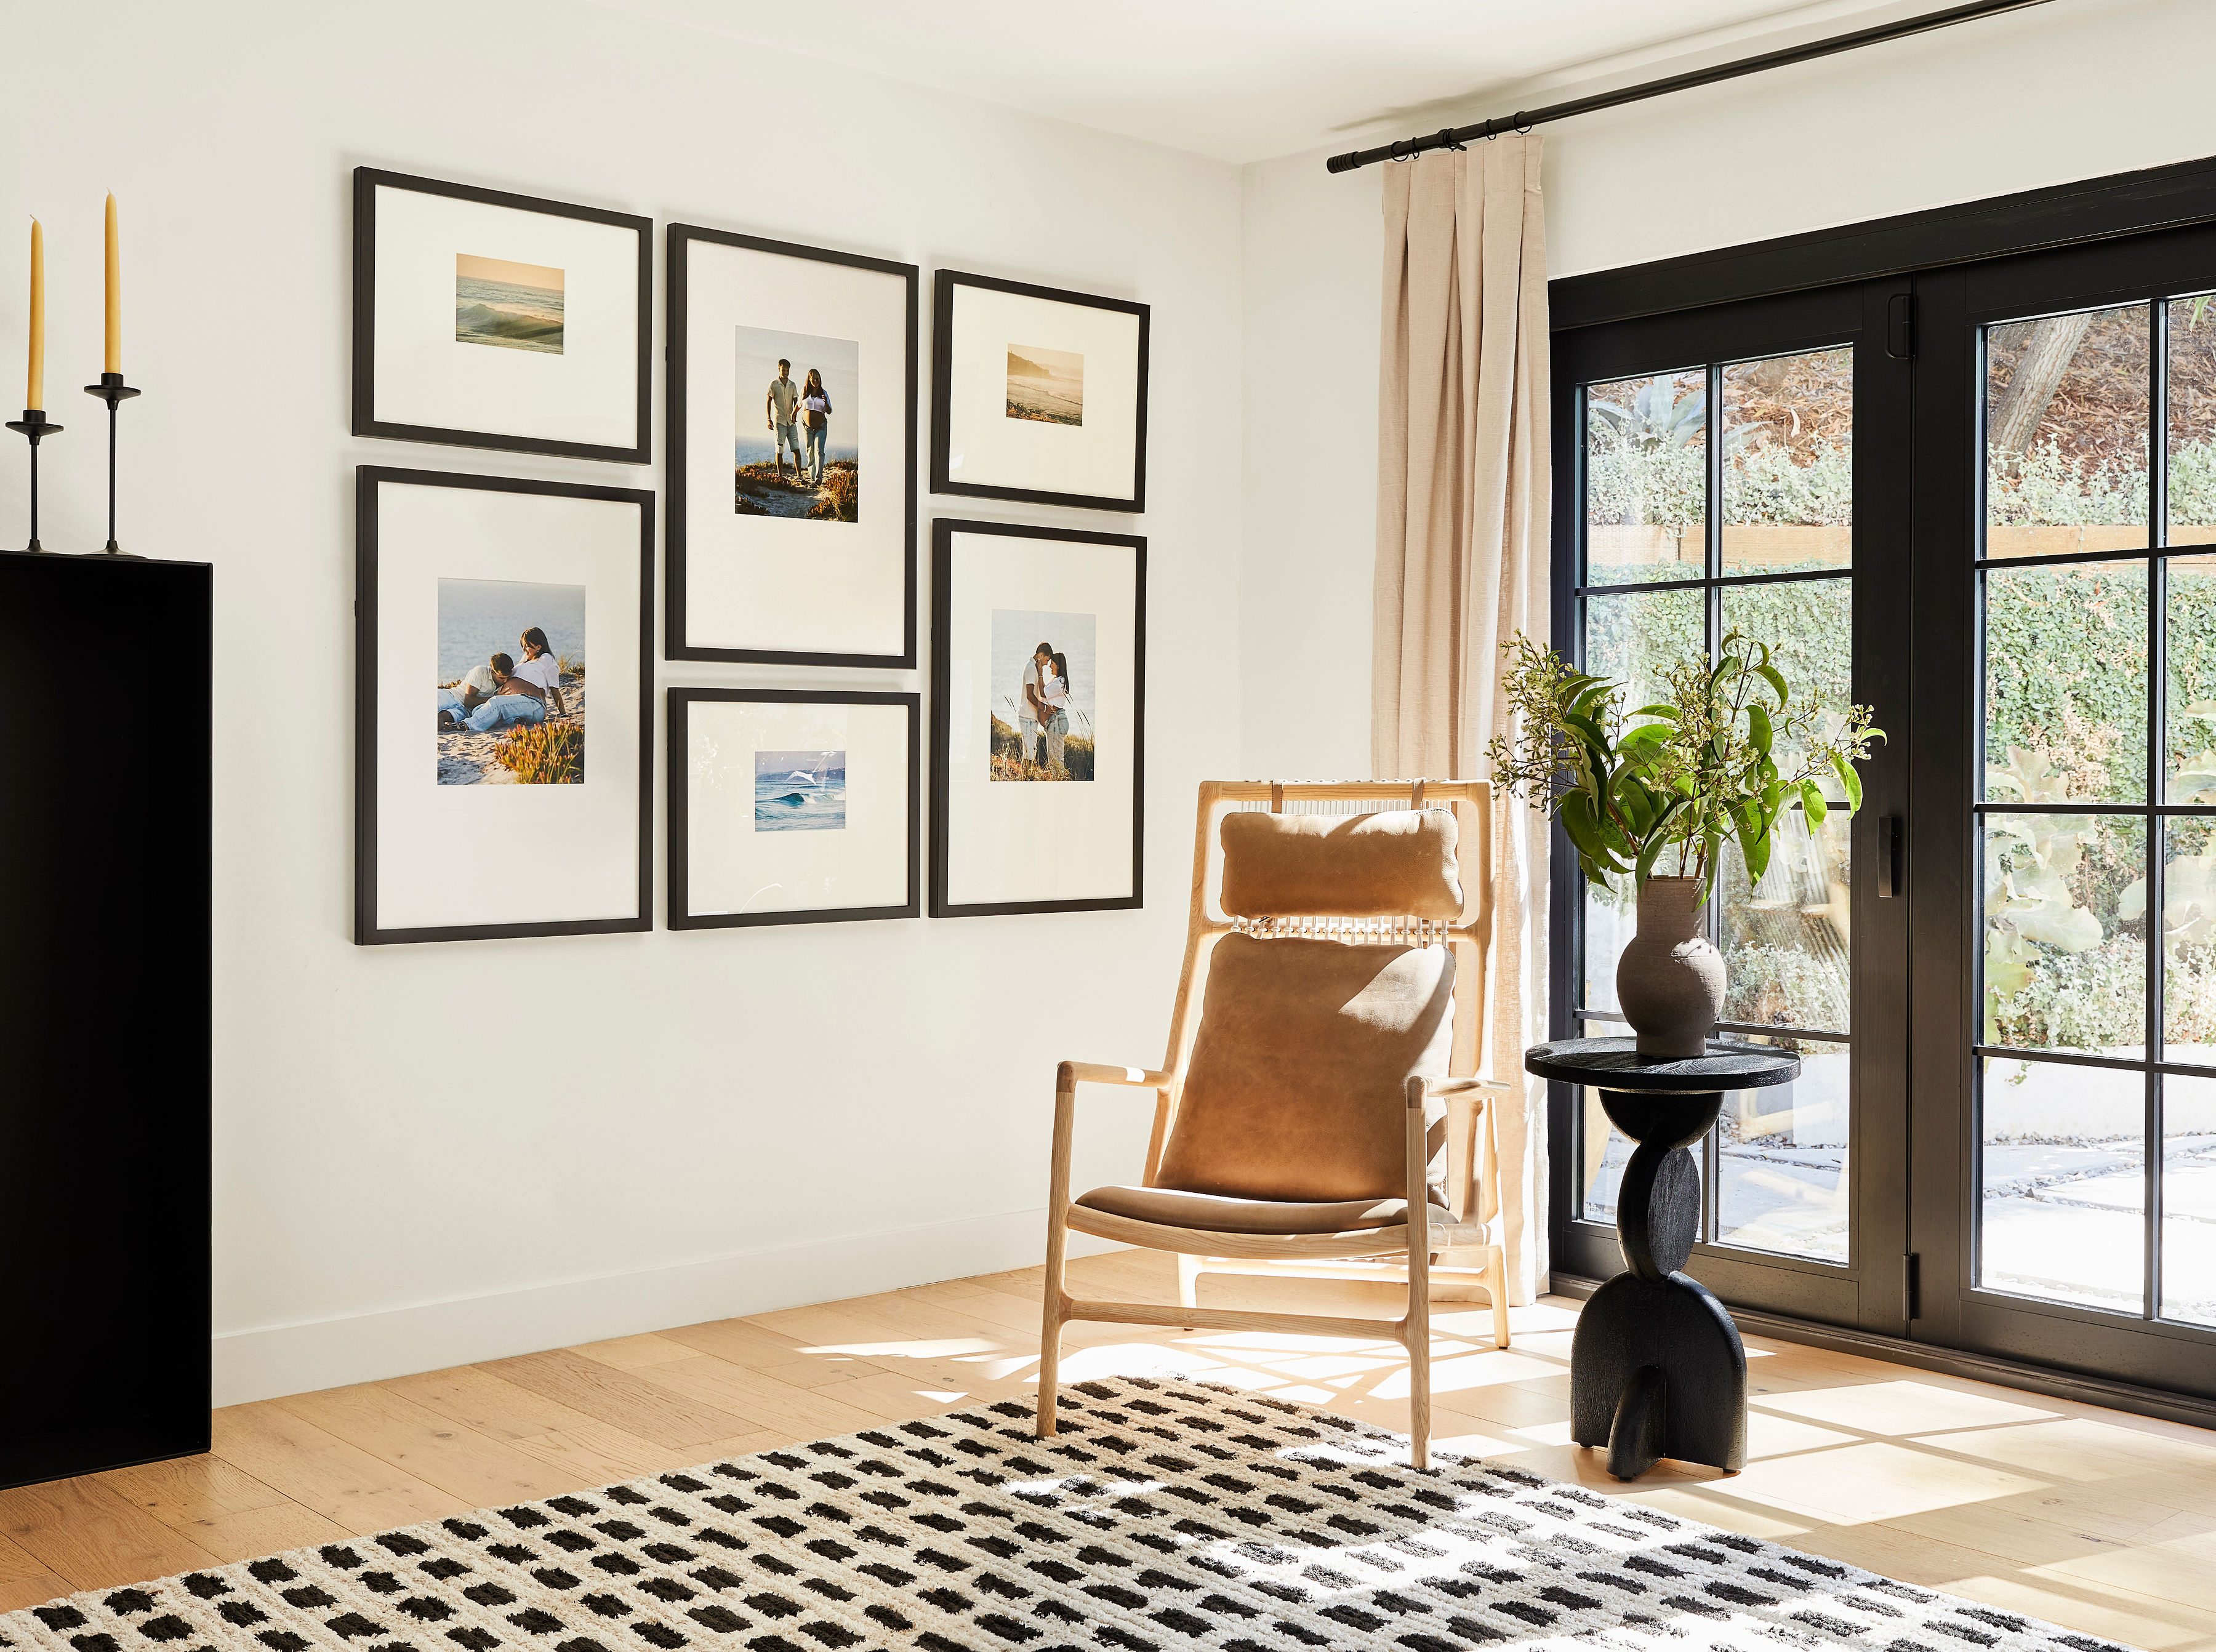
Begin your layout with one dominant frame that sets the tone and gives the eye a clear starting point. Design editors recommend placing the anchor piece slightly off-center or aligned with the furniture below, then building outward while maintaining identical spacing on all sides, so the wall feels intentional. On walls wider than 12 feet, choose an anchor frame that’s large enough to hold its own, such as 18×24 or larger, so it doesn’t disappear.
Mix portrait and landscape orientations to add movement without creating chaos. To keep the mix balanced, keep the largest frame no more than three to four times the size of the smallest frame. Limit yourself to a maximum of three frame finishes, such as black, natural wood, and brass, and no more than two mat widths so the wall reads as one composition instead of a yard sale.
Scale layouts for oversized 12- to 16-foot living room walls
Those anchor and proportion rules work on any wall, but oversized living rooms need extra scale planning. Standard gallery wall advice usually assumes a much smaller span. The overall arrangement should cover between two-thirds and three-quarters of the wall width to feel appropriately scaled in oversized rooms. On a 12-foot (144-inch) wall, that’s a layout roughly 96–108 inches wide. On a 16-foot wall, you’re looking at 128–144 inches.
Instead of endlessly enlarging individual frames, group several larger formats together so the wall feels substantial. For walls wider than 12 feet, create equal side margins by subtracting the total layout width from the wall width and dividing the remainder by two, which keeps the arrangement visually centered instead of drifting.
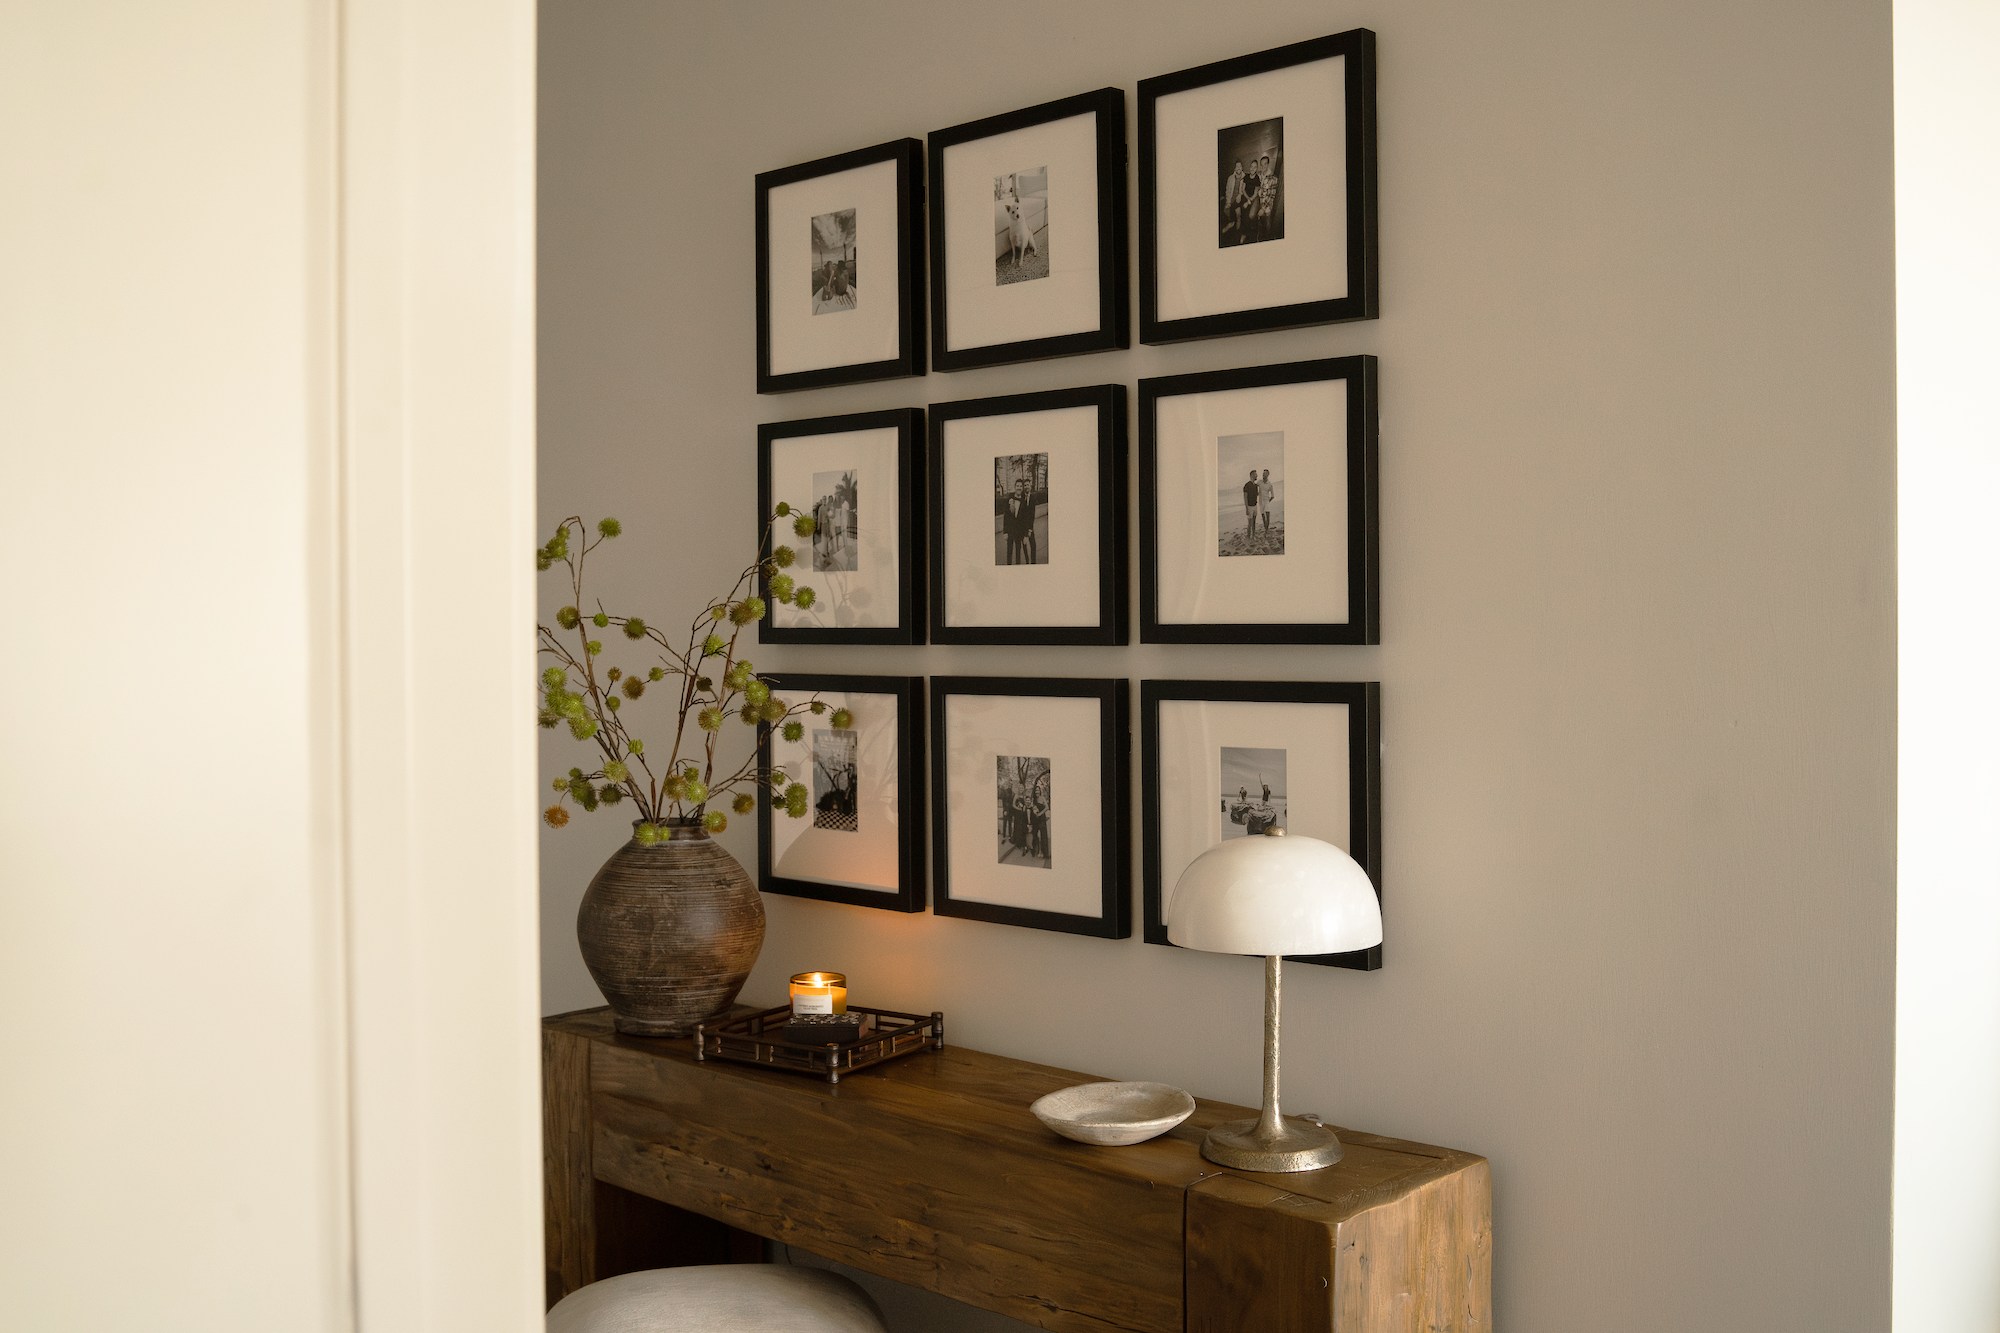
Bobby Berk, whose collaboration with Frameology produced some of the most-viewed gallery wall content on social media, described the approach behind the Luxe Vertical Grid, priced at $981, this way: "This is like an Instagram feed for your wall. I think it would look very cool over a sofa, a console or to fill a large wall with amazing memories."
Build a floor mock-up before you touch the wall
A floor mock-up saves you from random holes and constant re-hanging on a big wall. Lay every frame face-up on the floor in front of the wall, move pieces around until the composition feels balanced, then photograph the layout from above so you can reference it while hanging.
Architects recommend cutting paper to the exact size of each frame, labeling the dimensions, and pinning the templates to the wall to test proportions and spacing before hanging. This step catches proportion problems early, because a frame that looked right on the floor can feel too small or too heavy once it’s vertical and surrounded by wall. Make your adjustments on the floor, not on the wall.
Use the 2- to 3-inch spacing rule on every frame
Consistent spacing keeps a gallery wall feeling calm and intentional. The default recommendation is 2–3 inches between frames, with the exact number mattering less than using it consistently across the entire arrangement.
Frame size shifts that target slightly. Small frames (8×10 and under) read best at 1.5–2 inches, medium frames (11×14 to 16×20) suit the standard 2–3 inch range, and large or oversized frames (18×24 and up) can carry 3–4 inches without losing cohesion. When you’re mixing sizes, which most large living room walls need, pick one consistent gap, such as 2.5 inches, and use it everywhere. Spacing greater than 4 inches makes the layout feel disconnected, while spacing under 2 inches makes frames look cramped.
Follow eye-level height and sofa clearance rules
Vertical placement comes down to two simple numbers that keep your gallery wall comfortable to look at. First, the center of the entire gallery wall layout should sit at 57–60 inches from the floor, which matches the museum standard for average adult eye level. This guideline applies to the visual center of the whole arrangement, not to any single frame.
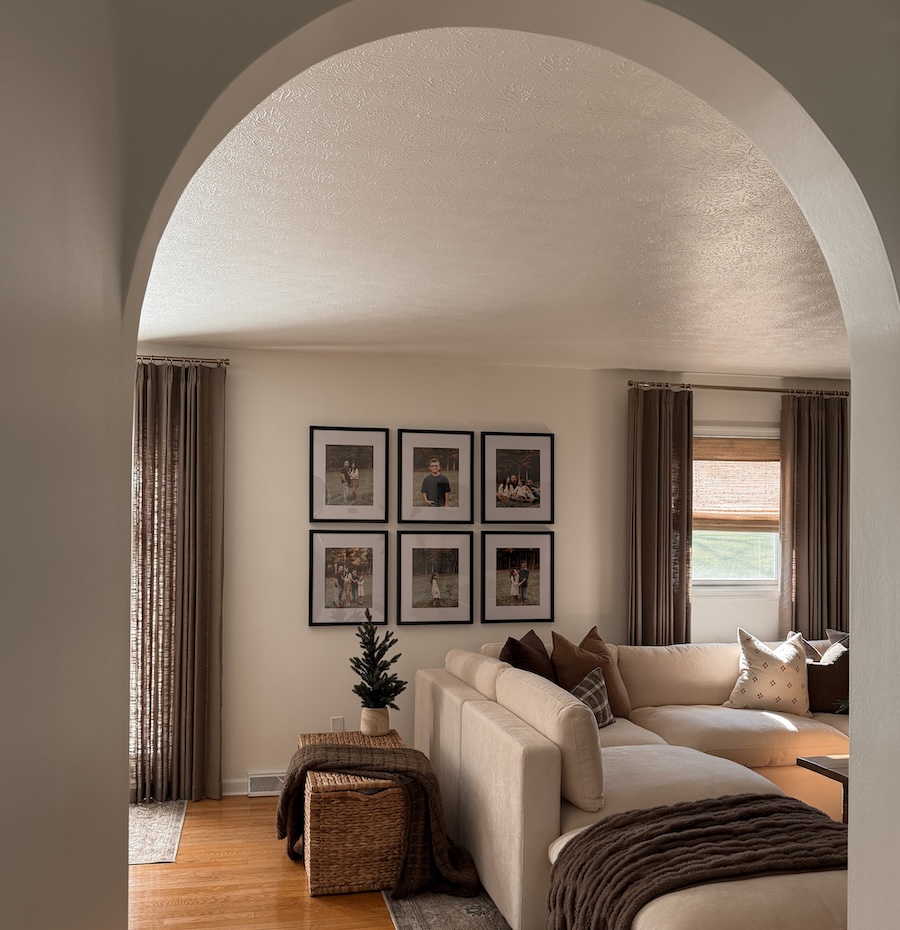
Second, keep a 6-to-8-inch gap between the bottom of the lowest frame and the top of the sofa backrest so the furniture and art feel connected. Less than 4 inches feels cramped, while more than 12 inches starts to disconnect the two. These rules usually work together smoothly: if your sofa back sits at 32 inches, the bottom frame hangs around 38–40 inches from the floor, which typically places the center of a multi-row arrangement in that 57–60 inch sweet spot.
Hang with life-size templates in under an hour
A life-size template turns a big gallery wall from a stressful project into a quick, repeatable process. Frameology’s Classic and Luxe gallery walls both include a custom, life-size gallery wall template, which is a printed paper layout at the exact scale of your arrangement that removes measuring guesswork.
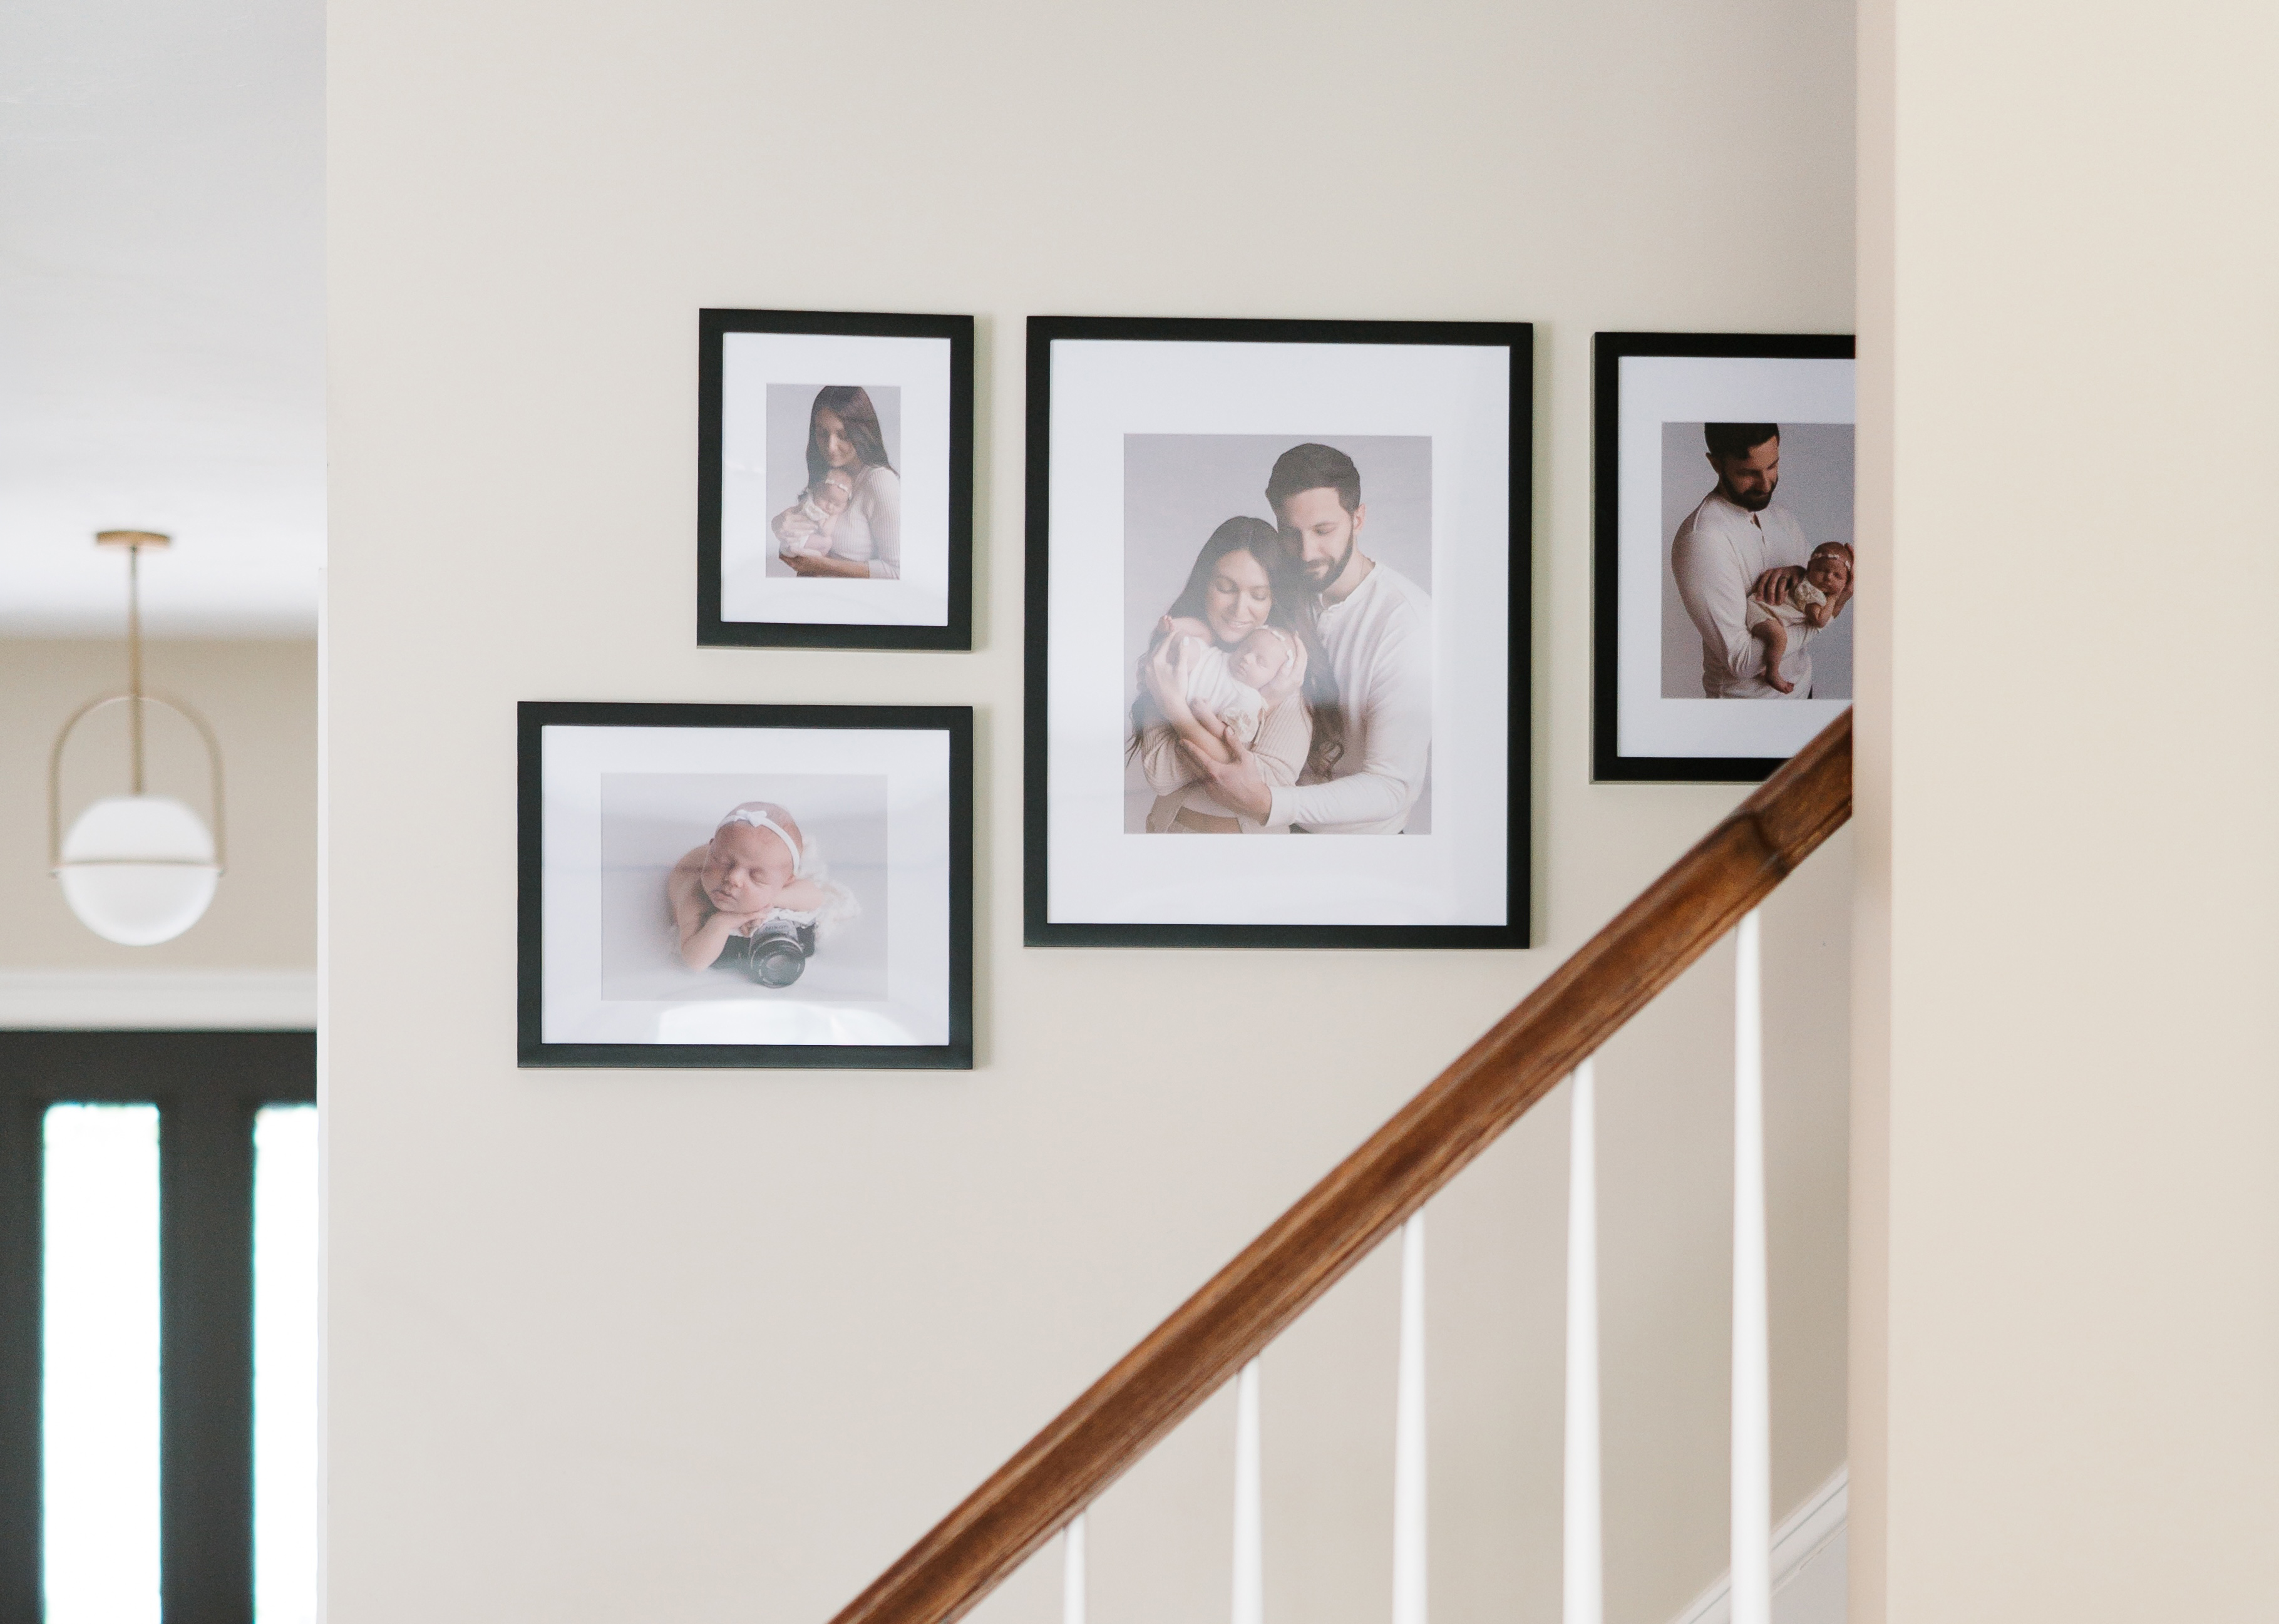
For Classic gallery walls, starting at $198, the process stays simple: tape the template to the wall, hammer nails into the marked spots, remove the template, and hang your frames. The Classic Stack II, priced at $198, works well for smaller accent walls or testing the gallery wall concept. When you’re ready to fill a larger horizontal expanse, the kind a big living room wall needs, the Classic Wide, priced at $425, and Classic Wide II, priced at $792, offer progressively wider layouts with the same straightforward installation.
Luxe gallery walls, starting at $638, use a dual-point hanging system, with two side hangers per frame for precise leveling and strong stability, and include all necessary hanging hardware, nails, and a mini-level in the box. The template instructions differ slightly from Classic to account for the dual-point system, but you still end up with a professionally installed-looking wall without hiring anyone. CNN Underscored’s Stephanie Griffin, after testing the Luxe Bricklay, wrote, "The Luxe Bricklay is called 'luxe' for a reason. Between the premium materials and foolproof hanging system that saved so much time and stress, it’s worth the hype."
House Beautiful’s reviewer confirmed that Frameology ships frames with a true-to-size paper template and nails to mark exact hanging positions on the wall, and added, "I would absolutely recommend Frameology to anyone who knows they want a gallery wall, but doesn’t know how to make it happen."
Before you hang, Frameology’s mobile augmented reality (AR) tool, which uses AR technology, lets you preview your gallery wall directly on your actual wall using your phone, with no app download required, so you can confirm the layout in your space before a single nail goes in.
Frequently asked questions
How wide should a gallery wall be above a sofa?
The two-thirds rule offers the most reliable starting point. Your gallery wall should span roughly 60–75% of the sofa width beneath it, as detailed in the measurement section.
What’s the correct spacing between frames on a large wall?
Plan for 2–3 inches between frames, with small adjustments for very small frames at 1.5–2 inches and very large frames at 3–4 inches, as covered in the spacing section.
How high should a gallery wall hang?
The visual center should sit at 57–60 inches from the floor, which matches the museum standard, with a 6-to-8-inch gap above the sofa backrest, as explained in the eye-level section.
Do all gallery walls include hanging templates?
Yes, both Classic and Luxe gallery walls include life-size templates for straightforward installation. Canvas galleries, Metal galleries, and gallery walls created using Frameology’s Gallery Wall Design Service don’t include templates because their construction and customization work differently and often need more tailored installation.
What’s the difference between Classic and Luxe gallery walls?
The right choice depends on your budget and how permanent you want the result to feel, since Classic frames allow photo swaps, while Luxe frames feature a sealed, permanent backing designed to protect your photos for the long term.
Classic gallery walls, starting at $198, use Frameology’s value-tier frames with a single center-point hanging system per frame. They’re a strong choice if you want a polished, cohesive wall at an accessible price, and they ship fast, since Classic products typically arrive within a week.
Luxe gallery walls, starting at $638, use top-of-the-line premium wood and metal moldings, acid-free mats, and UV-protecting museum-grade acrylic. Each Luxe frame hangs from two side points for precise leveling and strong stability, and every Luxe gallery wall includes all necessary hanging hardware, nails, and a mini-level in the box.
Turn your inspiration into a finished gallery wall
A large living room gallery wall doesn’t require a designer, a contractor, or a full weekend of trial and error. It needs the right proportions, consistent spacing, a solid floor mock-up, and a hanging system that handles the precision work for you. Frameology’s Classic and Luxe gallery walls follow that formula with curated layouts designed for real walls, printed with museum-quality materials, and shipped with life-size gallery wall templates that turn a daunting project into something you can finish before lunch.
With over 7,500 verified five-star reviews and a 4.98/5 rating, Frameology has earned a reputation as one of the easiest and most reliable ways to get a polished gallery wall on the wall, not just on your Pinterest board. Learn more about what sets Frameology apart at Why Frameology is the best online framing service.
