


How to level frames in a gallery wall
Written by: Daniel Koren, Co-Founder, Frameology
Key takeaways
Plan your gallery wall on the floor first using taped boundaries and consistent 2–6 inch spacing to avoid crooked results and unnecessary wall damage.
Use a laser level or long spirit level to mark a horizontal reference line at 57–60 inches from the floor so the entire arrangement sits at natural eye level.
Trace frames onto paper templates, mark hardware positions, and tape them to the wall starting from the center to transfer your layout accurately.
Prevent long-term tilting by adding felt bumper pads to the lower back corners of every frame and choosing dual-point hanging systems when possible.
Lay out the arrangement on the floor
The floor gives you a low-stress way to plan your gallery wall before you touch the actual wall. Professional installers plan the full composition on the floor first, inside a taped-off area that matches the wall space exactly. This step lets you test spacing, swap frames, and catch proportion problems without any wall damage.
Gather a few simple tools before you start so the process feels smooth and easy:
Tape measure
Laser level or spirit level (at least 60 cm long, since shorter levels accumulate errors of 3–5 mm per meter)
Painter’s tape
Craft paper or builder’s paper
Pencil
Hammer and nails
Mini level
Felt or rubber bumper pads
Tape off a rectangle on the floor that matches your wall space, then arrange your frames inside it to test different layouts. Maintain consistent spacing of 2 to 6 inches between frames, since random gap sizes without a clear pattern make the arrangement look accidental. When you like the layout, trace each frame onto craft paper, label the top edge, and mark the exact hardware attachment point measured from the top of the frame. These paper cutouts become your wall templates.
Want to skip floor planning and paper tracing entirely? Frameology’s ready-to-hang Classic gallery walls and Luxe gallery walls arrive with a life-size gallery wall template that handles the layout for you, although making sure your template and frames are leveled is still important.
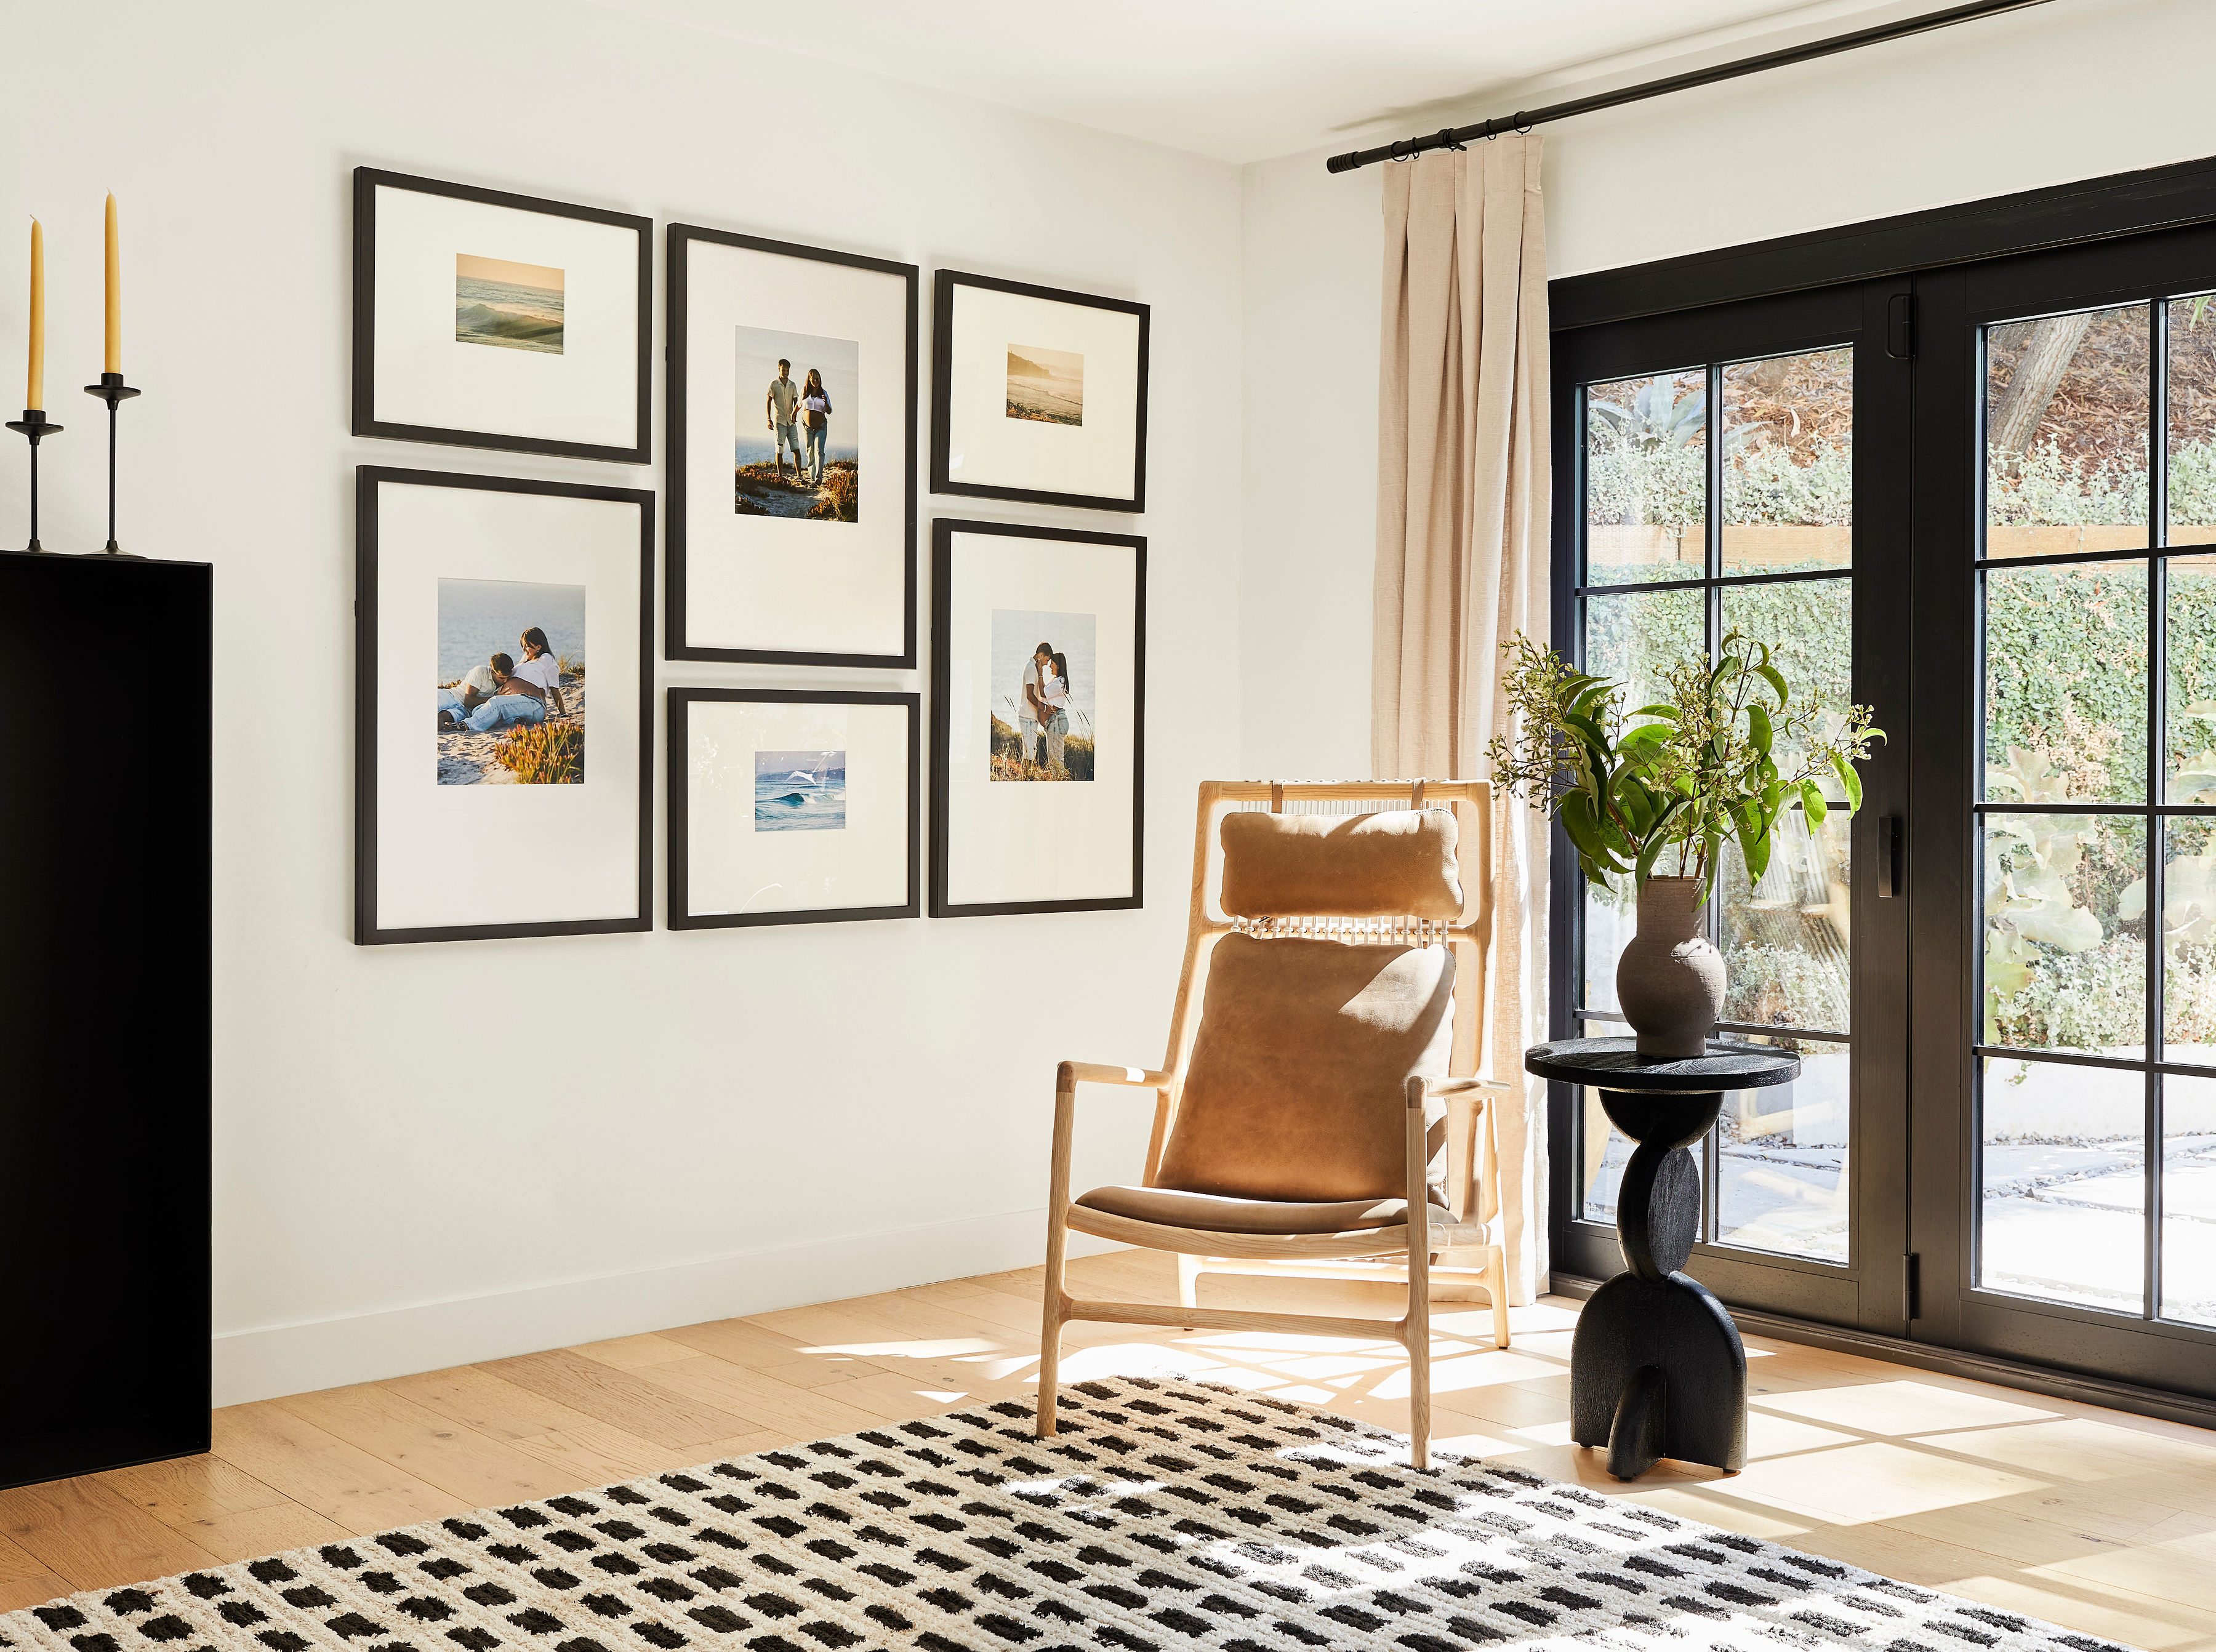
Mark level reference lines on the wall
Once you’ve finalized your floor layout and created templates for each frame, the next step is transferring that arrangement to the wall with precision. The center of the entire gallery wall layout should sit at 57–60 inches from the floor, matching the average adult eye level used by museums, not the center of each individual frame. Start with the largest or most central template and build outward from there.
Use this simple checklist to level a gallery wall with confidence:
Mark the wall’s center point at 57–60 inches from the floor using a pencil.
Use a laser level or long spirit level to draw a light horizontal reference line across the planned width of the gallery.
Tape the central paper template to the wall, aligning it to the reference line.
Work outward from the center, taping each remaining template in sequence while maintaining consistent spacing.
Step back and view the arrangement from the main doorway and primary seating position, since optical misalignment that a bubble level misses often shows up from these angles.
Mark nail positions through each paper template before removing it.
Hammer nails at the marked points, remove the templates, and hang frames one by one, re-checking level on each frame as you go.
A laser level eliminates roughly 90% of alignment errors compared to a spirit level when you position multiple frames. If you’re using a physical level, choose one that’s at least 60 cm long, since a 2–3 mm difference over 1 meter already shows to the human eye.
Secure frames so they stay straight
Getting frames level on day one is only half the job, because long-term stability is where most DIY gallery walls fail. Drift, wire stretch, vibration, and single-point suspension all introduce movement that gravity eventually exploits, especially in high-traffic areas like hallways and stairwells.
A few post-hanging steps make a real difference and each one targets a specific cause of frame drift:
Add felt or rubber bumper pads to the lower back corners of every frame to grip the wall surface and prevent the gradual rotation that foot traffic and door vibrations cause over time.
For heavier frames, French cleats or direct-mount hardware eliminate wire entirely, which removes the stretch-related tilting that single-hook systems often develop.
In high-vibration spots, locking picture hooks with a secondary lip that grips the wire reduce the micro-sliding that standard hooks allow between adjustments.
Frameology’s two frame lines handle stability differently, so it helps to know how each one behaves. Classic frames use a single center hanger, which means Command strips can act as a supplementary stability measure on smooth walls. Luxe frames feature a sealed, permanent kraft paper backing, so Command strips shouldn’t be used on Luxe frames because they can damage that backing. Luxe frames come with a premium no-wire dual side-hanger system that delivers strong leveling stability right out of the box, along with all necessary hanging hardware included.
If you’d like that dual-point stability baked into a full layout, Frameology’s Luxe gallery walls pair the no-wire hanging system with a precise gallery wall template for reliable, straight lines.
Use a life-size template instead of measuring
The manual approach described earlier delivers professional results when you follow each step carefully, but it takes time, precision, and patience. Many customers prefer a faster path, which helps explain why Frameology’s gallery walls have accumulated more than 7,500 reviews.
Every Classic gallery wall (starting at $198) and every Luxe gallery wall (starting at $638) arrives with a custom, life-size printed gallery wall template. The template maps the exact position of every frame and every nail point at true scale. You tape it to the wall, hammer nails into the required areas, remove the template, and hang your frames. No measuring, no math, and no unnecessary holes.
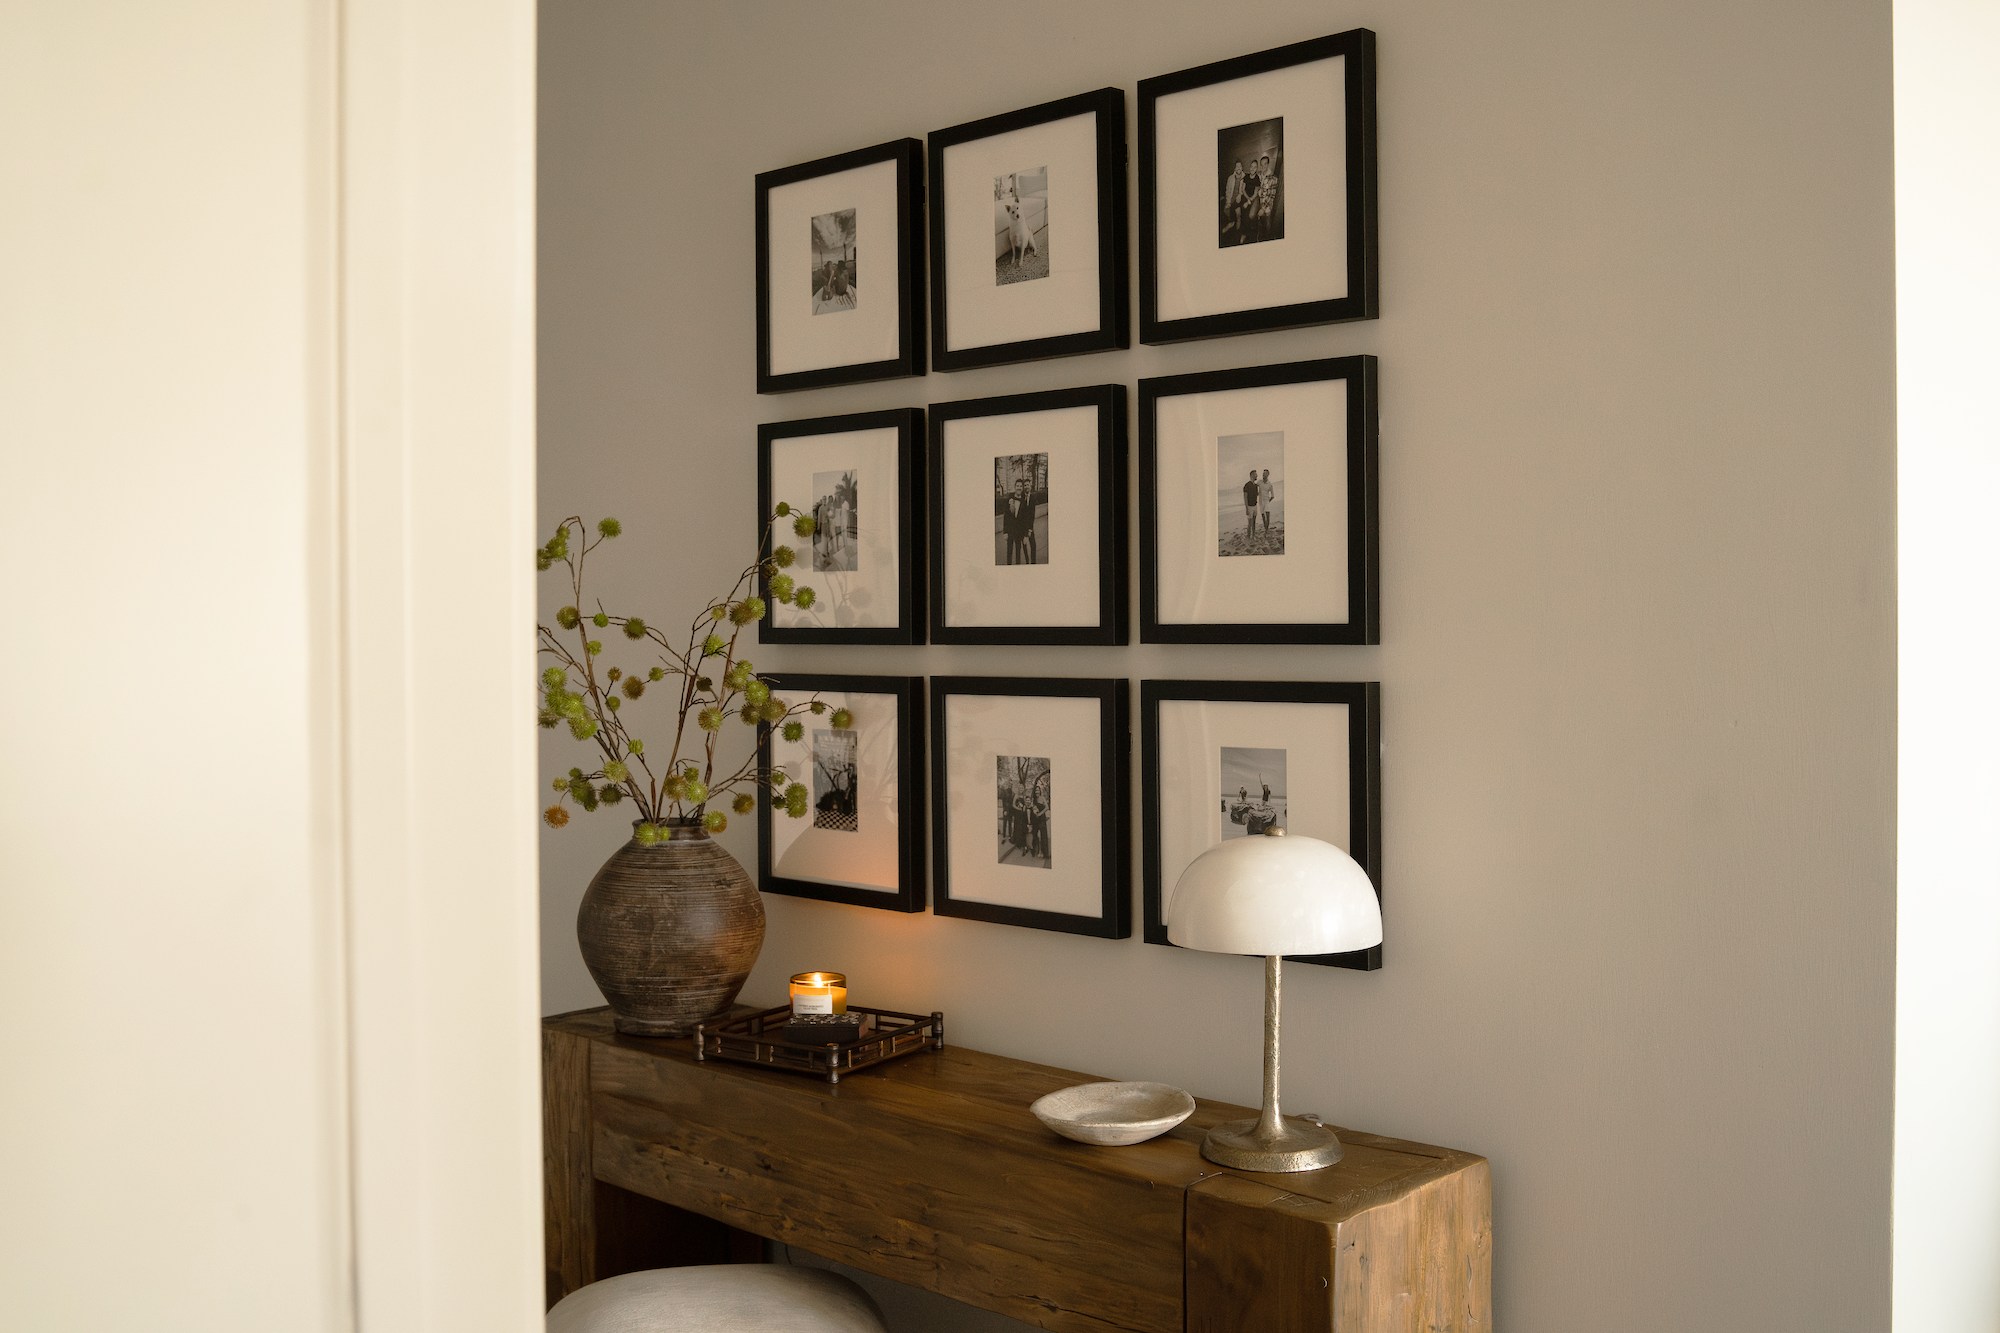
The installation process differs slightly between the two lines because of their hanging systems, so you can follow the steps that match your frames:
Classic gallery walls use a single center hanger per frame. Tape the template, hammer nails at the marked spots, remove the template, and hang.
Luxe gallery walls use a dual side-hanger system with two points per frame, which delivers strong leveling stability. The template accounts for both hanger positions, and all hanging hardware is included in the box.
House Beautiful contributor Janae McKenzie, who tested the system firsthand, said, "I would absolutely recommend Frameology to anyone who knows they want a gallery wall, but doesn’t know how to make it happen." CNN Underscored’s Stephanie Griffin also tested the Luxe Bricklay and concluded, "The Luxe Bricklay is called 'luxe' for a reason. Between the premium materials and foolproof hanging system that saved so much time and stress, it’s worth the hype."
Canvas galleries and gallery walls created through Frameology’s Gallery Wall Design Service don’t include gallery wall templates because their construction and customization work differently and often need more tailored installation.
Troubleshoot common leveling problems
Even a well-hung gallery wall can shift over time, so it helps to know how to fix issues without patching the wall. These quick checks and tweaks solve most common problems.
Frames that tilt after installation
Check whether the hanger is a single-point or dual-point system. Single-point hangers are more susceptible to rotation from vibration, and bumper pads on the lower back corners are the fastest fix.
If the frame uses a wire hanger, humidity changes can affect wire tension over time, which causes gradual tilt. Replacing wire with rigid direct-mount hardware removes this variable.
For high-traffic hallways and stairwells, locking picture hooks with a secondary grip reduce the micro-sliding that standard hooks allow.
Small misalignments without new holes
For minor rotation, press a bumper pad onto the lower corner that’s lifting away from the wall, since this often corrects a 1–2 degree tilt without touching the nail.
For frames sitting slightly too high or low, a nail-hole adjuster or adhesive wall anchor can shift the hang point by a few millimeters without creating a new hole.
If the gap between two frames has drifted, use a physical spacer such as a scrap block or ruler to reset consistent spacing before you re-seat the wire or hanger fully on the nail.
If you’d rather avoid troubleshooting altogether, Frameology’s template-based Classic gallery walls and Luxe gallery walls help you start with a layout that’s easier to keep aligned.
Know when your gallery wall is truly level
A gallery wall feels finished when it looks intentional, stays put, and doesn’t leave a trail of extra holes. These signs tell you the installation is genuinely complete and stable:
Every frame remains level after 30 days without adjustment, which confirms the hanging hardware is holding and environmental factors like humidity and foot traffic aren’t causing drift.
Spacing between frames is consistent throughout the arrangement, following the 2–6 inch guideline without random variation that would make the wall look unintentional.
No unnecessary wall damage is visible. A well-planned gallery wall should have exactly as many holes as it has frames, so you don’t need to patch anything.
The arrangement reads as a cohesive unit from the main doorway and primary seating position, not just from directly in front of it.
The overall center of the gallery sits at the 57–60 inch eye-level standard established earlier, which keeps the display at a natural viewing height instead of too high on the wall, and hanging everything too high is one of the most common DIY errors.
Frequently asked questions
How do you level a gallery wall?
Start by laying out all frames on the floor inside a taped-off area that matches your wall space. When you’re happy with the arrangement, create paper templates for each frame, mark the hardware positions on them, and tape them to the wall starting from the center. Use a laser level or a spirit level at least 60 cm long to draw a horizontal reference line at 57–60 inches from the floor, since this is where the center of the entire arrangement should sit, not the center of each individual frame. Mark nail positions through the templates, remove the templates, hammer nails, and hang frames one by one while you re-check level on each. Add felt bumper pads to the lower back corners of every frame to prevent rotation from foot traffic over time.
Do all gallery walls include hanging templates?
Classic gallery walls and Luxe gallery walls include life-size gallery wall templates that make installation simple and straightforward. Canvas galleries, Metal galleries, and gallery walls created using Frameology’s Gallery Wall Design Service don’t include templates because their construction and customization work differently and often need more tailored installation approaches.
What’s the difference between Classic and Luxe gallery walls for leveling?
Both Classic gallery walls and Luxe gallery walls include a life-size gallery wall template that maps every frame position and nail point at true scale. The key difference sits in the hanging system. Classic frames use a single center hanger per frame, so the template marks one nail point per frame. Luxe frames use a dual side-hanger system with two hang points per frame, which delivers greater leveling stability and reduces the rotation that single-point hangers can develop over time. Luxe gallery walls also include all hanging hardware in the box. Classic gallery walls don’t include hanging hardware, so you’ll need to supply your own nails.
Why do frames tilt after hanging, even when they were level at installation?
Several factors cause frames to drift after installation, and most of them relate to movement or tension changes. Wire hangers stretch under the weight of the frame over time, and humidity changes affect wire tension, which both introduce gradual tilt. Single-point suspension systems are more susceptible to rotation from foot traffic, door vibrations, and HVAC airflow than dual-point systems. Frames without bumper pads on their lower back corners have no friction against the wall surface, which makes them easier to nudge out of alignment. The fix usually combines bumper pads, hardware rated above the frame’s weight, and, where possible, a two-point hanging system that removes lateral play.
Ready for a perfectly level gallery wall?
The DIY path to a level gallery wall feels straightforward when you follow the right sequence: plan the layout on the floor, create paper templates, establish a horizontal reference line at eye level, mark nail positions through the templates, and add bumper pads after hanging to prevent long-term drift. This method works even better when you use a laser level, keep spacing consistent, and choose dual-point hanging hardware whenever you can.
The faster path skips the measuring entirely and relies on a printed guide. Frameology’s Classic gallery walls, and Luxe gallery walls each include a custom, life-size gallery wall template that maps every nail point at true scale. You tape it up, hammer nails into the marked spots, remove the template, and hang. The whole process usually takes under an hour and leaves zero unnecessary holes. Apartment Therapy’s Katie Maguire, who tested the system herself, described it as "seamless from beginning to end,"
