


How to layer lighting for home styling
Written by: Daniel Koren, Co-Founder, Frameology
Key takeaways
Layered lighting combines ambient, task, and accent sources at different heights. Warm-white dimmable bulbs keep the room from feeling flat.
Use one clear plan for each room. Living rooms usually need the highest source count, while bedrooms, kitchens, and hallways work with fewer, well-placed lights.
Gallery walls and framed art look finished when the fixture size, angle, and bulb color all work with the frame depth and mat size.
Glare control matters. Aim fixtures carefully, choose the right glazing, and test from your normal viewing spot before you commit.
Start framing your favorite memories so your lighting plan highlights frames that feel worth the attention.
What you’ll need before you start
This guide speaks to renters, first-time homeowners, and design-conscious decorators who already have art, photos, or a gallery wall hung and want the lighting to make it look finished. The assumed skill level is swapping bulbs, moving floor and table lamps, and installing a plug-in dimmer or smart plug. No electrician needed.
A few terms used throughout:
Ambient lighting: the general, room-wide layer, like ceiling fixtures, flush mounts, and recessed lights
Task lighting: directional light for specific activities, like reading, cooking, or working
Accent lighting: the mood layer, like picture lights, sconces, and uplights aimed at art or architectural features
Color temperature (Kelvin, or K): how warm or cool a bulb reads, with lower numbers warmer and higher numbers cooler
Lumens: the brightness output of a bulb
CRI (Color Rendering Index): how accurately a bulb renders colors, with 90+ as the target for art and living spaces
Wall washer: a fixture that spreads light evenly across a vertical surface
Picture light: a small bar fixture mounted above a frame to illuminate it directly
Uplight: a floor-level fixture aimed upward that bounces light off the ceiling
Glare: unwanted reflected light, especially off glass-fronted frames
In 2026, integrated LED fixtures, warm-dimming bulbs, and layered smart scenes are mainstream. The three-layer primer is common knowledge, so this guide focuses on execution.
Browse frames that work beautifully with layered light.
The rules that make layering work
Interior lighting professionals rely on a tight set of rules that the rest of this guide builds on. The four below cover source count, height variation, color temperature, and dimming, and they make the room-by-room layouts easier to follow.
Aim for five to seven light sources per living space.
Vary heights across ceiling, wall, eye level, tabletop, and floor.
Use 2700K–3000K warm-white bulbs in living rooms and bedrooms.
Put every light layer on a dimmer.
The three light layers in plain terms: ambient is the general overall glow that substitutes for daylight. Task is the functional layer that puts light where activities happen. Accent is the mood-booster that directs the eye toward art, shelves, and architectural features. Interior designer Julia Marcum of Chris Loves Julia calls lighting “the single biggest design lever you have, above paint color, above flooring, above almost any finish you can name.”
The 5–7 rule counts light sources, not fixtures. A single chandelier with five bulbs still counts as one source, while a floor lamp, two table lamps, a picture light, and a sconce count as five. Most interior designers specify a minimum of five to seven discrete light sources in a standard living room, often two to three ambient fixtures, one to two task sources, and two accent elements.
Mixing fixture styles works well when you keep a clear anchor. Chris Loves Julia recommends picking two main metals per room at roughly a 60/40 or 70/30 split, letting one finish dominate while the other appears in smaller supporting pieces. Repeat a finish, material, or shape at least once across the room’s sightlines so the mix feels intentional.
Find frames that match your lighting style.
Room-by-room layered lighting layouts
Each room below gets a suggested source count, height map, and bulb spec. Treat these as starting points and scale up or down based on room size.
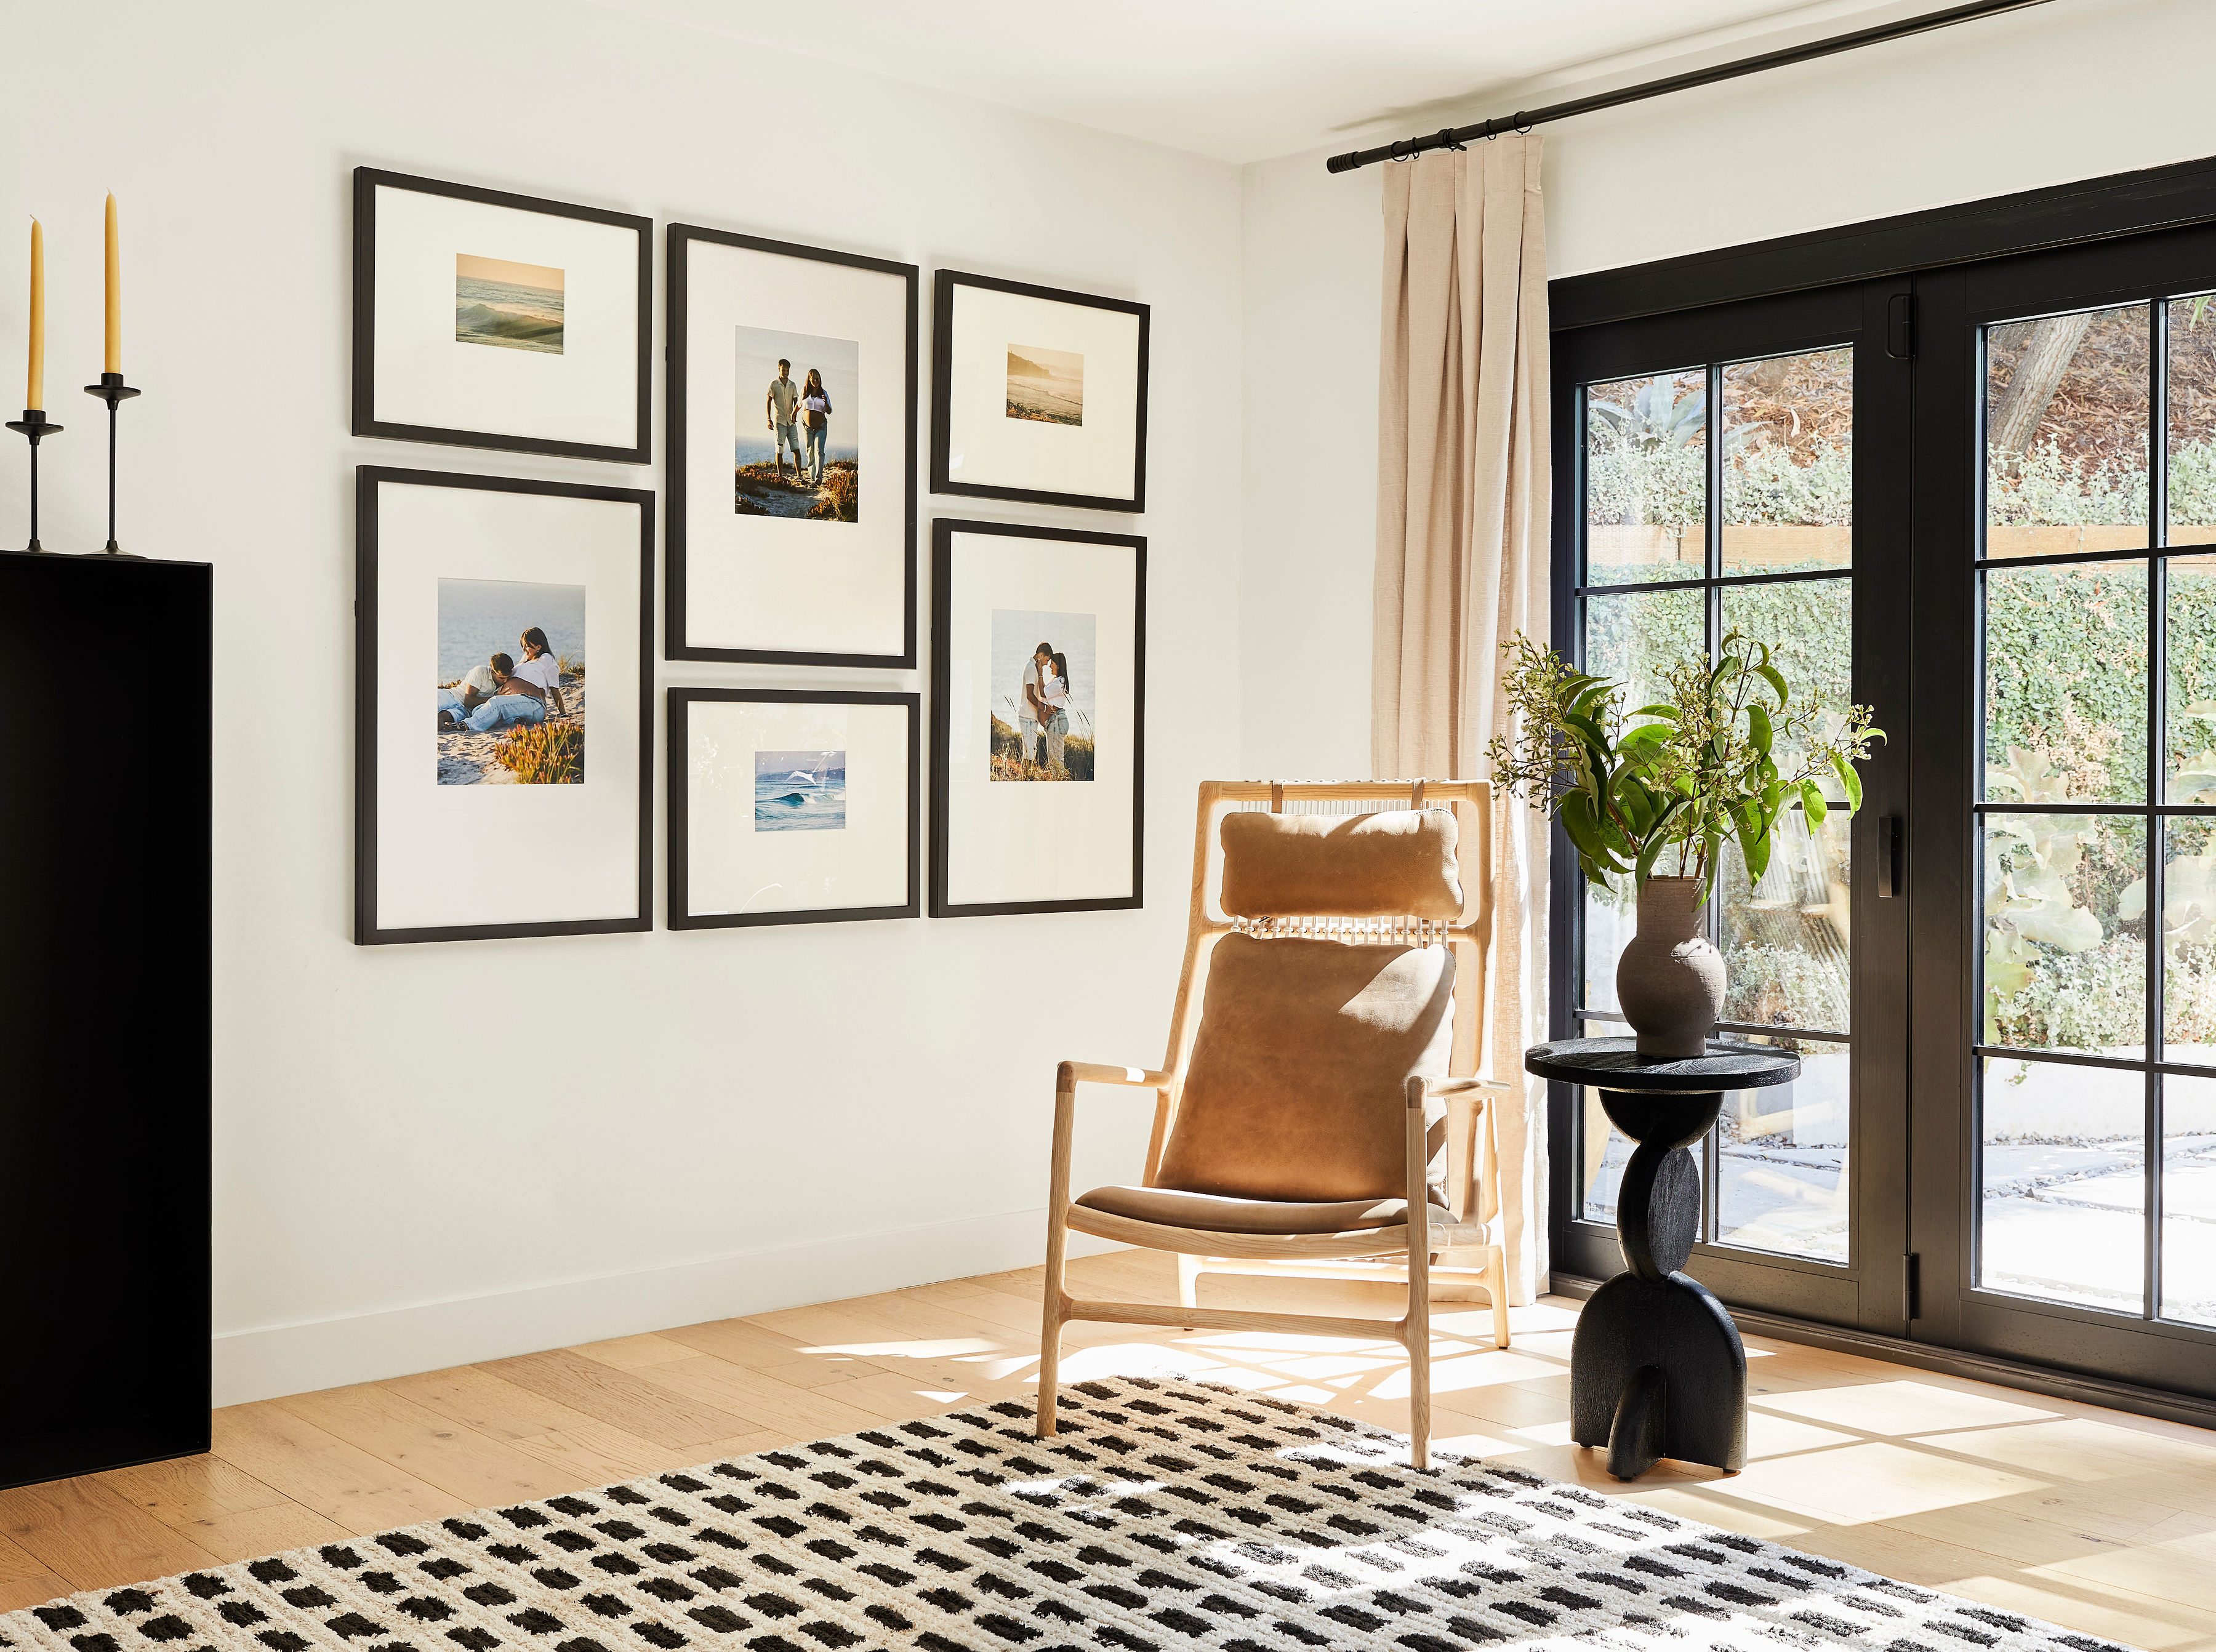
Layered lighting living room
Living rooms usually need the highest source count because they handle the most activities. A living room that relies on a single ceiling fixture typically improves by adding two table lamps at seating height and a floor lamp near the primary reading chair. A complete layout looks like this:
Ceiling fixture or arc floor lamp for ambient, dimmed to 40–60% in the evening
Table lamp beside the sofa for task, with the shade bottom roughly 58–64 inches from the floor
Picture light or wall washer over the art for accent
Floor uplight in a corner to bounce light off the ceiling and eliminate dark edges
A second table lamp on the opposite side of the room to balance the space
Bulb spec: 2700K dimmable LED throughout. A typical living room ambient source wants 1,500–3,000 lumens total, while a reading lamp should deliver 400–800 lumens.
Layered lighting bedroom
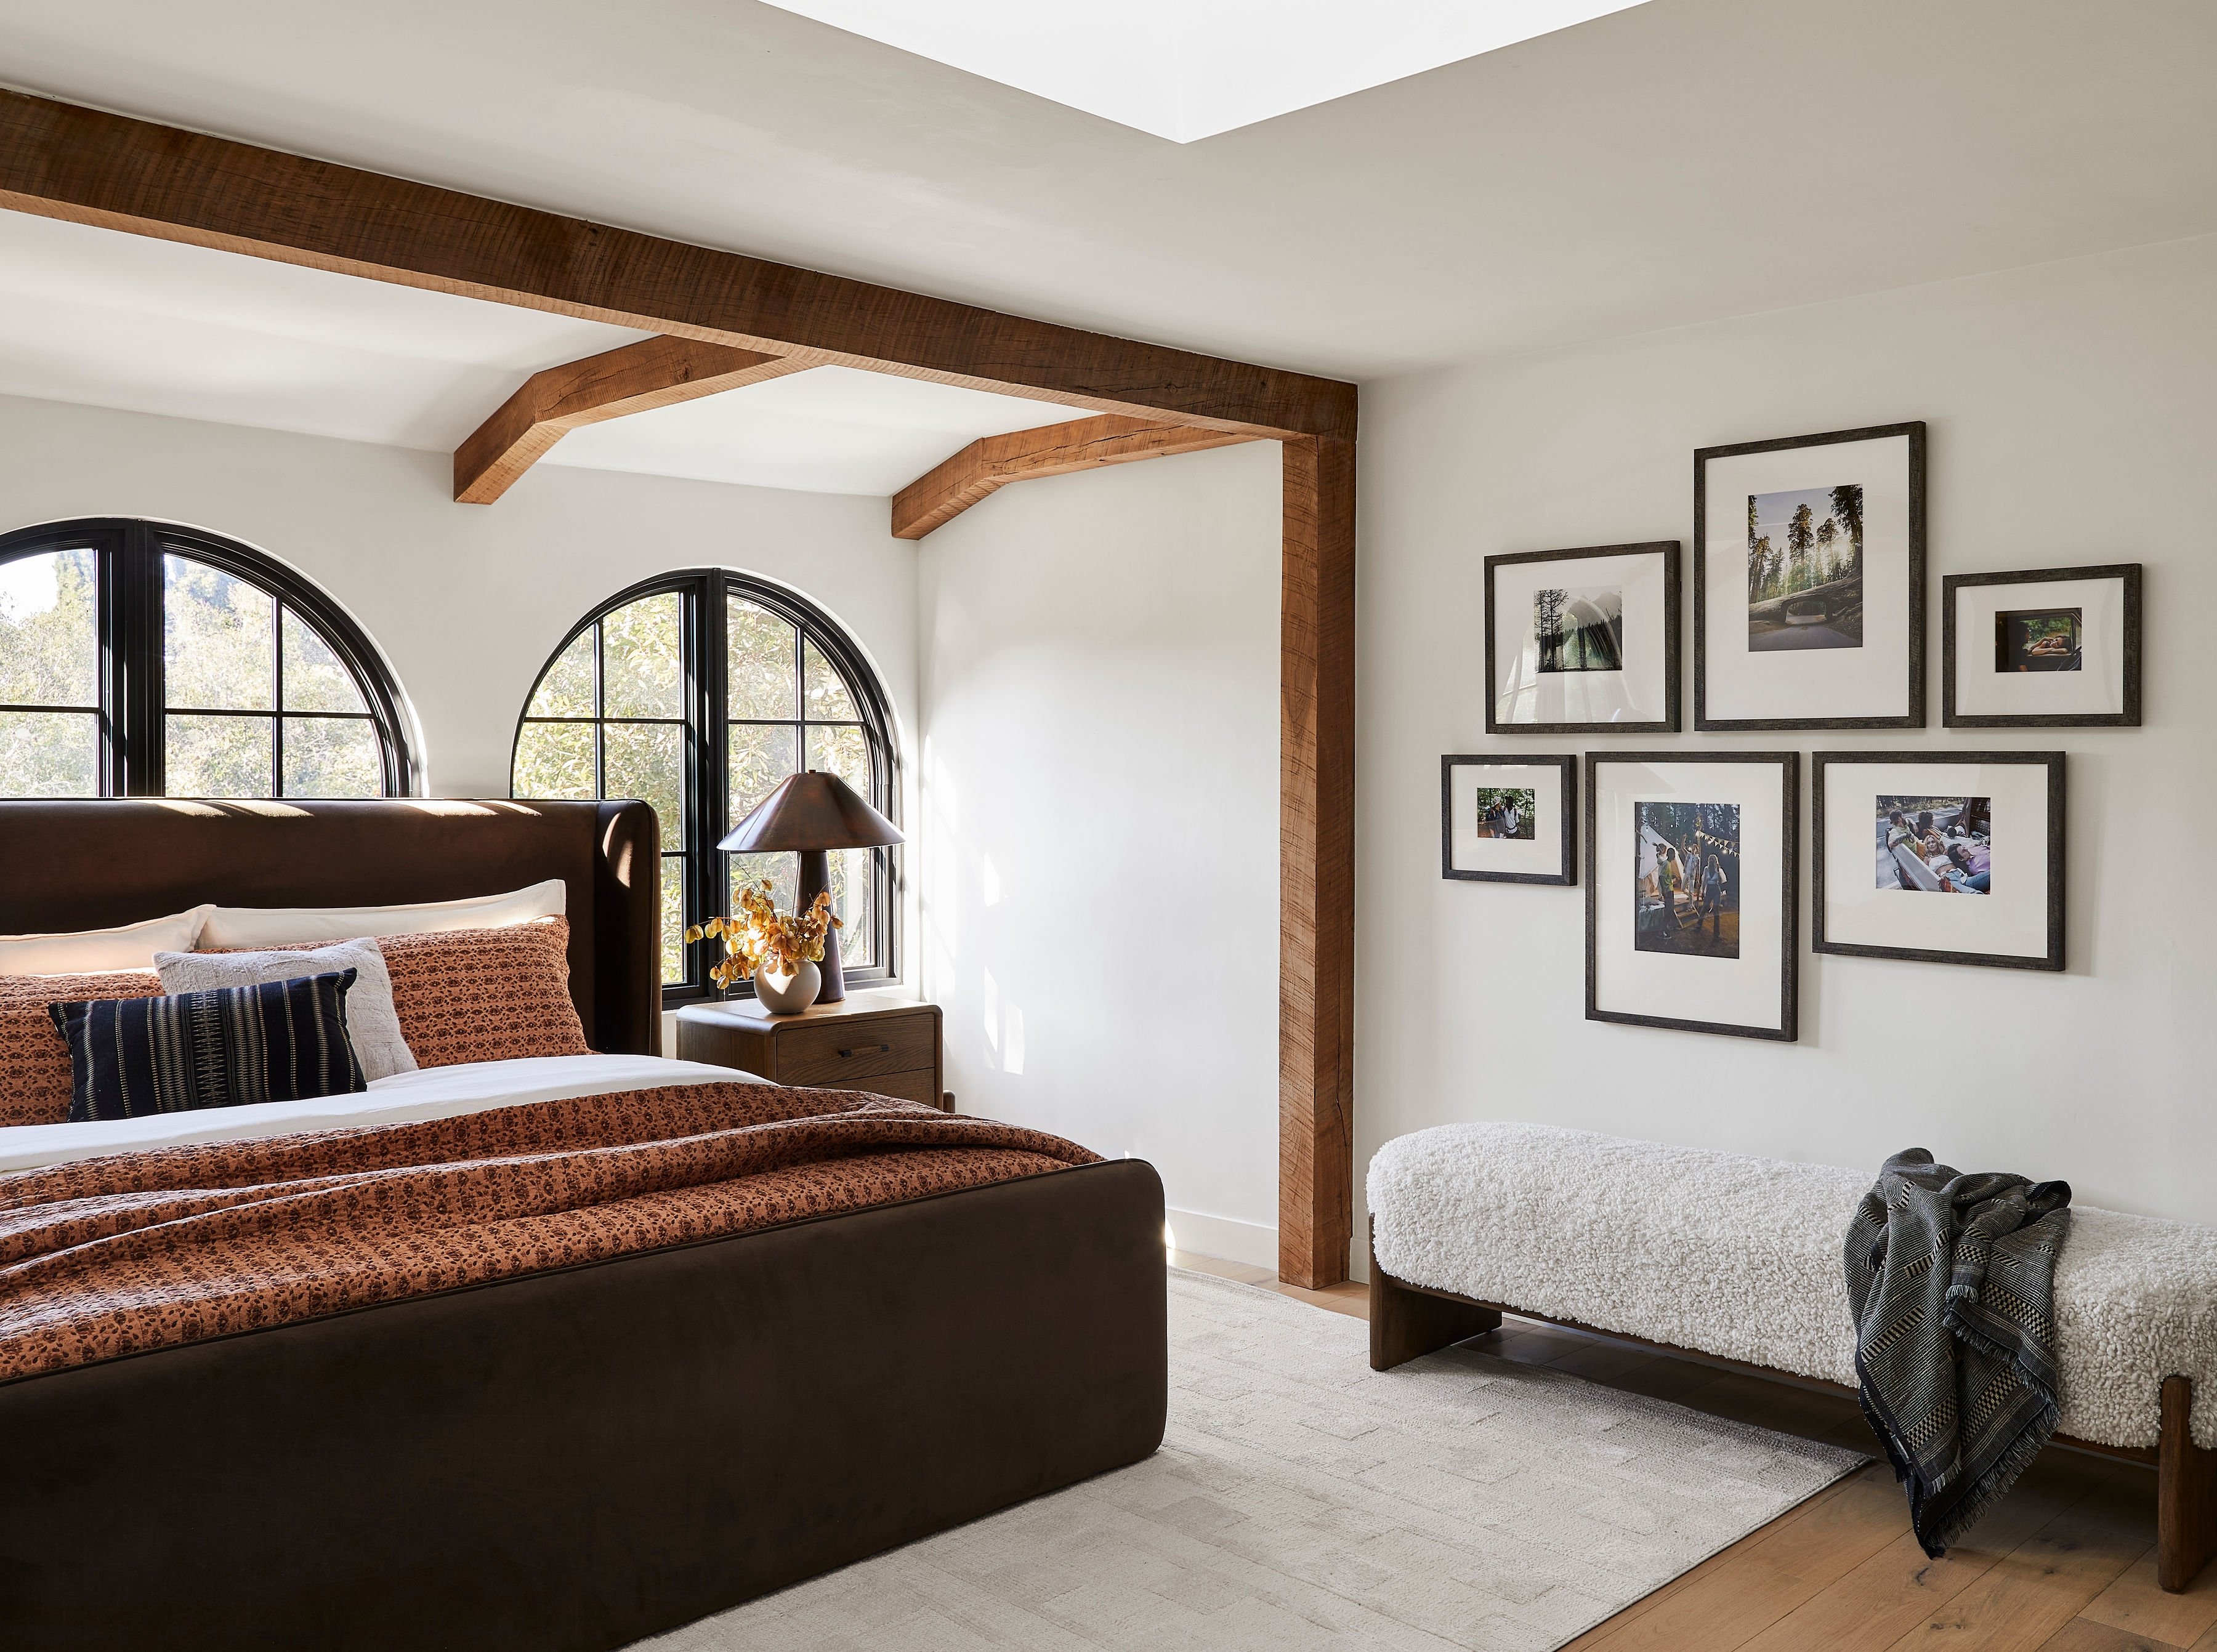
Bedrooms feel calm when the light stays low, warm, and close to eye level. A bedroom that feels sterile usually responds quickly to switching bulbs to 2700K–3000K and adding a lamp on each side of the bed.
Ceiling fixture or pendant on a dimmer for ambient
Two bedside table lamps at eye level when seated, with shade bottoms 60–66 inches from the floor
One accent wash on art above the headboard, often with a picture light
Dim to 10–20% at night. Warm light around 2200K–2700K encourages melatonin production and signals the body to wind down.
Kitchen
Kitchens need clear task light on work surfaces and slightly cooler color temperature for clarity.
Recessed or flush ambient at the ceiling
Under-cabinet task lighting at counter height to solve shadows on prep surfaces
A pendant over an island at eye level
A small accent on open shelving
Bulb spec: 3000K for most fixtures. For kitchens, under-cabinet task lighting should use a color temperature around 3000K to 3500K to render food colors accurately and keep the space feeling warm rather than clinical.
Hallway and staircase
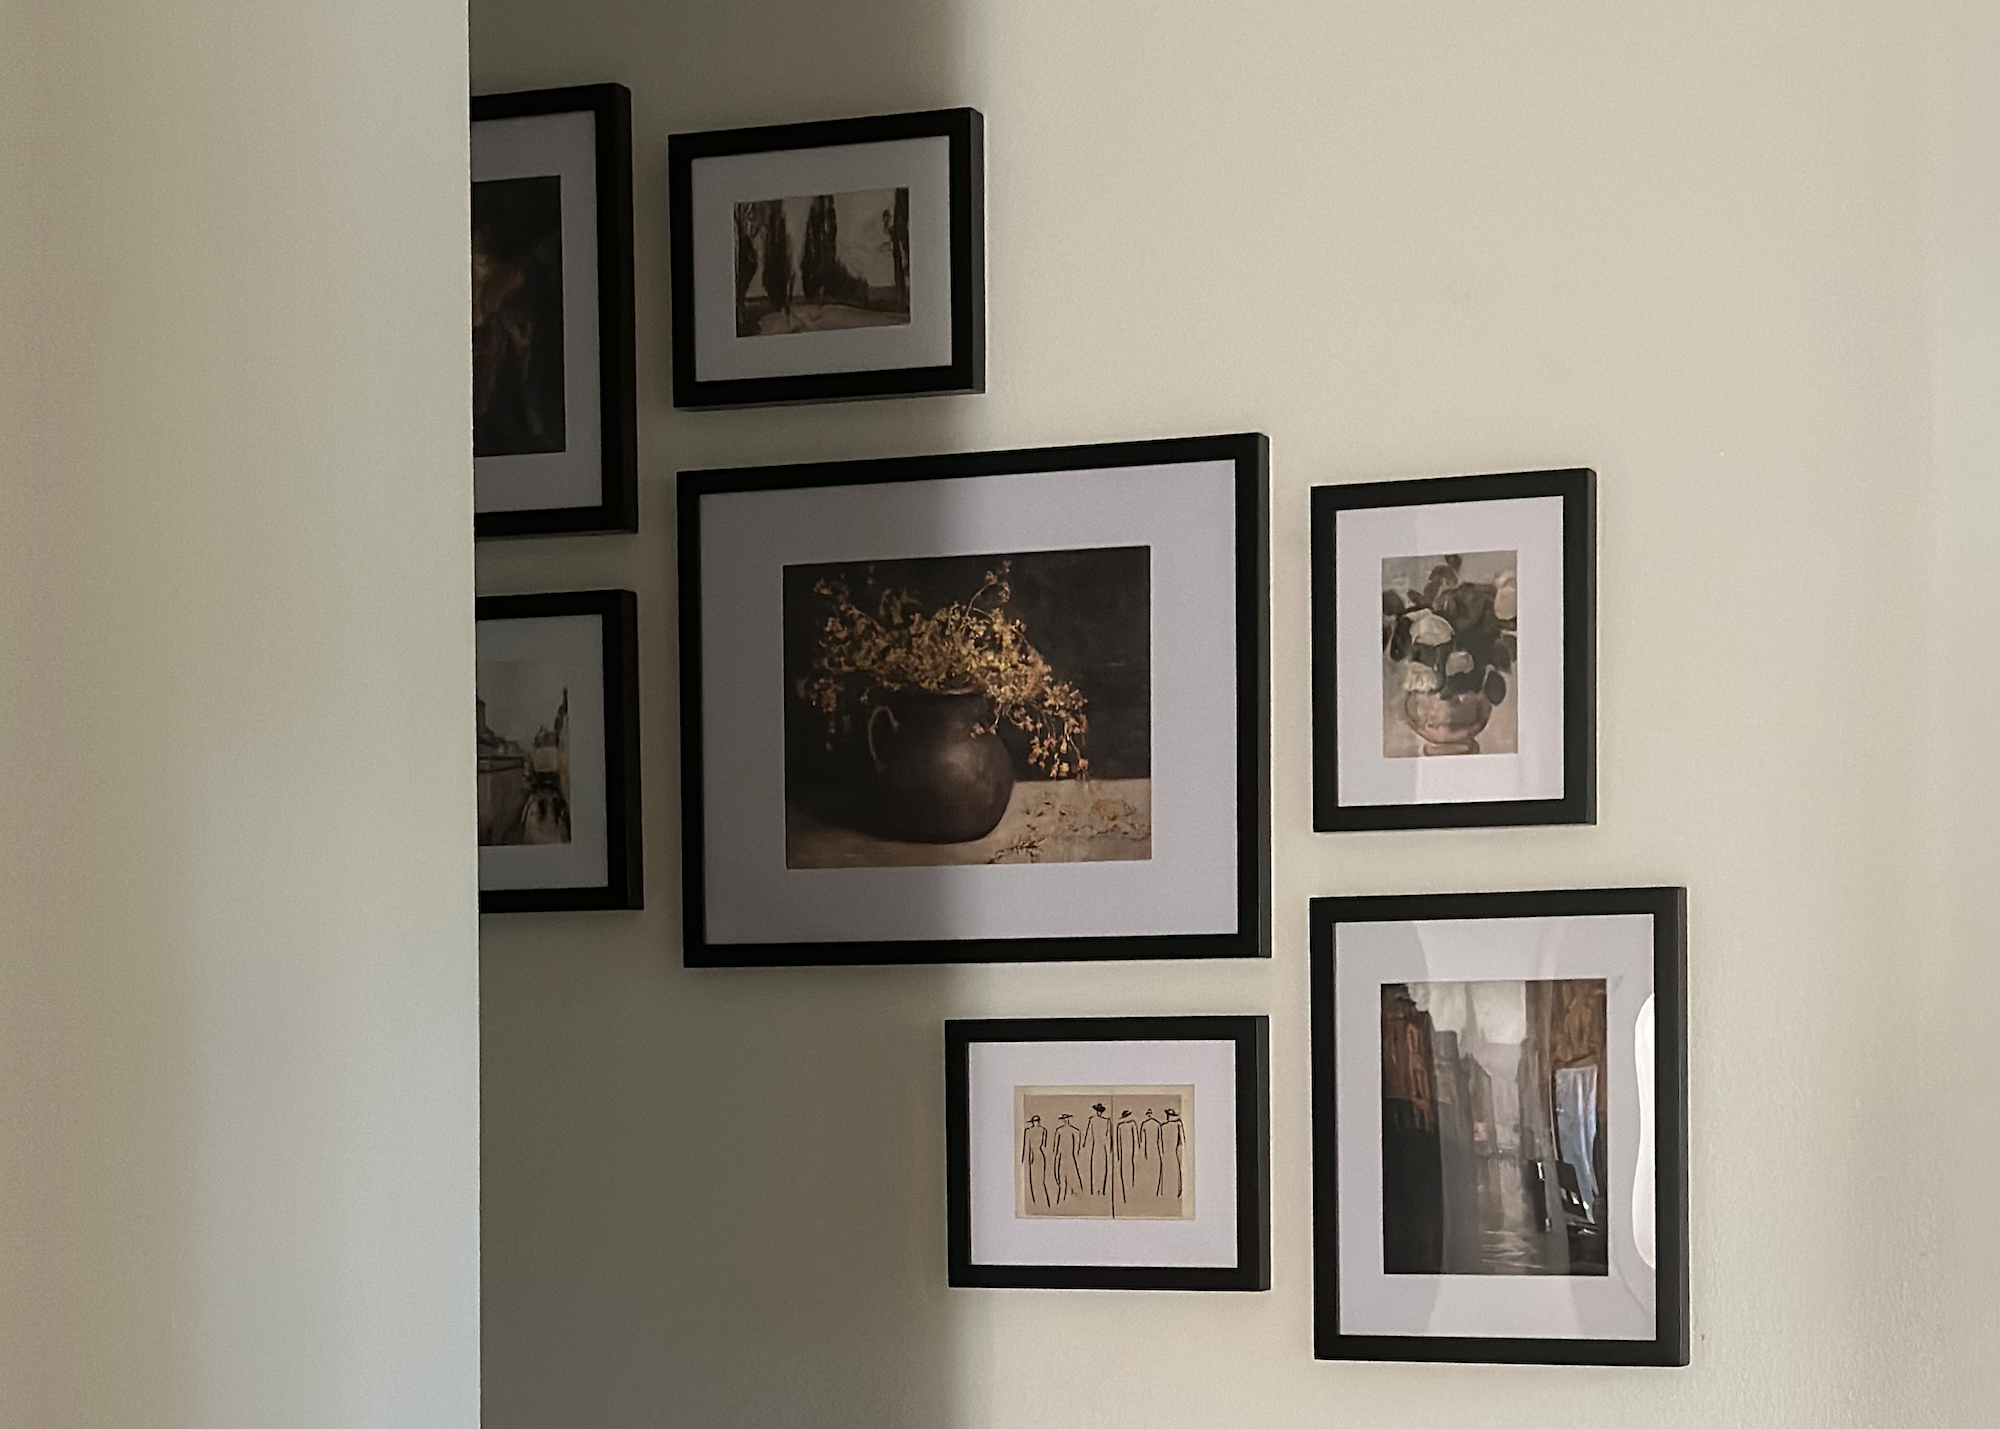
Hallways often feel dark, and a few focused sources usually fix the problem. Aim for at least three.
A ceiling or wall sconce for ambient
A picture light or wall washer on framed art, which often gives the biggest visual payoff
A low floor-level night light for safety and depth
Explore gallery walls that shine under good lighting.
How to light a gallery wall or framed art
Gallery walls and framed art need more than a generic “add a picture light” note. Frame depth, mat size, glazing type, and fixture angle all decide whether the light flatters or distracts.
Placement rules

Size the picture light bar to at least roughly two-thirds the width of the artwork, with two-thirds as the minimum rather than the ideal, so a 24-inch piece wants a 16- to 18-inch fixture. For frames wider than 30 inches, two smaller picture lights provide more even coverage than one large fixture.
For a multi-frame gallery wall, a wall washer provides broader, more even coverage across a multi-frame gallery wall than individual picture lights, which are best for highlighting individual statement pieces or a small arrangement of two to four frames. Use individual picture lights on the largest, most important anchor pieces for close focused illumination, and supplement with track or recessed spotlights to wash the remaining smaller works with broader accent light.
How frame depth and mat size change the plan
Deeper frames and wide mats need the light source pushed further out to avoid a shadow line across the mat. A ceiling downlight placed three feet from the wall rakes across the frame and throws a shadow band over the top third of the piece, while track lighting aimed at 30 degrees is the proper way to do ceiling-based art lighting. The deeper the frame, the more critical the angle becomes.
Frameology’s Luxe Wall frames, starting at $79, use UV-protecting museum-grade acrylic and acid-free mats. Both interact with light differently than standard glass and thin mats. The acrylic reduces glare naturally, and the wide mat means the fixture needs to be positioned to wash the full mat surface, not just the print.
Addressing glare on glass
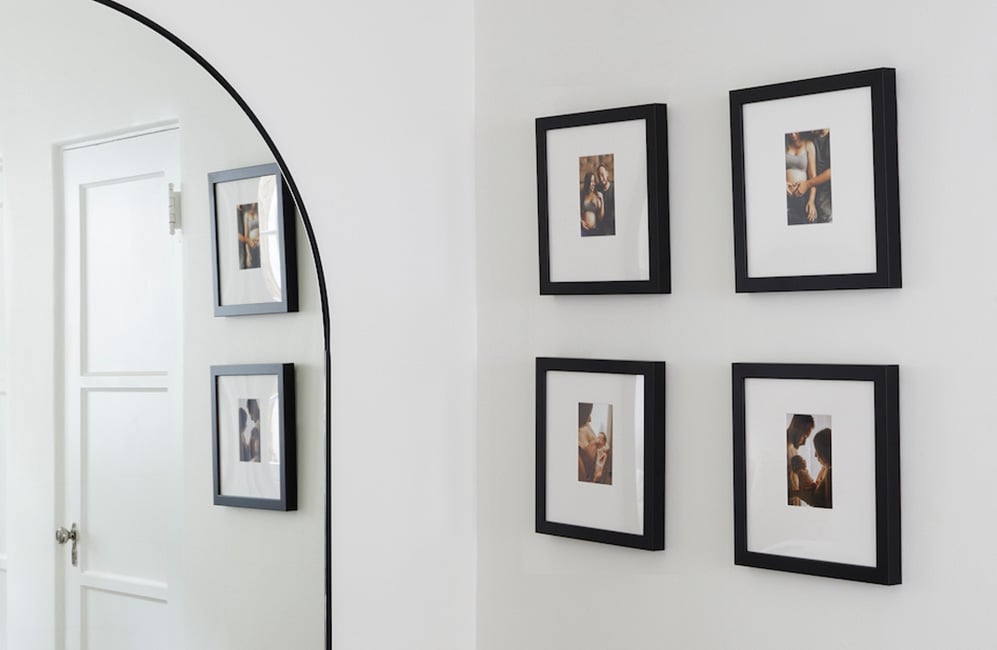
Aiming a picture light steeper than 30 degrees from vertical creates glare that bounces back to the viewer, while aiming too shallow causes the frame to cast a shadow on the artwork. The sweet spot is 30 degrees from vertical and illuminates the art face without bouncing light back at eye level.
Anti-reflective or museum-grade non-glare glass dramatically reduces glare at the source, and matte or satin finishes on frames, mats, and prints reduce reflections under directed light. Test placement at night from the normal viewing position to check for hot spots before committing to a permanent mount.
Bulb spec for art lighting
3000K works for most artwork, with a CRI of 90+ minimum and 95+ ideal, since cheap LEDs at 70–80 CRI make reds look orange and skin tones sallow. Most picture lights look best at 60–80% brightness because full brightness can feel too harsh.
Connecting lighting to the finished look
A gallery wall reads as intentional once it’s lit and framed thoughtfully. The frames should work with the light and feel worth highlighting.
Frameology’s Classic gallery walls start at $198 and Luxe gallery walls start at $638. The template included with Classic and Luxe gallery walls lets you tape the layout to the wall, hammer nails into the marked spots for Classic or follow the dual-point hanging system for Luxe, remove the template, and hang. Canvas galleries and Gallery Wall Design Service galleries use different construction and hanging approaches.
Frameology’s mobile-only AR preview lets you see how a frame or photo gift will look on your actual wall before buying, so you can plan the lighting and the frame together before a single nail goes in. Learn more about why Frameology is the go-to for framing in this overview of what makes Frameology the best online framing service.
Mixing fixture styles and what’s dated in 2026
Once the art is lit, the next question is whether the fixtures themselves feel current and cohesive. Two topics come up often in lighting searches and deserve clear answers.
On mixing styles: You can absolutely mix fixture styles! Anchor the room with one dominant finish and use only one or two accent metals as supporting players, and keep both metals within the same temperature range so the combination stays cohesive. A single fixture that combines two finishes in one piece is a low-risk way to test the approach before committing across an entire room.
On what feels dated in 2026: Interior designers are calling the default grid of recessed cans marching across a ceiling outdated, with surface and flush-mount ceiling lights replacing it as the preferred ceiling fixture style in many spaces. Beyond that, Modern Chandelier’s 2026 Design Report identifies four categories in decline: polished chrome as a default finish, full traditional crystal in casual rooms without architectural support, uniform multiples of identical mini shades, and faux-industrial cage designs used indiscriminately. Designers in 2026 also flag cool blue-white LED bulbs at 4000K and above, especially 5000K-plus, and exposed bare-filament bulbs, and instead recommend warm dimmable 2700–3000K light.
These styles still work in the right context, and they’ve simply stopped being the default choice.
Scenes, not switches
Dimmers matter most when you treat them as scene tools instead of simple on-off controls. The five scenes below show how the same room shifts from day to night, and each one can be a preset you program into a smart plug or set manually.
Daytime: 100% across all light layers
Dinner: ambient at 60%, accent at 100%
Hosting: ambient at 75%, accent at 100%
Movie night: ambient at 20%, accent low or off, task off
Late night: 10% on one warm source only
For renters who can’t rewire, a plug-in dimmer or smart plug turns any lamp into a dimmable one without electrical work. Warm-dimming bulbs shift toward amber as they dim, which makes a scene feel intentional instead of simply dimmer.
Common challenges and troubleshooting
Most lighting problems fall into a short list of recurring patterns. The fixes below connect each issue with a simple, specific adjustment.
Flat room with one ceiling fixture: add two table lamps at seating height and a floor uplight in the darkest corner so the light wraps the room instead of pooling in the center.
Mismatched color temperatures: a 2700K picture light next to a 4000K ceiling fixture creates a visible warm and cool clash on the wall that looks unintentional, so match all bulbs to one Kelvin rating across the room.
Glare on framed glass: angle the fixture to the 30-degree sweet spot described in the glare section so the reflection falls outside the viewer’s sightline, and choose matte or anti-glare glazing where possible.
Dark hallway: add a picture light or wall washer on the framed art so the eye has a bright focal point and the space feels longer and more inviting.
Lamps that look random: group lamps in odd numbers, typically three, and vary their heights by roughly 20–40cm to create depth and a dynamic focal point, since a matched pair at the same height reads as furniture instead of lighting.
How to tell it’s working
Layered lighting feels right when the room looks intentional, the art stands out, and the light levels adjust smoothly.
Multiple sources spread across the room instead of one bright center
At least three distinct heights represented
Every light layer is independently dimmable
No visible glare on glass-fronted frames from the primary seating position
The art reads as the brightest focal point in the room
A simple evaluation: take a photo at night with all lights on, then again with only the ambient light. If the art disappears in the second shot, the accent layer needs more output or better aiming. The effect comes from contrast, so the art should sit a couple of stops above the ambient level, and the room should be dimmed instead of only brightening the art.
Immediate outcomes show up the first night. The room feels warmer, the art looks intentional, and the space reads as finished. Longer-term performance includes bulb life, such as LED picture lights rated at 25,000 to 50,000 hours, dimmer reliability, and continued enjoyment of the wall.
Where to go next
Once one room feels dialed in and the bulb specs are settled, the next step is coordinating lighting across multiple rooms, adding smart scenes tied to time of day, and upgrading to museum-grade framing that holds up under accent light.
Frameology’s Luxe frames start at $79 and use UV-protecting museum-grade acrylic, which matters when art sits under a dedicated picture light for hours each evening. The acrylic protects the print from light degradation while reducing the glare that standard glass amplifies. Luxe frames also feature acid-free mats and sealed kraft paper backings, built to last under the conditions a well-lit gallery wall creates.
Test changes incrementally: add one new source at a time instead of redoing the whole room. Add the picture light first and live with it for a week. Then add the floor uplight and adjust from there.
See how your photos look in a well-lit frame.
Frequently asked questions
What is the 5–7 lighting rule?
The 5–7 lighting rule is a guideline used by interior designers that recommends five to seven discrete light sources per living space. The rule counts light sources instead of individual bulbs, so a chandelier with multiple bulbs still counts as one source, while a floor lamp, two table lamps, a picture light, and a sconce count as five. Rooms with fewer sources often feel flat, with a single bright spot and dark edges. Spreading light across several sources at different heights creates depth, warmth, and the sense that the room was designed rather than just furnished.
What are the three main types of lighting?
The three main types of lighting are ambient, task, and accent. Ambient lighting is the general, room-wide layer, like ceiling fixtures, flush mounts, and recessed lights that provide baseline illumination. Task lighting is directional and functional, like floor lamps beside reading chairs, pendants over kitchen islands, and bedside table lamps. Accent lighting is the mood layer, like picture lights over art, sconces, uplights aimed at plants or textured walls, and LED strips behind shelving. A well-designed room uses all three on independent dimmers so each layer can be adjusted separately.
Can you mix light fixture styles?
Yes, mixing fixture styles works well in 2026. The key is to anchor the room with one dominant finish and use one or two supporting metals as accents. Keep both metals within the same temperature range, since warm metals like brass, bronze, and gold and cool metals like chrome, nickel, and silver don’t always blend smoothly. Repeating a finish, material, or shape at least once across the room’s sightlines usually creates enough cohesion without a matched set.
What light fixtures are out of style?
In 2026, the fixtures most commonly flagged as dated include builder-grade recessed can grids used as the sole light source, matching sets of identical fixtures across an entire room, and single cool-white bulbs at 4000K and above in living spaces and bedrooms. Exposed-bulb fixtures without dimming capability and polished chrome as the default finish in every room round out the list.
How many lumens should a living room have?
A typical living room wants 1,500–3,000 lumens of ambient output in total, spread across multiple sources instead of delivered by one fixture. Task sources like reading lamps should deliver 400–800 lumens each. Accent sources like picture lights usually run lower, often around 300–500 lumens. The total lumen count matters less than the distribution, since a room with 3,000 lumens concentrated in one ceiling fixture will feel harsher and flatter than a room with the same total spread across several sources at different heights.
Do I need a dimmer in every room?
You don’t need a dimmer in every room, but you’ll want one on every layer in rooms you use in the evening. Ambient fixtures in living rooms, bedrooms, and dining areas benefit most from dimmers. Task lighting in kitchens and home offices is worth dimming so the same fixture that works at full brightness for cooking can be dialed back during dinner. Accent lighting, like picture lights, sconces, and uplights, should always be dimmable because the effect of accent light comes from contrast with the ambient level, and that contrast needs to be adjustable. For renters, plug-in dimmers and smart plugs accomplish the same result without any wiring.
How do I light a gallery wall without glare?
Glare on a gallery wall comes from the angle of the fixture and the surface of the glazing. On the fixture side, aim the picture light or track head at 30 degrees from vertical, which is steep enough to illuminate the art face and shallow enough that the reflection falls outside the viewer’s sightline from the primary seating or standing position. Test at night from the actual viewing position instead of directly beneath the fixture. On the glazing side, matte or anti-reflective glazing reduces glare at the source. Mixing color temperatures across fixtures on the same wall, such as a warm picture light next to a cool ceiling spot, also creates a visible clash that reads as unintentional, so commit to one Kelvin rating across the whole wall.
Do Frameology gallery walls include a template?
Classic and Luxe gallery walls include life-size gallery wall templates that make installation simple and straightforward. Canvas galleries, Metal galleries, and gallery walls created using Frameology’s Gallery Wall Design Service do not include templates because their construction and customization work differently and often require more tailored installation approaches.
