


How to hang a metal print: mounts, standoffs & more
Written by: Daniel Koren, Co-Founder, Frameology
Key takeaways
Check the mounting hardware on the back of your metal print before you choose how to hang it.
Use the right anchors for your wall: self-drilling anchors for light loads, toggle bolts for heavier prints, and studs whenever you can.
Keep prints straight and secure by adding bumpers, using two-point support, or upgrading to a French cleat for larger panels.
Frameology HD Metal Prints arrive ready to hang with hardware attached, so you skip extra hardware shopping. Nails or damage-free adhesive strips are compatible, but not included.
What’s on the back of your metal print: a quick diagnostic
Start by flipping the print over and checking the hardware. Metal prints from different vendors often use different mounting systems, even at the same size. The hardware on the back determines how you’ll hang it.
Here are the five setups you’re most likely to see and what they mean for hanging:
Float mount hanger or sawtooth hanger: A float mount hanger is a small raised block or bracket attached to the back of the print, usually with a sawtooth metal strip at the top. The print sits about ½ inch off the wall when hung. This is the most common setup on small and mid-size panels. A sawtooth hanger without a float block is a jagged metal strip screwed directly to the back that hooks onto a single wall nail or screw.
French cleat or Z-bar: Two interlocking aluminum rails, with one mounted to the wall and one attached to the back of the print. The print slides down onto the wall rail and locks in place. This setup is standard for larger, heavier panels.
Standoff barrels or corner posts with pre-drilled corner holes: Four threaded metal barrels, one at each corner. The print has pre-drilled holes, the standoffs screw into the wall, and the print attaches to them, floating about ¾ inch off the surface.
Adhesive strips or damage-free mounting strips: Pre-applied or separately included adhesive pads on the back of the print. No nails are needed, but the weight rating is strict and you have to follow it.
No mounting hardware at all: A bare aluminum panel with nothing on the back. This setup is common and still workable with the right add-on hardware or a cleat system.
Before you start, gather your tools: a tape measure, pencil, level or phone level app, stud finder, drill, screwdriver, the right screws and anchors for your wall, and a second pair of hands for large prints.
Explore HD Metal Prints that arrive ready to hang
How to hang a metal print with a float mount or sawtooth hanger
Most small and mid-size metal prints use this setup. The HD Metal Print from Frameology arrives ready to hang with hardware already attached. All you need is nails or damage-free adhesive strips. Follow these steps:
Lay the print face-down and measure the distance from the top edge of the print to the highest point of the sawtooth notch or float mount bracket. Write that number down as your hardware drop.
Decide on your hanging height. The gallery standard is to center the artwork 57–60 inches from the floor.
Mark the wall at the correct nail height: take your center height, add half the print’s height, then subtract the hardware drop. That mark is your nail or screw location.
Drive a nail or screw into the wall at your mark. If you hit a stud, use a standard wood screw. If you’re between studs on drywall, use a self-drilling anchor rated for at least twice the print’s weight.
Hook the sawtooth notch or float mount bracket onto the nail head, leaving about ⅛ inch of the screw head exposed so the hardware can catch.
Check level. A single center hanger lets the print pivot slightly, so add a small adhesive bumper to each bottom corner to stop drift. If drift continues, add a second anchor point.
Order HD Metal Prints with float mounts included
How to hang a large metal print with a French cleat or Z-bar
Large aluminum panels need two-point support instead of a single hanger. A French cleat or Z-bar spreads the load across the full width of the print and keeps the panel flush to the wall. This is usually the strongest and cleanest option for anything over roughly 10 lbs. Metal prints larger than 30x40 inches can weigh 15 lbs or more, so a cleat system makes sense.
Locate your studs with a stud finder and mark them lightly with a pencil. Studs are typically 16 inches apart on center in homes built after 1970.
Calculate the wall cleat height using the same center-height formula: target center height plus half the print’s height, minus the distance from the top of the print to the cleat on the back.
Hold the wall cleat against the wall at your calculated height and confirm it’s level. The cleat’s lip should point up and outward.
Drive screws through the cleat into studs wherever they align. For points between studs on drywall, use heavy-duty toggle anchors. A ¼-inch snap toggle in ½-inch drywall has a safe working load of roughly 65–90 lbs. That rating is well above what most metal prints need at intermediate points.
If studs don’t line up with your bracket holes, use snap-style toggle anchors instead of spring-wing toggles. Snap toggles stay captive in the wall when the bolt is removed, so you can rehang without losing the anchor.
Seat the print’s back cleat onto the wall cleat and slide it down until it locks. Check level across the top edge of the print.
Z-bar and cleat hardware often sells separately from the print, so confirm what came in the box before you buy extra parts. A French cleat creates a clean, floating look with the print sitting flush and shadow-free, and the slightly more involved install pays off in stability.
How to hang a metal print with standoffs
Standoff barrels create a modern, gallery-style look where the print floats about ¾ inch off the wall on four visible metal posts. This method only works when the print has pre-drilled corner holes.
Hold the print against the wall at your target height and lightly mark all four corner hole positions through the pre-drilled holes. Ask a second person to help hold the print steady.
Set the print aside and use a level to confirm all four marks line up correctly.
Drill the wall at each mark and insert the right anchors for your wall type.
Screw the standoff barrel bases into the wall anchors until they’re snug. Avoid overtightening, which can stress the wall around the anchor.
Align the print’s corner holes over the standoff bases and attach the front caps, tightening by hand until they feel firm.
Standoffs require more work and leave four visible holes in the wall if you ever remove the print, which matters in rentals. They’re common for acrylic and metal wall art and give a clean, architectural result when installed carefully.
How to hang metal prints without nails
You can hang small, lightweight metal prints without nails, but adhesive methods have clear limits. The strongest adhesive picture-hanging strips top out at 20 lbs per frame under ideal conditions, such as smooth, fully cured painted drywall at stable temperature and humidity.
To give adhesive strips the best chance of holding a metal print, follow these basics:
Clean the wall with isopropyl alcohol and let it dry fully before you apply any strips.
Wait at least 7 days after fresh paint before applying strips, since adhesive bonded to uncured paint can pull the paint off during removal.
Press each strip firmly for a full 30 seconds and allow at least 60 minutes of cure time before you load any weight.
Avoid textured walls like orange-peel or knockdown finishes. Adhesive on textured surfaces contacts only the high points, which can cut real holding power to less than half the advertised rating.
Adhesive failure is the most common complaint with this method. High humidity softens adhesive bonds, and temperature swings weaken them over time, so a print that feels secure in winter might fall in summer. For heavier prints, a nail, screw, or cleat is the safer choice.
For renters who truly can’t put holes in the wall, Canvas Galleries, starting at $135, offer a lighter-weight alternative. Canvas prints are renter-friendly and can often hang with damage-free mounting strips or velcro wall adhesives.
Browse canvas gallery walls for renter-friendly wall art
How to hang a metal print that has no mounting hardware
Some metal prints arrive as bare aluminum panels with nothing on the back. You still have several practical ways to display them safely.
Attach a sawtooth hanger or D-rings to the back: Use an adhesive rated for metal and for the print’s weight. This works best for panels under about 5 lbs and isn’t suited to large or heavy prints.
Use a wall-mounted French cleat or Z-bar: Mount the wall rail as described in the cleat section. The bare panel rests on the cleat’s lip without any hardware attached to the print itself. This is usually the most secure option for a larger panel with no hardware.
Use a plate stand or easel for desk display: For smaller panels, a metal display easel keeps the print upright on a surface with no wall attachment. Frameology’s Metal Desk Print, starting at $25, is designed for this and ships with a stand included.
Adhesive-mounted hardware on the back of a metal print works for small pieces but doesn’t scale well to large panels. Heavy prints without hardware are safer on a wall-mounted cleat or with help from a professional installer. The simplest way to avoid this situation is to order a metal print that ships ready to hang, like Frameology’s HD Metal Print.
Create a high-quality HD Metal Print
Choosing the right anchor for drywall, plaster, brick, or stud
Your wall type controls which anchors will hold a metal print securely. Matching the anchor to the surface prevents pull-outs and sagging.
Drywall
Standard residential drywall is about ½ inch thick and has very little holding power on its own. Choose anchors based on the print’s weight.
Under 10 lbs: a plastic expansion anchor or even a nail driven directly into drywall can work for very small prints.
10–30 lbs: self-drilling threaded anchors, sometimes called E-Z Anchor style. Real-world working load is roughly 25–40 lbs for self-drilling threaded anchors in ½-inch drywall.
30–75 lbs: snap-style toggle bolts. A ¼-inch snap toggle in ½-inch drywall is rated at 265 lbs maximum, with a recommended working load of roughly 66 lbs.
Above 75 lbs: anchor into studs. A 2x4 stud holds 250–400 lbs per fastener with a wood screw, which is far more than any drywall anchor.
Always choose an anchor rated for at least double the actual weight of the print. Drywall with multiple paint layers or minor water damage can lose 30–50% of its anchor capacity.
Plaster
Older homes with plaster over wood lath feel harder and more brittle than drywall. Drill slowly with a pilot hole to avoid cracking the plaster surface. Toggle bolts and molly bolts work well because they grip behind the lath instead of relying on the plaster core. Lath-and-plaster walls in pre-war buildings have irregular cavities, so snap toggles that stay captive usually work better than spring-wing toggles whose wings can fall into the cavity.
Brick or concrete
Masonry walls need a masonry drill bit and masonry anchors, since standard drywall anchors won’t grip. Drill into the brick face, not the mortar joint, because mortar is softer and less reliable. Tap a masonry anchor into the hole until it’s flush, then drive your screw. The same snap toggle anchor rated at 238 lbs in ½-inch drywall holds 802 lbs in concrete, which shows how much the substrate matters.
Stud
A wood stud is usually the strongest option. A screw driven directly into a stud needs no anchor and can carry 100 lbs or more. Use a stud finder before drilling, since studs typically sit 16 or 24 inches apart on center. When a stud lines up with your hanging point, use it. When it doesn’t, choose the right anchor for the surrounding wall type.
Troubleshooting: crooked, sagging, and falling metal prints
Most hanging problems fall into a few patterns. Once you know the cause, the fix is straightforward.
The print hangs crooked or drifts: A single center hanger gives the print room to pivot. Add rubber bumpers to the bottom two corners of the print back so they grip the wall and stop the drift. For larger prints, switch to a French cleat or Z-bar, which supports the panel across its width. If a print on a cleat still looks crooked, the wall rail wasn’t level during install and needs to be reset.
The print sags away from the wall at the top: This usually means the hardware doesn’t match the panel. A rigid aluminum print hung on a single wire or center sawtooth tends to kick the top forward as the bottom pulls in. A French cleat or Z-bar fixes this by holding the panel flush and spreading the load horizontally. Wire on a heavy metal panel swings, twists, and leaves the top kicked away from the wall, so it isn’t a good match for rigid metal.
An anchor pulls out of the wall: The anchor was too light for the load or the surrounding drywall was weak. Patch the hole, let it cure, and rehang with a heavier-duty anchor or move the mount point to a stud. Avoid re-drilling within about 2 inches of the old hole, since the gypsum around it is already stressed.
Adhesive strips fail on warm or humid walls: Adhesive performance drops above 80% relative humidity, and strips in steamy bathrooms have failed after about nine months. If the print hangs in a warm or humid room and the adhesive let go, switch to a mechanical fastener. Consistently humid walls need nails, screws, or cleats instead of adhesive.
Shop HD Metal Prints that hang straight and stay put
Why Frameology’s HD Metal Print is the easiest metal print to hang
The HD Metal Print ships ready to hang, so you skip both missing hardware and mismatched hardware. The print uses advanced dye-sublimation technology that infuses the image directly into scratch-resistant aluminum, which creates vivid, high-definition color with strong contrast and durability for outdoor or high-moisture spaces. The image bonds into the metal surface instead of sitting on a separate coating. For desk display, the Metal Desk Print, starting at $25, ships with a stand included, so you don’t need any wall hardware.
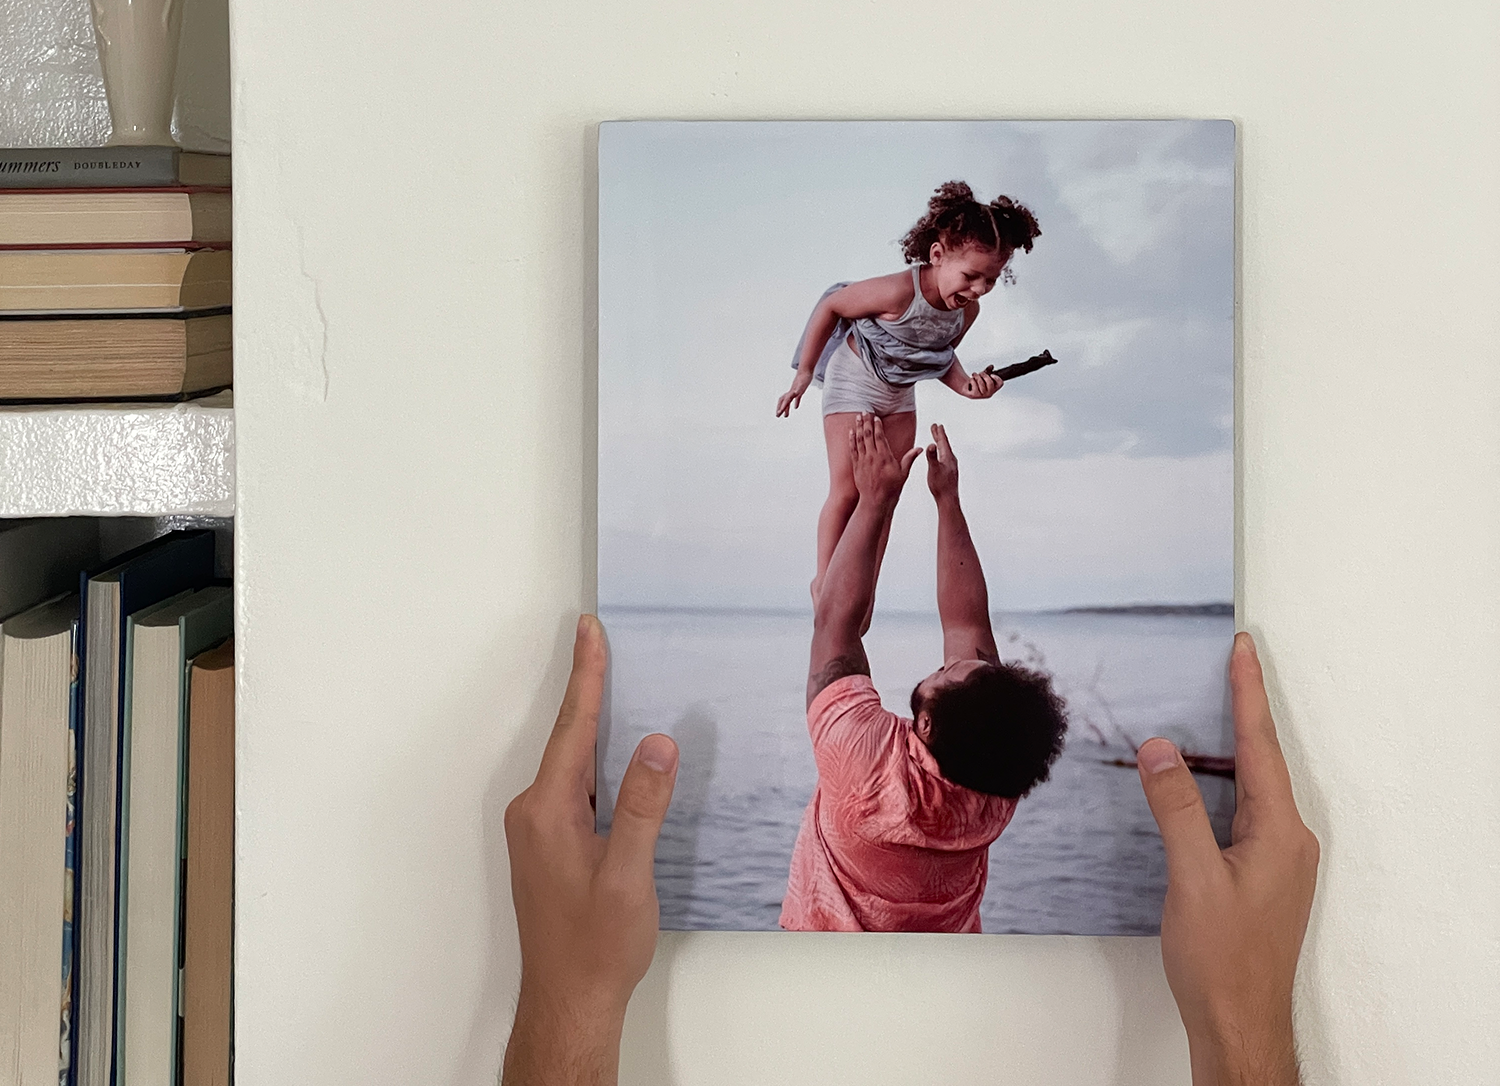
Frameology products are printed and hand framed with care in the United States, with carbon neutral shipping. Frameology has earned over 7,700 verified 5-star reviews with a 4.98/5 star rating. To see why Frameology is a strong choice for printing and framing, read why Frameology is the best online framing service. You can also explore the full Frameology blog library for more guides on metal prints, finishes, and sizing, including metal prints for wall art: choose the right finish and size and metal prints for photos: finishes, bases, and sizing guide.
Design your HD Metal Print at Frameology
Frequently asked questions
How high should I hang a metal print?
The gallery standard is to center the artwork 57–60 inches from the floor, measured to the center of the print. In rooms where you’re mostly seated, like a living room or dining room, staying closer to 57 inches keeps the print at a comfortable viewing height. Above furniture, leave 6–10 inches between the top of the furniture and the bottom of the print.
Can you hang a metal print without nails?
Yes, for small and lightweight panels. Adhesive picture-hanging strips work on smooth, fully cured painted walls for prints well under 20 lbs. They’re less reliable on textured walls, in humid rooms, and on freshly painted surfaces. For heavier prints or challenging environments, a nail, screw, or cleat is usually a better choice.
What do I do if my metal print has no mounting hardware?
You can attach a sawtooth hanger or D-rings to the back using an adhesive rated for metal, as long as the print is small and light. You can also mount a French cleat or Z-bar to the wall and rest the bare panel on it, or use a plate stand or easel for desk display. For large or heavy panels with no hardware, a wall-mounted cleat is usually the safest solution.
How do I hang a heavy metal print securely?
Use a French cleat or Z-bar for any print over roughly 10 lbs. Mount the wall rail into studs wherever possible, since a wood screw into a stud can hold far more than a drywall anchor. For points between studs, use snap-style toggle bolts rated well above the print’s weight and choose anchors with at least double the load rating you need.
Do adhesive strips work for metal prints?
They work for small, lightweight metal prints on smooth, cured painted walls in climate-controlled rooms. The strongest adhesive strips are rated to 20 lbs under ideal lab conditions, but real-world performance drops on textured walls, in humid rooms, and near heat sources. For prints over about 10 lbs, or for bathrooms and kitchens, mechanical fasteners are safer.
How do I stop a metal print from hanging crooked?
A single center hanger lets the print pivot. Add rubber bumpers to the bottom two corners of the print back so they grip the wall and prevent drift. For larger prints, switch to a French cleat or Z-bar, which supports the panel at two points and removes the pivot.
What hardware comes with a Frameology HD Metal Print?
The HD Metal Print ships ready to hang with mounting hardware already attached, so you don’t need to add anything to the back of the print. The Metal Desk Print, starting at $25, ships with a stand for tabletop display. Both products are made-to-order in the United States.
