


How to hang a gallery wall with Command strips
Written by: Daniel Koren, Co-Founder, Frameology
Key takeaways
Command strips can hang frames without wall damage when you prep the surface, respect weight limits, and wait for full cure times.
Most failures come from skipping cleaning, using too few strips, sticking them to textured or fresh paint, or ignoring the one-hour cure time.
Always match strip size to frame weight and make sure your wall is smooth, clean, and fully cured before you start.
Gallery walls add extra complexity, because you need to measure, space, and level each frame individually.
For a simpler option that removes layout guesswork, explore Frameology's Classic gallery walls at frameology.com.
Renters and first-time homeowners love Command strips because they avoid nails, patching, and security deposit drama. Command Picture Hanging Strips use a hook-and-loop adhesive system that bonds to the wall and the frame separately, then interlocks. You pull the tab straight down and the strip releases cleanly, at least in theory.
In real homes, the most common failure points are skipping surface prep, using too few strips for the frame’s actual weight, applying strips to incompatible surfaces, and not waiting the required cure time. Any of those mistakes can send a frame crashing to the floor days or weeks after installation, sometimes silently overnight. Every one of those failure points is preventable. Follow the steps below and Command strips can perform as advertised.
Surface compatibility checklist for Command strips
Start by confirming your wall qualifies before you buy a single strip. Command Picture Hanging Strips reach their listed weight capacities only on smooth, clean surfaces. Here’s what works and what doesn’t.
Approved surfaces:
Painted drywall (fully cured, see note below)
Finished wood
Smooth tile
Metal
Glass
Painted concrete or cinder block
Laminate
Surfaces to avoid:
Textured walls (orange peel, knockdown, popcorn) because adhesive bond strength drops 20–40% on textured surfaces when contact occurs only on the high points
Wallpaper or fabric
Brick or stone
Rough or unfinished wood
Dusty or greasy surfaces
Freshly painted walls, because paint cures chemically for up to 30 days even when it feels dry, and strips applied too early often peel paint on removal
Weight-by-frame-size chart for Command strips
Choosing the wrong strip size for your frame is one of the fastest ways to end up with a frame on the floor. The table below maps Command strip sizes to their maximum weight ratings and the frame dimensions they’re designed to handle. All figures assume you use the full number of strip pairs listed on the packaging and apply them to a clean, smooth surface.
Strip size |
Max weight (per set) |
Recommended max frame size |
Typical use |
|---|---|---|---|
Small |
1 lb |
Small frames and lightweight décor |
Lightweight signage, small photos |
Medium |
3 lbs (1 pair), up to 12 lbs with 4 pairs |
Up to 18 x 24 inches |
Clocks, clipboards, medium photos |
Large |
4 lbs (1 pair), up to 16 lbs with 4 pairs |
Up to 24 x 36 inches |
Canvas art, framed prints |
Jumbo |
Up to 16 lbs (4-strip set) |
Mirrors, large frames, bulletin boards |
Heavier gallery wall frames |
X-Large |
Up to 20 lbs (4 pairs) |
Up to 24 x 36 inches |
Framed mirrors, large prints |
Always weigh your frame before buying strips. Frameology’s Classic line and canvas prints are compatible with Command strips. Never use Command strips with Frameology’s Luxe line, as it can damage the sealed paper backing. When you’re unsure, size up, because using too few strips or overloading for the frame’s actual weight is the most common cause of Command strip failure.
Exact Command strip method that actually works
Once you’ve confirmed your wall surface and chosen the right strip size for your frame’s weight, the installation process becomes straightforward. Follow these steps in order, because skipping any one of them is why many gallery walls end up on the floor.
Step 1: Clean the wall
Wipe the exact spot where each strip will go using a clean cloth dampened with isopropyl (rubbing) alcohol. Household cleaners leave a film or residue that reduces adhesive contact, so skip them. Let the alcohol evaporate completely. This usually takes about 60 seconds, but wait until the surface feels fully dry before you move on.
Step 2: Prepare and pair the strips
Press the hook and loop sides of each strip together to pair them before you attach anything to the wall. Attach the paired strips to the back of the frame and press firmly for 30 seconds per strip. Remove the liner from the wall side of the strips.
Step 3: Apply the frame to the wall
Press the frame against the wall in the exact position you want. Hold it firmly for 30 seconds to activate the bond. Remove the frame by pulling the bottom edge toward you and up. Press the wall-side strips again for 30 seconds.
Step 4: Wait for the full cure time
Wait at least one hour before hanging any weight. This is the step most people skip, and skipping the cure window reduces holding capacity by roughly 40–50%.
After the hour is up, reattach the frame by pressing the hook and loop sides together on the wall.
Why Command strips keep falling off
If your strips have already failed, or you’re troubleshooting before they do, these are the most common culprits.
Dirty or oily wall surface: even a monomolecular layer of hydrocarbon film from oils or fingerprints blocks proper molecular contact with the wall. Clean with rubbing alcohol, not a household spray.
Freshly painted walls: applying strips to uncured paint can cause peeling when you later remove the strip, even with correct technique. Wait at least seven days after painting, and ideally 30 days for full cure.
Textured surface: on textured walls that feel like orange peel or sand, adhesive strips underperform their rated weight limit. Drop one weight tier or switch to a minimal-penetration hook.
Too few strips: always use the full number of pairs listed on the package for your frame’s weight.
Skipped cure time: skipping the required cure or dwell time after pressing strips onto the wall is a leading cause of delayed adhesive failure, with frames often detaching days or weeks later.
Humidity or temperature extremes: humid environments weaken adhesive bonds, and direct sunlight, daily temperature swings, and humidity shorten Command strip service life to one to two years.
Heaviest picture a Command strip can safely hold
3M rates its X-Large Picture Hanging Strips to hold 20 lbs when you use four pairs on smooth painted surfaces such as painted drywall or cinder block. That rating is the ceiling for the Command strip product line under ideal conditions.
A few important caveats apply. That 20 lb rating assumes a perfectly smooth, clean, fully cured surface, the full number of strip pairs listed, the complete 30-second press technique, and the full one-hour cure time before loading. Command adhesive strips can fail without warning after years of use, and they perform poorly in humidity, on textured walls, and on wallpaper. For frames near the upper weight limit, Command strips aren’t recommended above beds or over valuable objects.
For most standard gallery wall frames, such as 8x10 or 11x14 prints in lightweight frames, Large or Jumbo strips are usually enough. Weigh your frame before you buy.
How to remove Command strips without wall damage
Correct removal leaves your wall untouched, while rushed removal often peels paint. Use this method for clean results.
Find the pull tab at the bottom of the strip.
Pull the tab slowly and parallel to the wall, not outward, until the strip narrows and releases. Pulling outward is the motion most likely to peel paint or drywall paper.
Work slowly, because the stretch-release adhesive technology needs a gradual pull to disengage cleanly.
If any adhesive residue remains on the wall, rub it gently with rubbing alcohol on a clean cloth.
Never yank a frame directly off the wall without releasing the tab first. That move almost guarantees paint damage.
Ready to skip the measuring and risk?
The Command strip method works when you follow every step precisely. For a gallery wall with multiple frames, that means cleaning and prepping each spot, calculating spacing and layout from scratch, waiting out cure times for every frame, and hoping the wall surface cooperates.
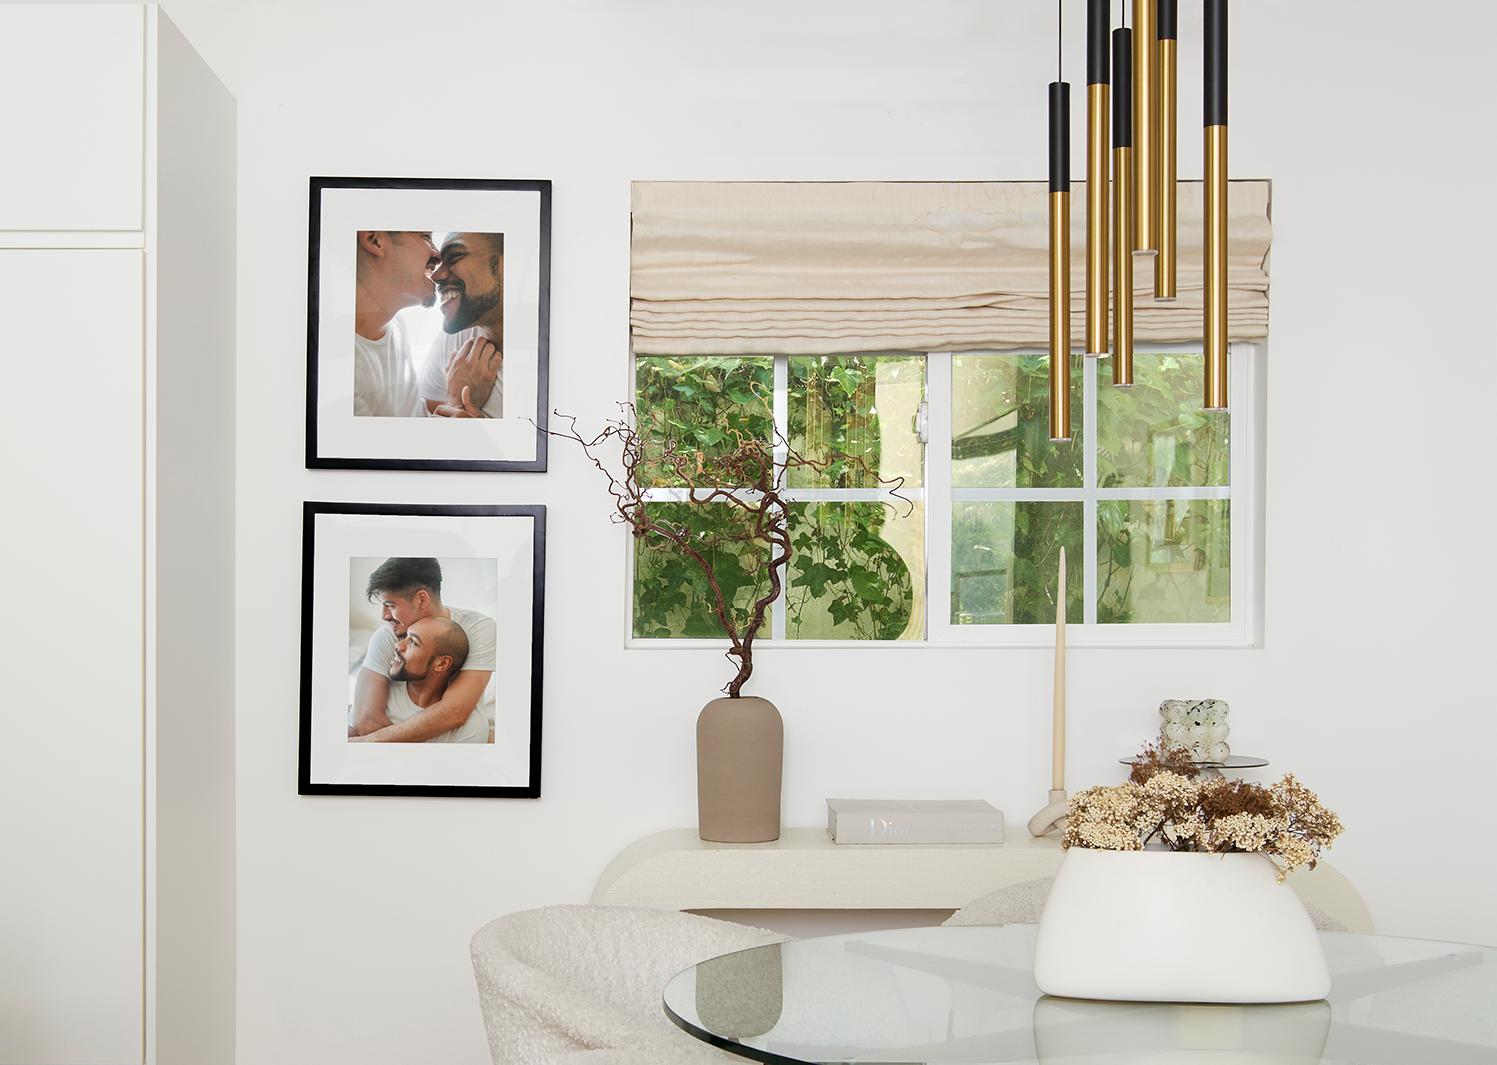
If you'd rather jump straight to the part where the gallery wall is on your wall and looks professionally installed, Frameology's Classic gallery walls handle the hard part for you. The Classic Stack II, starting at $198, is one of the most accessible entry points, and it ships with the gallery wall template that's racked up millions of views on TikTok and Instagram. Frameology has earned over 7,500 verified five-star reviews and a 4.98/5 star rating, and it's been named "best for budget-conscious shoppers" by Hunker and praised for high-quality prints, affordable pricing, and fast shipping by Reviewed.com.
Start framing your favorite memories at Frameology.
Frequently asked questions
Can I use Command strips on any type of frame?
Command strips work best on frames with a flat, smooth back that can make full contact with the wall. For Frameology frames specifically, Classic frames are compatible with Command strips, because they use a standard removable backing and a single center-point hanging system. If you're using a Classic gallery wall and prefer a damage-free approach, Command strips can work for individual frames when the wall surface is smooth, clean, and fully cured.
Do all gallery walls include hanging templates?
Classic and Luxe gallery walls include life-size gallery wall templates that make installation simple and straightforward. Canvas galleries, Metal galleries, and gallery walls created using Frameology’s Gallery Wall Design Service don’t include templates, because their construction and customization work differently and often need more tailored installation approaches.
How long do Command strips last on a gallery wall?
In normal indoor conditions on smooth, cured paint, Command strips usually hold for three to five years before you see noticeable adhesion loss. That timeline shortens to one to two years in rooms with direct sunlight, daily temperature swings near heating vents or windows, or elevated humidity. If you notice any edge lift on a strip, replace it before it fails. For a permanent gallery wall installation, traditional hardware or Frameology’s included hanging system will always outperform adhesive strips over the long term.
