


How to hang a balanced gallery wall at home
Written by: Daniel Koren, Co-Founder, Frameology
Key takeaways
Use the 57–60 inch center rule, 2–3 inch spacing rule, and anchor-piece method to create a balanced gallery wall without guesswork.
Gather your tools and mark a reference line at eye level before hanging any frames to avoid crooked or uneven results.
Follow a seven-step process that starts with choosing an anchor piece and ends with leveling each frame for a professional finish.
Prevent common mistakes like hanging too high, inconsistent spacing, or skipping the layout phase by using a life-size gallery wall template and careful measurement.
Frameology’s Classic and Luxe gallery walls include a life-size gallery wall template that removes the hassle, so you can start framing your favorite memories at Frameology.
Tools and rules to gather before you start
A few minutes of prep before you touch a hammer saves you from crooked frames, uneven gaps, and extra holes.
Start by gathering these basics:
Tape measure
Pencil
Level (a mini-level works fine, and Luxe gallery walls include one in the box)
Hammer and nails
Painter's tape (for DIY template methods)
Your frames or a Frameology gallery wall with its included life-size gallery wall template
Once your tools are ready, keep two core rules in mind while you measure and mark.
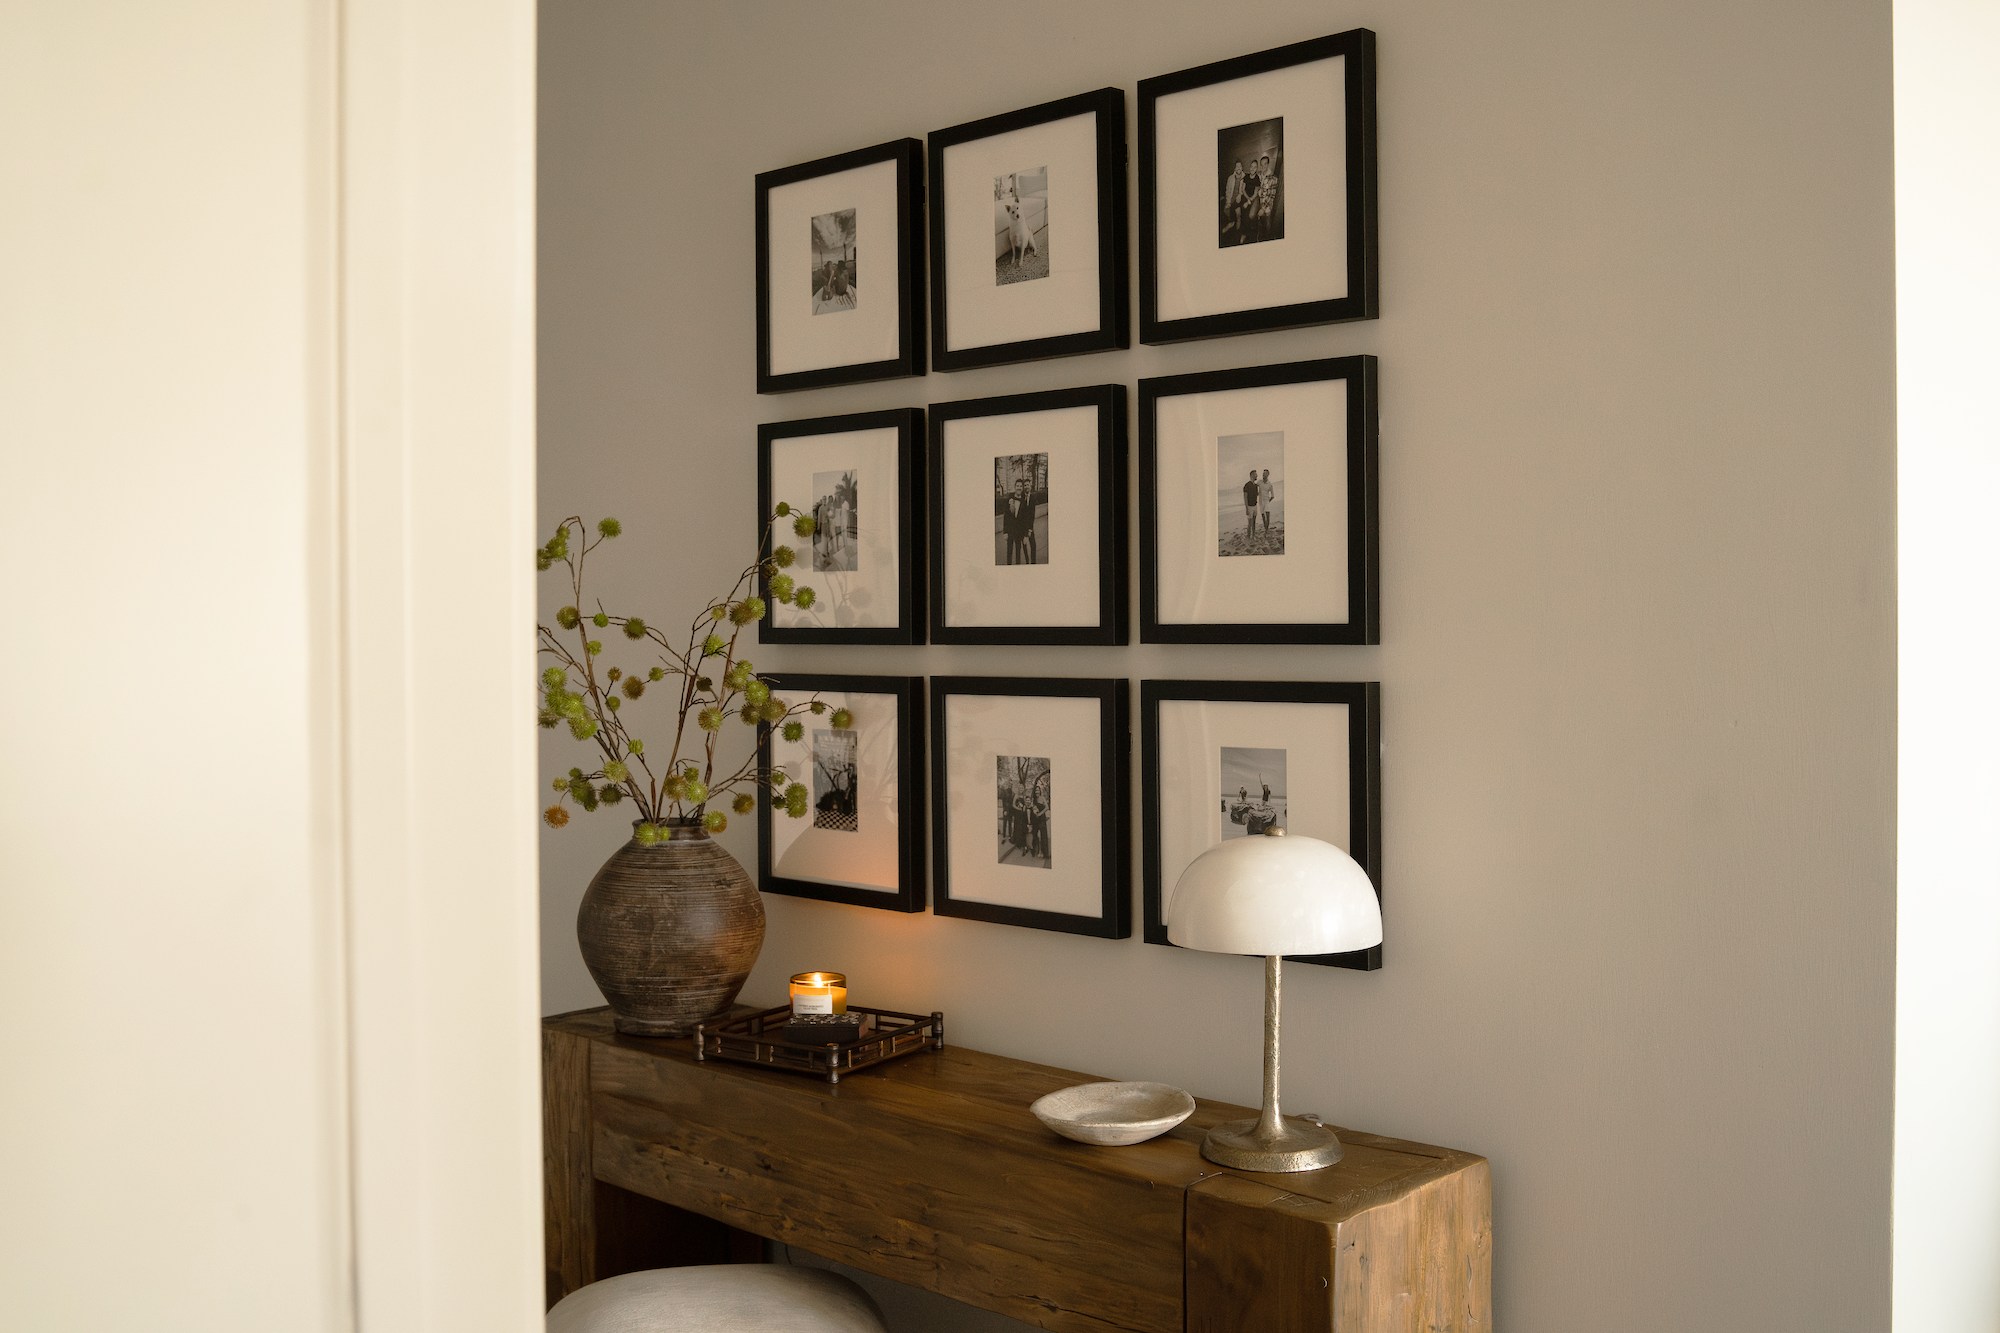
The 57–60 inch center rule: Interior designers and galleries center the entire arrangement, not individual frames, at 57–60 inches from the floor, which aligns with average adult eye level. This works for open walls and hallways. Above furniture, the rule shifts: leave 7–10 inches between the top of the furniture and the bottom edge of the lowest frame.
The 2–3 inch spacing rule: Spacing individual frames 2–3 inches apart keeps the arrangement reading as one cohesive composition. Wider gaps make the grouping feel disjointed, while tighter gaps can feel cramped.
With your tools and these rules in place, you can move into the step-by-step hanging process with confidence.
Seven-step process to hang a balanced gallery wall
Follow these steps in order for a smoother, frustration-free installation.
Choose your anchor piece: Pick the largest or most visually dominant frame in your layout. This anchor piece sets the visual tone, and every other frame will sit in relation to it.
Find your wall center: Measure the width of your wall or the furniture below the gallery wall. Mark the horizontal midpoint lightly in pencil so you know where the grouping should center.
Mark your eye-level line: Draw a faint horizontal pencil line at 57–60 inches from the floor. This line marks the vertical center of your entire arrangement.
Tape your gallery wall template (or paper cutouts) to the wall: If you have a Frameology Classic or Luxe gallery wall, tape the included life-size gallery wall template directly to the wall, lining it up with your center marks. If you are going DIY, trace each frame onto kraft paper, cut the shapes out, and tape them up. This step removes guesswork and prevents repeated nail holes.
Adjust until the layout feels balanced: Step back and look at the full arrangement. Shift the template or paper cutouts until the grouping feels visually even before you commit to any nail positions.
Mark and hammer nails: For Frameology Classic gallery walls, hammer nails into the marked spots on the template. For Luxe gallery walls, follow the dual-point hanging instructions printed on the template, since each Luxe frame uses two side hangers for easier leveling. Remove the template carefully once all nail positions are marked or nails are in place.
Hang your frames and level: Hang each frame, check it with a level, and make small adjustments as needed. With a Frameology gallery wall template, this step becomes quick, because the template has already handled the precise positioning.
Understanding the principles behind the process
The seven steps above rely on three simple principles. When you understand them, you can adapt your gallery wall to any room, wall size, or mix of frames.
The 57–60 inch center rule in practice
The center of the arrangement should sit at 57–60 inches from the floor, which matches standard museum hanging height and most people’s natural eye level. To apply this, measure the total height of your planned arrangement, divide that number by two, then add it to 57 inches. That final number tells you where the top edge of your layout should land.
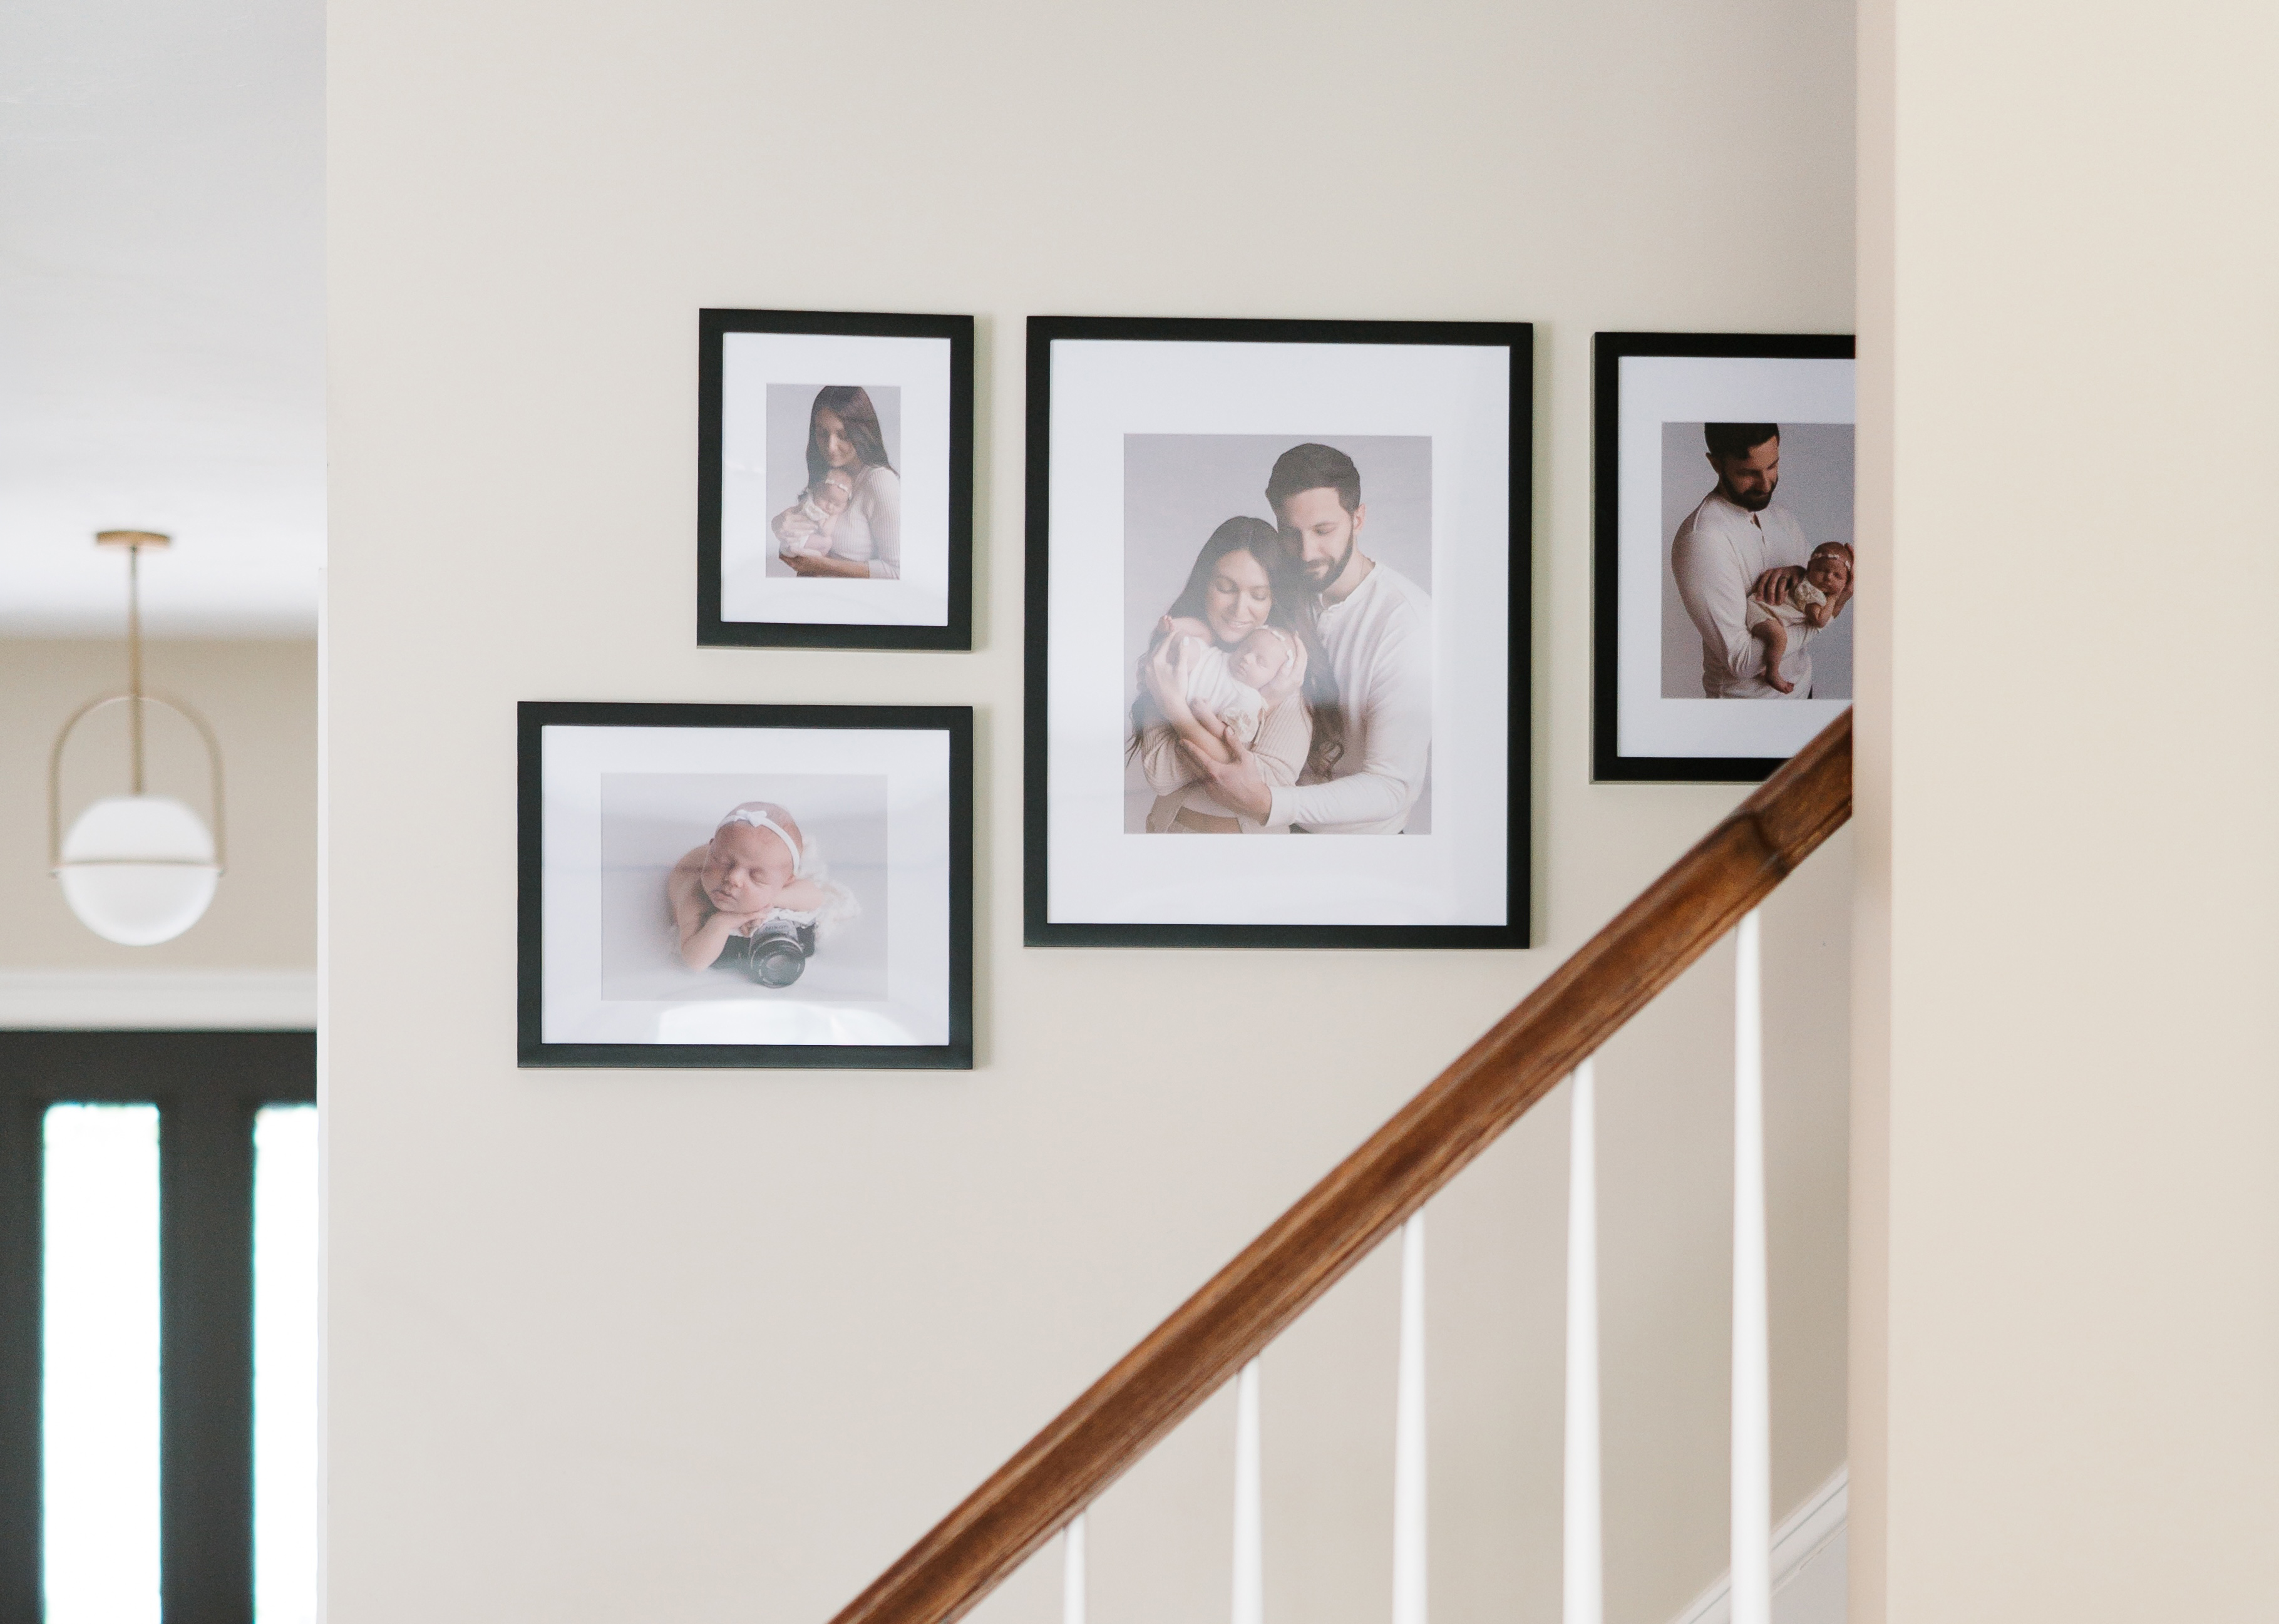
On a staircase, the rule shifts slightly. Measure a line parallel to the stair banister at 60–62 inches above each step to create the center line of the gallery. Keep your 2–3 inch spacing consistent while you follow the diagonal angle.
The 2–3 inch spacing rule in practice
The ideal spacing between frames on a gallery wall is 2–3 inches. This range helps the eye read the frames as one connected composition, and the chosen distance should stay consistent across every gap.
For frames 16×20 inches or larger, you can stretch spacing to about 3.5 inches. For frames under 5×7 inches, keep gaps closer, around 1.5–2 inches. Consistency matters most. Professional gallery walls keep gaps steady, while amateur walls often show random spacing that distracts from the art.
The anchor-piece method in practice
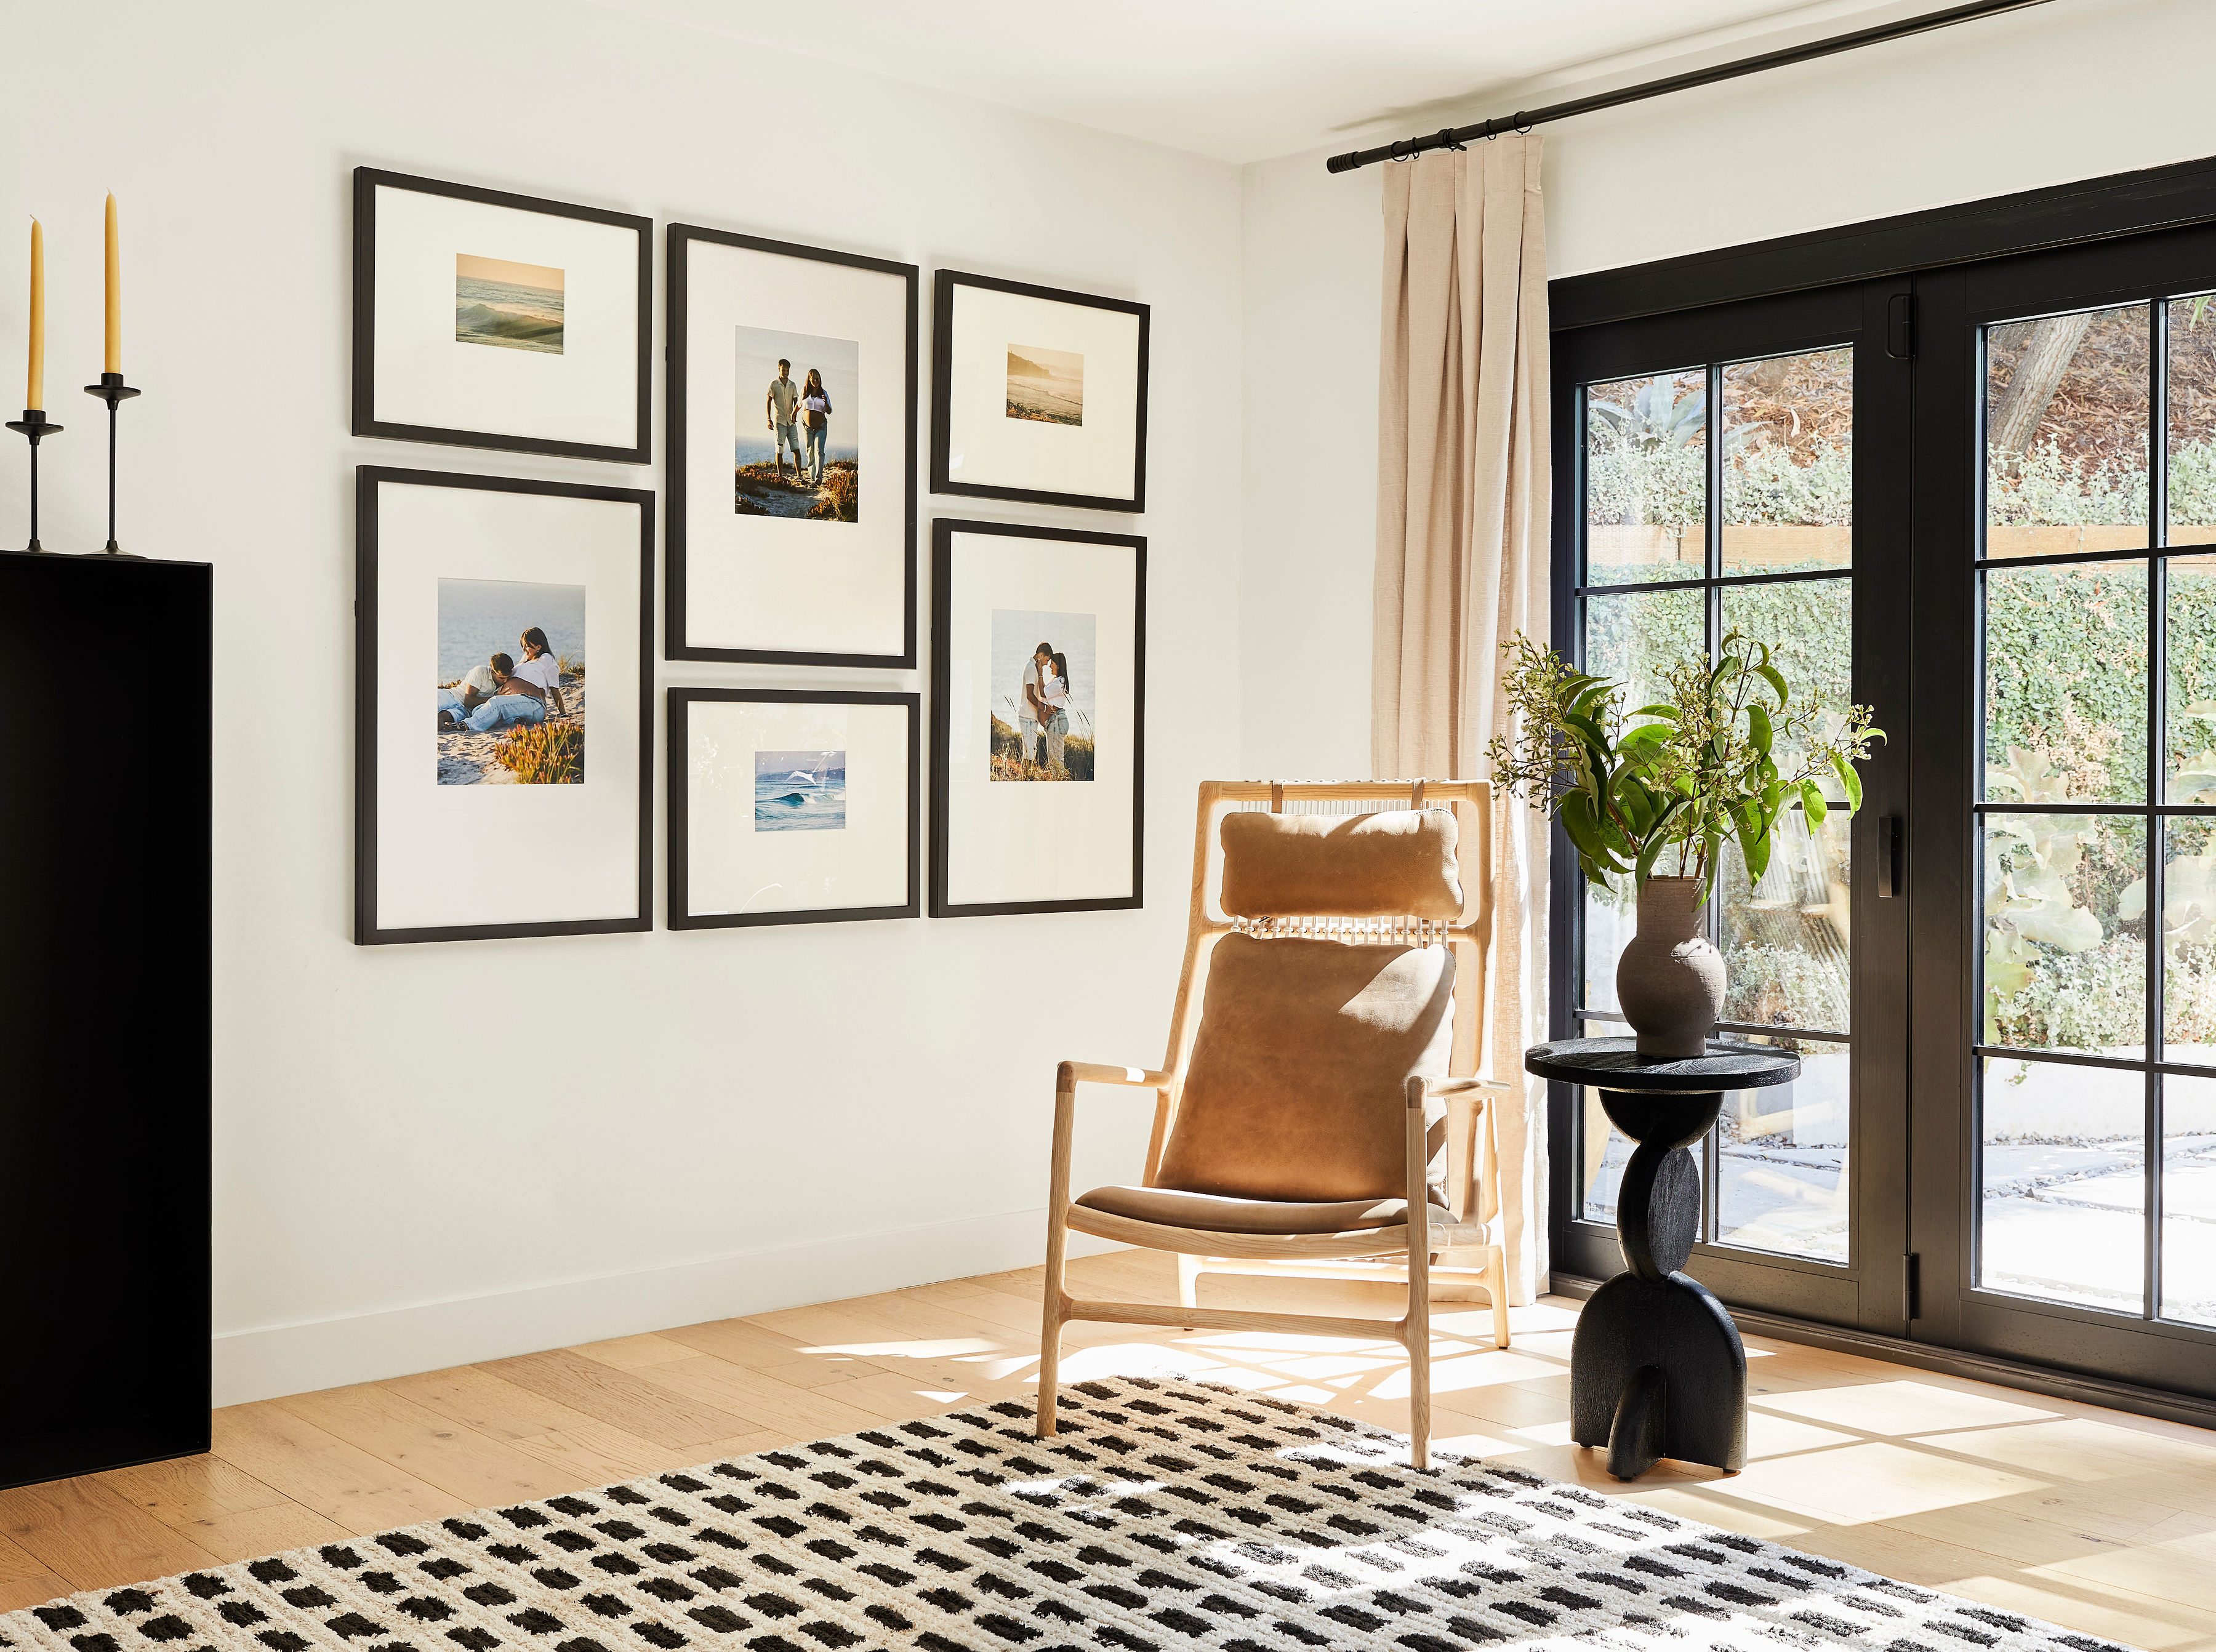
The anchor piece acts as the visual cornerstone of the arrangement. It’s usually the largest frame or the one with the most visual weight. The vertical center of the anchor piece should sit at roughly 57–61 inches from the floor. Surrounding frames then sit in relation to that anchor, with consistent 2–3 inch gaps.
Bobby Berk described his design approach for the Luxe Bricklay this way: "I wanted to create a gallery wall layout that was versatile, simple, and symmetrical. I was inspired by the way bricks are laid in a stairstep pattern, and used 2 different sized frames to recreate that," he said. That quote shows the anchor-piece method in action, with one clear organizing logic applied across the whole wall.
Once you understand these three principles, the next step is applying them with precise spacing and alignment.
How to hang a gallery wall evenly
Even spacing depends on careful measuring and a clear reference line. Professionals anchor gallery wall layouts to a reference line, such as a shared top edge, bottom edge, centerline, or furniture line, and mark that line with a pencil or painter's tape before hanging any frames. From that reference, you calculate every frame position outward using consistent 2–3 inch gaps, measured edge-to-edge.
The most reliable method for DIY installers is the paper template approach: trace frames on craft paper or newspaper, cut them out, tape them to the wall, rearrange until the layout feels balanced, mark nail positions with an X, then hammer through the X. This process removes the guesswork that causes uneven spacing and extra holes.
Frameology's life-size gallery wall templates, included with every Classic gallery wall (starting at $198) and Luxe gallery wall (starting at $638), handle this work for you. Frameology ships frames with a true-to-size paper template and outlines that mark exactly where each frame should go, so spacing is pre-calculated and printed right on the template.
What are common gallery wall mistakes?
Most gallery wall frustrations come from a few repeatable errors that you can easily avoid.
Hanging too high: Many amateur gallery walls sit four to six inches higher than recommended. The center of the composition should sit at 57–60 inches from the floor, not the top edge.
Inconsistent spacing: Varying the gaps between frames, even by half an inch, makes the arrangement look unplanned. Measure every gap before you drive a nail.
Skipping the layout phase: Skipping the planning phase is one of the biggest DIY gallery wall mistakes and often causes crooked or unevenly spaced frames. Always lay out frames on the floor or use paper cutouts on the wall before you commit to nail positions.
Frames too small for the wall: Using frames that are too small for the wall is a frequently cited DIY issue. A helpful guideline: aim for the arrangement to span about 60–75% of the furniture width below it.
Ignoring wall surface: Standard drywall works with simple nails or picture hooks, plaster usually needs a drill and plastic anchors, and brick requires masonry anchors and a compatible drill bit. Matching hardware to your wall type keeps your frames secure.
What is the rule for gallery walls?
The three rules you have seen throughout this guide, the 57–60 inch center rule, the 2–3 inch spacing rule, and the anchor-piece method, work together to create a gallery wall that feels intentional and professionally installed. When you apply all three consistently, you get a balanced composition no matter how many frames you use.
Common challenges and troubleshooting
Even with a solid plan, a few issues still pop up. These explanations show why they happen and how to fix them. Uneven spacing between frames usually comes from measuring edge-to-mat instead of edge-to-edge or skipping measurement and guessing the gaps. Measure edge-to-edge consistently and use a reference line before you drive any nails. The reference line keeps every gap tied to the same baseline.
Extra or misplaced nail holes often appear when you hang frames without a template or paper cutout layout. Use the paper template method, where you trace frames, tape them to the wall, and mark nail positions before hammering. You can also use a Frameology life-size gallery wall template, which prints those nail marks for you.
Crooked frames after hanging usually signal single-point hanging on frames that need two anchor points or skipping the level. Large frames over 16 inches wide need two nails or hooks to stay level. Luxe frames include a no-wire dual-point hanging system and a mini-level to keep everything straight.
An arrangement that hangs too high often comes from centering individual frames at eye level instead of the entire grouping. The center of the composition, not the top frame, should sit at 57–60 inches from the floor. Lowering the whole grouping usually fixes the issue.
How to measure success
A balanced gallery wall meets all of the following criteria, so use this as a final checklist before you call the job done. If every item below is true, your installation is complete.
The vertical center of the entire arrangement sits at 57–60 inches from the floor, or 7–10 inches above furniture if that applies.
Every gap between frames measures a consistent 2–3 inches, edge-to-edge.
The anchor piece is centered horizontally on the wall or above the furniture below it.
Every frame is level, confirmed with a level tool instead of by eye alone.
No unnecessary nail holes are visible outside the frame positions.
The overall arrangement spans roughly 60–75% of the width of any furniture below it.
When you step back across the room, the grouping reads as one cohesive composition.
Frequently asked questions
Do all gallery walls include hanging templates?
Classic and Luxe gallery walls include life-size gallery wall templates that make installation simple and straightforward. Canvas galleries, Metal galleries, and gallery walls created using Frameology's Gallery Wall Design Service do not include templates because their construction and customization work differently and often need more tailored installation approaches.
How does Frameology's gallery wall template work?
Every Classic and Luxe gallery wall comes with a custom, life-sized gallery wall template. You tape the template to your wall, hammer nails according to the template guidelines, and then hang your frames. The process needs no professional experience and leaves no unnecessary holes.
What's the difference between Classic and Luxe gallery walls?
Classic gallery walls, starting at $198, use Classic frames with single center-point hanging. They include a life-size gallery wall template and offer strong value, and they typically arrive in about a week. Luxe gallery walls, starting at $638, use museum-quality Luxe frames with a dual-point no-wire hanging system for easier leveling. They also include a life-size gallery wall template, with slightly different instructions to match the two-point hanging system, plus all hanging hardware, nails, and a mini-level.
Luxe gallery walls take 7–10 business days because of their artisan craftsmanship. Classic frames feature a removable backing so you can swap photos, while Luxe frames have a sealed, permanent kraft paper backing that protects your photo long term.
Can renters hang a gallery wall without damaging walls?
It depends on the weight of the frames. For Classic gallery walls, damage-free mounting strips can work. Follow the manufacturer's weight rating carefully, clean the wall surface with isopropyl alcohol before applying, and let the strips cure fully before hanging.
For Luxe gallery walls, the dual-point hanging system and heavier premium frames work best with standard nail installation. The sealed paper backing can get damaged if used with adhesive strips, so it is highly discouraged to use them with any Luxe frames.
How long does it take to hang a Frameology gallery wall?
Most Classic gallery walls hang in under an hour when you use the included life-size gallery wall template. Luxe gallery walls follow a slightly more detailed process because of the dual-point hanging system, but the template still handles all the precision work by marking exact nail positions, so you avoid measuring and re-hanging. The finished wall looks professionally installed, without the professional price tag.
Ready to hang a balanced gallery wall without the stress?
The three rules in this guide, the 57–60 inch center rule, the 2–3 inch spacing rule, and the anchor-piece method, remove the guesswork that usually makes DIY gallery walls stressful. Frameology's life-size gallery wall templates go further by handling the precision for you. CNN Underscored's Stephanie Griffin reported that the Frameology system delivered a professionally installed result, calling it "the foolproof hanging system that saved so much time and stress."
Classic gallery walls, starting at $198, ship fast and typically arrive in about a week, with a life-size gallery wall template included. Luxe gallery walls, starting at $638, deliver museum-quality, United States-crafted frames with all hanging hardware and a life-size gallery wall template included, in 7–10 business days.
Both options are backed by over 7,500 verified 5-star reviews and a near-perfect 4.98/5 star rating. For a closer look at what sets Frameology apart, read why Frameology is the best online framing service.
