


Easy gallery wall templates for arranging frames
Written by: Daniel Koren, Co-Founder, Frameology
Key takeaways
The kraft-paper gallery wall template method lets you plan any multi-frame arrangement without committing nail holes until the layout feels right.
For easy installation, Classic and Luxe gallery walls from Frameology ship with a custom, life-size printed gallery wall template that removes most of the measuring and cutting.
Center the entire arrangement at 57 inches from the floor, keep 2–3 inches between frames, and leave 6–10 inches of clearance above the sofa for balanced, professional results.
Classic gallery walls starting at $198 ship quickly, while Luxe gallery walls starting at $638 include premium USA-crafted frames plus all hanging hardware.
Explore Frameology’s gallery wall options and choose the layout that fits your space and style.
Why the kraft-paper gallery wall template works
The kraft-paper gallery wall template method protects your walls while you experiment with layouts. While paper is forgiving, walls are not. When you work out your arrangement on paper first, you avoid extra holes and commit only once the layout feels dialed in.
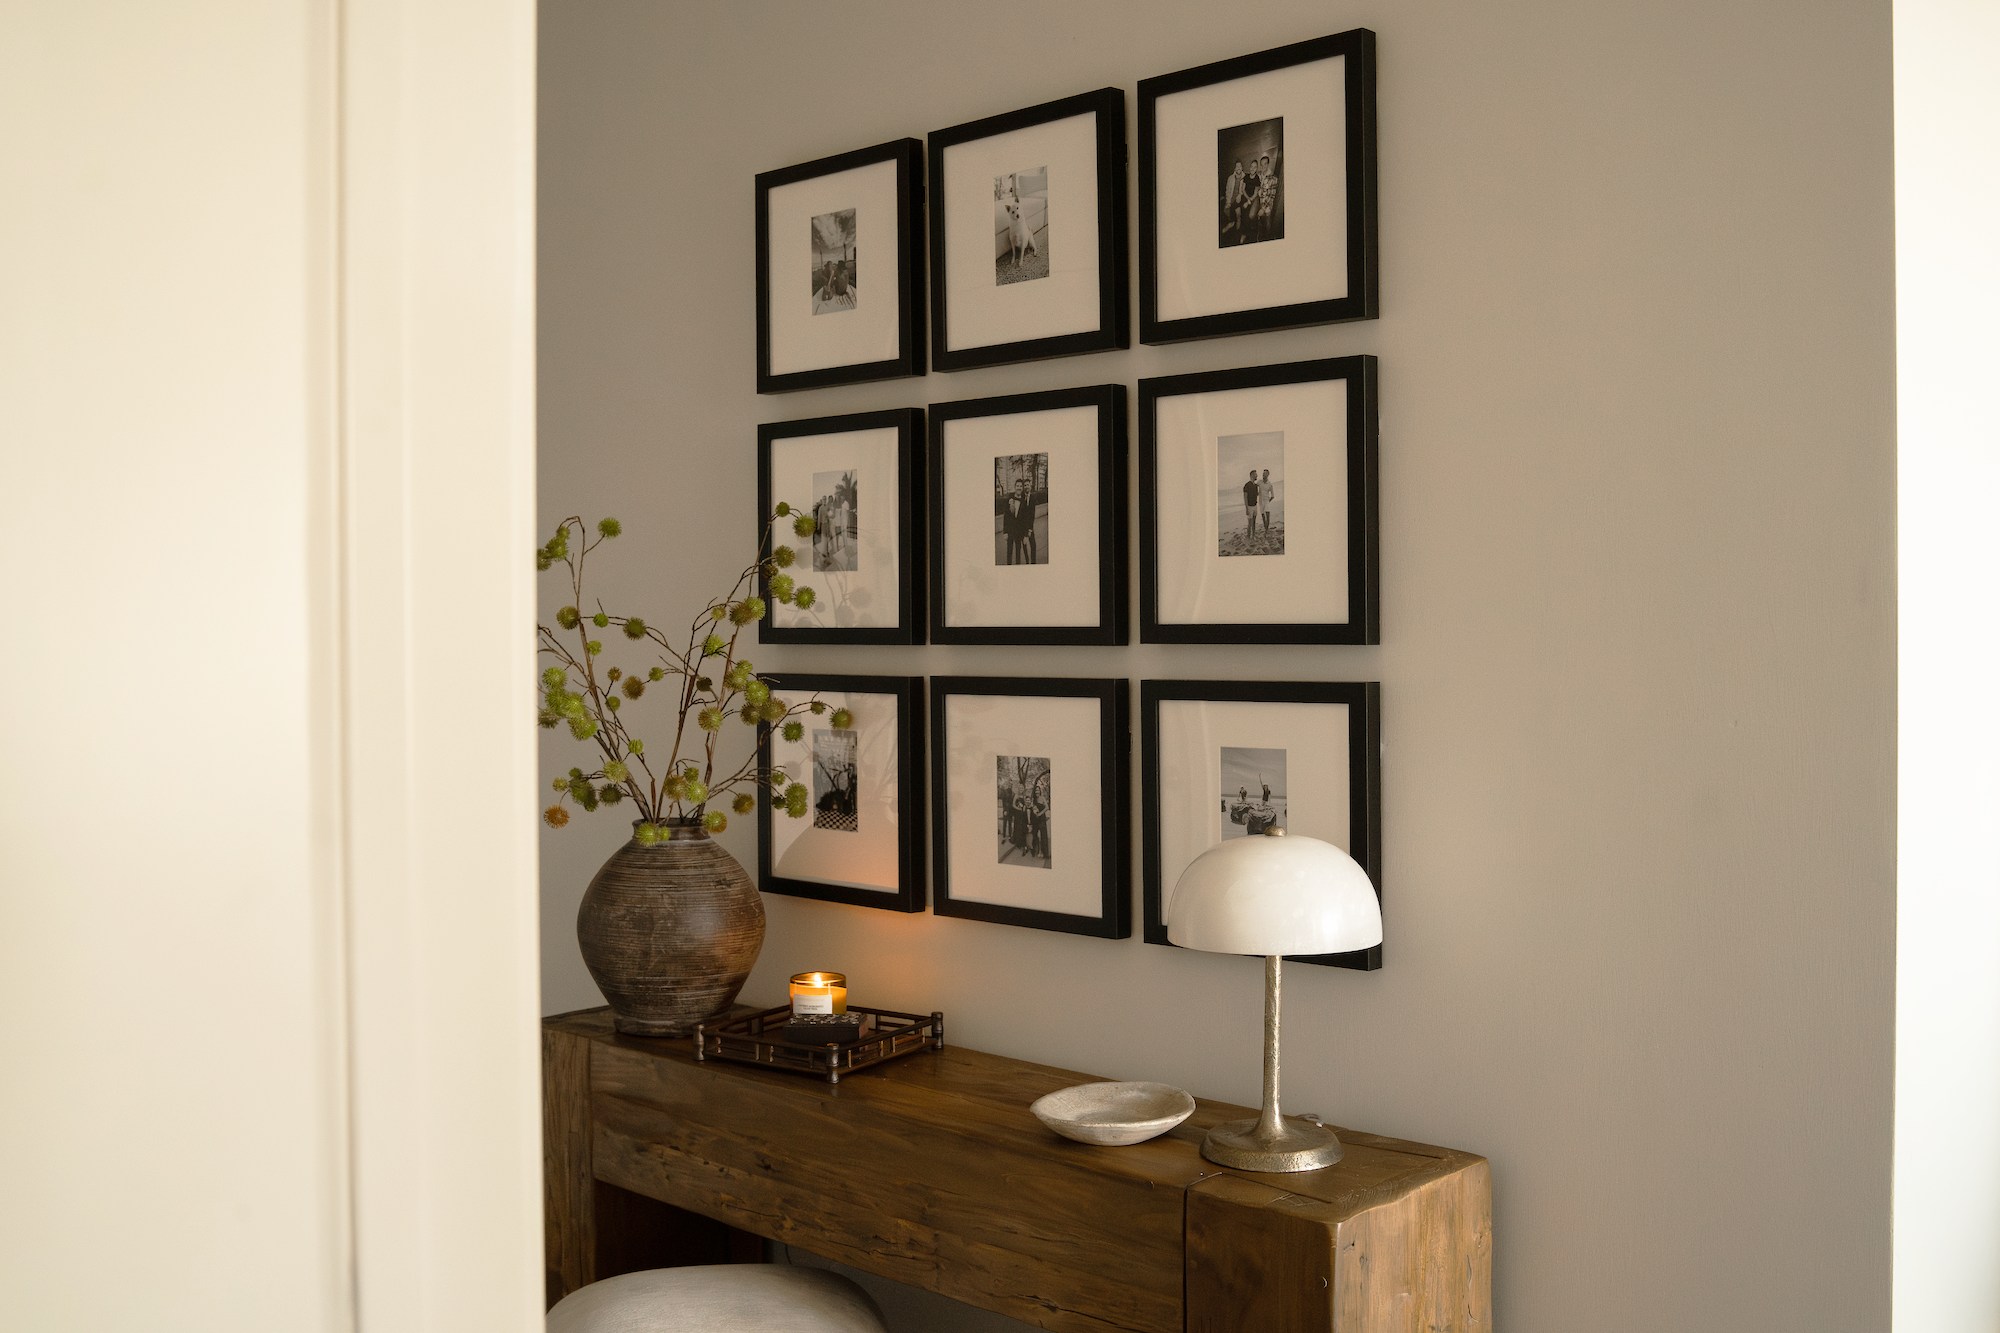
House Beautiful confirmed that Frameology ships frames with a true-to-size gallery wall template and nails to mark exact hanging positions on the wall. Their reviewer concluded, "I would absolutely recommend Frameology to anyone who knows they want a gallery wall, but doesn't know how to make it happen." Apartment Therapy’s review of the Luxe Triptych noted that the frames felt sturdy rather than flimsy or mass-produced, and that the included gallery wall template made spacing straightforward during hanging.
One important distinction matters before you start: only Classic gallery walls (starting at $198) and Luxe gallery walls (starting at $638) include the printed gallery wall template. Canvas Galleries and the Gallery Wall Design Service do not include a gallery wall template. With that context in place, you can move into the step-by-step installation process.
Step-by-step gallery wall process
The same basic sequence works whether you cut your own kraft paper or use a printed gallery wall template that ships with your frames. Follow these steps from bare wall to finished gallery wall.
Measure your wall and anchor furniture: Note the width of your sofa, console, or anchor furniture in addition to the height of the wall above it. Your gallery wall’s total width should span roughly two-thirds of your anchor furniture’s width, a proportion that creates visual balance whether the sofa is 72 inches or 96 inches wide.
Choose your frame sizes: Most professionally styled gallery walls use a 1-2-3 sizing hierarchy: one large anchor frame, two medium frames, and three smaller frames. This pattern appears in over 70% of designer-curated arrangements. For a standard 8-foot living room wall, a large anchor frame of 16×20 or 18×24 inches pairs well with medium 8×10 frames and smaller 4×6 accents.
Select your layout: Decide between a symmetrical grid, a stacked column, a staircase, or an asymmetric cluster. Each layout suits different sofa widths and photo counts. The eight layouts below cover the most common living-room scenarios.
Print or order your template: If you’re going the DIY route, cut kraft paper to the exact dimensions of each frame and label each sheet. Mark the hardware location on the back of each paper cutout. If you order a Classic or Luxe gallery wall from Frameology, a custom, life-size gallery wall template ships with your frames, so you can skip the cutting and measuring step.
Tape templates to the wall: Use painter’s tape to affix each paper cutout to the wall, maintaining 2–3 inches of consistent spacing between every frame. Position the center of the overall arrangement at 57 inches from the floor, which is the standard gallery eye-level height used in museums worldwide.
Check clearance and level: Confirm the bottom of the lowest frame sits 6–10 inches above the top of the sofa back. Step back and photograph the arrangement to check balance from a distance before you commit to nails.
Hammer nails and hang: Mark nail positions through the paper, remove the templates, hammer nails into the marked spots, and hang your frames. For Classic gallery walls, you’ll supply your own nails or damage-free adhesive strips. Luxe gallery walls include all necessary hanging hardware, a mini-level, and a no-wire hanging system right in the box.
Six living room layouts for above your sofa
These layouts come from Frameology’s Classic Gallery Walls Collection and Luxe Gallery Walls Collection and are sized to work above a standard sofa. Each description notes the frame count, approximate overall dimensions, and the sofa width it suits best.
1. Classic Triptych for a polished trio
The Classic Triptych arranges three frames for a classic sofa-scale composition. A standard sofa measuring 72–84 inches wide pairs well with a symmetrical set of three vertical frames, and the Classic Triptych follows that formula. It suits homeowners who want a polished, symmetrical look with minimal complexity.
2. Classic Wide for large walls
The Classic Wide suits sofas in the 84–96 inch range. Its spread of eight 8×10 frames fills large living room walls without leaving awkward negative space on either side of the sofa.
3. Classic Offset for an editorial feel
The Classic Offset mixes frame sizes for a more editorial, collected feel. It suits sofas in the 72–90 inch range and works especially well in living rooms with an eclectic or transitional design style.
4. Classic Grid for a strong focal point
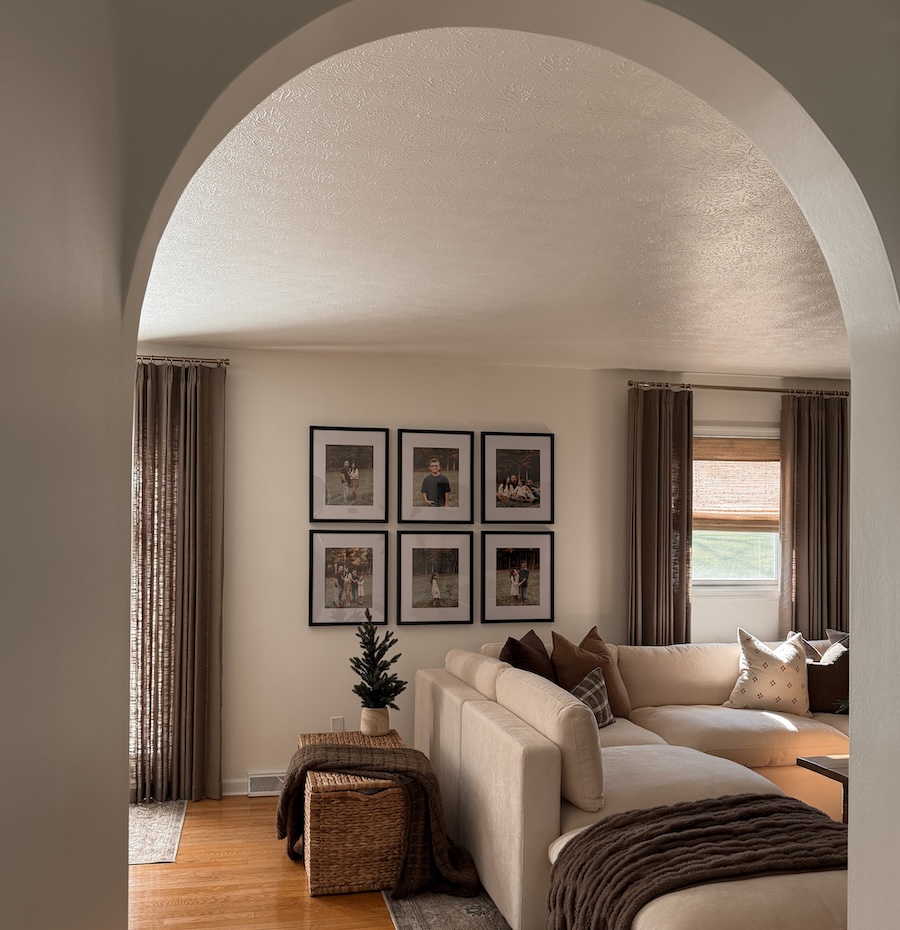
The Classic Grid arranges multiple six in a uniform 2×3 grid, using approximately two inches of spacing between each frame to create a strong, modern focal point. It suits large sectional sofas in the 90–100 inch range and works best on walls with generous vertical height.
5. Luxe Diptych for a museum-style pair
The Luxe Diptych, priced at $638, is Frameology’s entry-level Luxe gallery wall. Two large, museum-quality frames sit side by side as a single statement. It suits sofas in the 72–84 inch range and delivers an editorial, high-end look that reads as one cohesive composition.
Every Luxe frame is crafted from premium wood and metal moldings with acid-free mats and UV-protecting museum-grade acrylic. The Luxe Diptych ships with all hanging hardware included and takes 7–10 business days because of its artisan craftsmanship.
6. Luxe Vertical Grid for tall rooms
The Luxe Vertical Grid is a column-based arrangement designed by Bobby Berk. Bobby Berk described it as, "This is like an Instagram feed for your wall. I think it would look very cool over a sofa, a console or to fill a large wall with amazing memories. And the fact that it comes with a template for hanging makes it so much easier than trying to do this on your own!" It suits rooms with high ceilings and sofas in the 84–100 inch range.
Spacing and leveling rules for a pro look
Consistent spacing and height make a gallery wall feel intentional. These four rules give you a simple framework to follow.
2–3 inches between frames: The ideal spacing between frames on a gallery wall is 2–3 inches, and that chosen distance should stay consistent across every gap. Within that range, a 2-inch gap creates a tighter, more formal look, while a 3-inch gap feels more relaxed and airy. Austin Gallery notes that frame size also affects spacing. Small frames (8×10 and under) work well with 1.5–2 inches, while large frames (18×24 and above) can handle 3–4 inches because the larger scale needs more breathing room.
57-inch center height: Treat the entire gallery wall cluster as one imaginary rectangle whose center sits at 57 inches from the floor, which is the standard gallery eye-level height used in museums worldwide. This guideline applies regardless of how many frames you hang or how different their sizes are.
6–10 inches of sofa clearance: Leave 6–10 inches of clearance between the top of the sofa back and the bottom of the lowest frame. This keeps the arrangement visually connected to the furniture below without crowding it. Positioning the arrangement’s center at 57 inches from the floor typically places the bottom frame about 8 inches above a standard sofa.
Consistent spacing throughout: Interior designer Leah Hook of Gray Oak Studio recommends hanging artwork two to four inches apart on all sides, and notes that spacing of eight inches or more creates too much negative space and makes the grouping look disjointed. Pick one gap measurement and apply it uniformly. That regularity creates visual harmony.
Common gallery wall mistakes to avoid
Most gallery wall frustrations come from a few predictable missteps. When you know them in advance, you can sidestep them easily.
Hanging too high: The most common gallery wall mistake is hanging the arrangement too high. The fix is to center the entire group at 57 inches from the floor, measured to the middle of the composition as a whole, not to the center of any individual frame. When art floats too high, it disconnects from the room and the furniture below it.
Inconsistent gaps: Austin Gallery identifies inconsistent gaps as one of the two most common spacing mistakes, alongside gaps that are simply too large. Varying the distance between frames, even by half an inch, keeps the arrangement from reading as a single cohesive composition. Measure every gap before you hammer a single nail.
Skipping templates: Starting without a plan is the root cause of most gallery wall mistakes, including unnecessary holes, crooked layouts, and frames that don’t relate to the furniture below. Wallnora’s 2026 gallery wall guide notes that "spending 30 minutes planning saves hours of regret and unnecessary nail holes." The kraft-paper gallery wall template method removes that risk, and Frameology’s Classic gallery walls and Luxe gallery walls include the gallery wall template already printed and ready to tape up.
Ready-to-hang gallery wall options
Some homeowners want a gallery wall without cutting paper or printing photos themselves. Frameology’s Classic gallery walls and Luxe gallery walls ship as complete, ready-to-hang kits that simplify every step.
Classic gallery walls start at $198 and use Frameology’s Classic frames, which hang from a single center point per frame. Classic products typically ship the next business day and arrive in about a week. The included gallery wall template guides you through taping, marking nail positions, and hanging, so you don’t need professional assistance.
Luxe gallery walls start at $638 and use museum-quality Luxe frames that hang from two points for precise leveling and strong stability. All necessary hanging hardware comes in the box: nails, a mini-level, and a premium no-wire hanging system. Luxe gallery walls take 7–10 business days because of their artisan craftsmanship. The gallery wall template for Luxe includes slightly different instructions than the Classic template, since it reflects the dual-point hanging system.
Classic and Luxe are the only collections that ship with templates, while Canvas Galleries and the Gallery Wall Design Service follow different installation approaches. For a deeper look at how Classic and Luxe frames compare across materials, shipping, and features, the Classic vs. Luxe comparison guide covers everything side by side. If you want to understand how Frameology stacks up against other online framing options, this cornerstone article explains the details.
Frequently asked questions
Do all gallery walls include hanging templates?
Classic gallery walls and Luxe gallery walls include life-size gallery wall templates that make installation simple and straightforward. Canvas galleries, Metal galleries, and gallery walls created using Frameology’s Gallery Wall Design Service don’t include templates because their construction and customization need more tailored installation approaches. The kraft-paper gallery wall template method in this guide still works for those layouts if you want a planning tool.
How wide should a gallery wall be above a sofa?
The total width of your gallery wall arrangement should span roughly two-thirds of the sofa’s width. For a sofa measuring 72–84 inches wide, that means targeting an arrangement width of approximately 48–56 inches. For a large sectional in the 90–100 inch range, aim for 60–67 inches of total gallery width. This proportion keeps the arrangement anchored to the furniture below without overwhelming the wall or leaving awkward empty space on either side.
What’s the difference between a Classic and Luxe gallery wall?
Classic gallery walls start at $198 and use Classic frames, which hang from a single center point per frame. Classic products typically ship the next business day and arrive in about a week. The frames feature a removable backing, so you can swap photos whenever you like.
Luxe gallery walls start at $638 and use museum-quality Luxe frames made from premium wood and metal moldings with acid-free mats and UV-protecting museum-grade acrylic. Luxe frames hang from two points for precise leveling, include all hanging hardware in the box, and take 7–10 business days because of their artisan craftsmanship. Luxe frames have a sealed, permanent backing, so photos can’t be swapped once framed.
Can I use the kraft-paper method for any frame layout?
The kraft-paper gallery wall template method works for any layout, from a simple two-frame stack to a large asymmetric cluster of eight or more frames. Cut paper to the exact outer dimensions of each frame, mark the hardware position on each sheet, tape them to the wall with painter’s tape at your target spacing, and adjust until the arrangement looks right. The method works equally well for symmetrical grids, staircase layouts, and organic salon-style arrangements. If you’d rather skip the cutting and measuring, Frameology’s Classic gallery walls and Luxe gallery walls ship with a custom, pre-printed gallery wall template that handles that work for you.
How do I keep frames level on a gallery wall?
For Classic frames, use a standard level when hanging each frame from its single center-point hanger. The kraft-paper gallery wall template method helps by marking exact nail positions before you commit to any holes, so frames go up straight the first time. For Luxe frames, the process feels even more forgiving. Every Luxe gallery wall includes a mini-level and a premium no-wire hanging system with two side hangers per frame, which provides built-in stability and makes it straightforward to achieve a level result without professional experience.
