


Gallery wall ideas: layouts, tips, and how to hang them
Written by: Daniel Koren, Co-Founder, Frameology
Key takeaways
Gallery walls still feel current in 2026 when you use fewer, larger frames and focus on personal photos.
Use a seven-step process to hang with confidence: measure, choose an anchor, test on the floor, tape a gallery wall template, mark nails, hang the anchor, then fine-tune.
Matching frames create calm cohesion, while mixed frames feel collected and personal. Unify either the frames or the art so the wall reads as one story.
Frameology’s ready-to-hang Classic gallery walls and Luxe gallery walls include a life-size gallery wall template, so you can skip guesswork and hang with ease: shop Frameology gallery walls.
Are gallery walls out of style in 2026?
Gallery walls are still in style, but the way people execute them has changed. The tightly matched, showroom-perfect grid that dominated Instagram from 2018 to 2022 is the look that’s fading. A 2026 trend analysis identifies the dominant shift as a move toward fewer, larger pieces, with more breathing room around each frame. The reaction pushes back against oversaturated “Instagram-style” collage galleries and has been building since 2024.
What’s replacing the old look is a philosophy, not a single aesthetic. Good Housekeeping’s 2026 gallery wall coverage reports that people now fill walls with personal items like family photos, handwritten notes, and kids’ drawings. Designer Meghan Jay puts it plainly: “It’s less about following design trends and more about creating an emotional connection. These personal touches bring warmth and authenticity to a room, turning what could be a decorative display into something deeply personal.”
Mixed mediums are gaining ground too. Framky’s 2026 report recommends a composition of 70–80% photographs and 20–30% graphics, posters, or drawings, all unified by frame color and size. Black-and-white family portraits remain a timeless choice. A gallery of black-and-white portraits from 1960 and 2026 can look surprisingly similar, which is exactly the appeal.
The bottom line: gallery walls still feel fresh. Walls that look rushed and staged for a single photo feel dated. A wall built around your real memories, with thoughtful scale and spacing, feels current in 2026 and will keep aging well.
The 3-5-7 rule and other gallery wall layout formulas explained
The 3-5-7 rule says that odd numbers of items group more pleasingly to the eye than even numbers, so arrange frames in groups of three, five, or seven. Interior designer Brian Benham explains the psychology: an even number of objects makes the eye bounce symmetrically and stop, which reads as static and staged. An odd number creates a natural focal hierarchy of dominant, secondary, and supporting pieces that keeps the eye moving. Five frames in an asymmetric cluster feel curated and personal. Six frames in a neat 2×3 grid can feel more like a hotel corridor.
Beyond the 3-5-7 rule, a few core layout numbers separate a polished gallery wall from a guessed one:
Space frames 2–3 inches apart, measured from outer frame edge to outer frame edge. Shadowbox Frames’ gallery wall guide notes that 2 inches reads as gallery-like and unified, while 3 inches gives each piece more breathing room.
Hang the center of the entire gallery wall at 57–60 inches from the floor. This matches standard museum hanging height and the point where most people’s eyes naturally land. Treat this as the center of the whole arrangement, not of each individual frame.
Size the overall arrangement to 60–75% of the width of the furniture below it. David Diehm Photography’s placement guide explains that wall art usually looks best when it spans 60–75% of the furniture width, a proportion used by professional art installers and designers.
Leave a 6–10 inch gap between the bottom of the frames and the top of the sofa, console, or headboard. GalleryPlanner’s spacing guide describes 8–10 inches as ideal.
Choose one anchor piece and build outward from it. The anchor should be the largest or most visually dominant frame, and you should place it first.
Keep these numbers handy while you work. They turn a wall of random frames into a layout that feels intentional and balanced.
See how Frameology’s Classic gallery walls and Luxe gallery walls apply these layout rules for you.
How to choose your style: matching vs. mixed frames
Matching frames read as calm, cohesive, and editorial. They work well when the room already has a lot of pattern or color, when the photos themselves are the star, or when you want a precise grid layout. The trade-off is that matching frames leave less room for the wall to feel collected over time, since everything appears at once and looks like it arrived together.
Mixed frames read as personal and gathered, but they need a unifying thread to feel intentional. Designer Liz Lovery’s rule is clear: “You need unity in either the frames or the art. Vary both and the wall stops holding together.” Her preferred unifier is a shared metal family. Antique gold and bronze together read as a set, while gold, black, and walnut together can read as leftovers.
Consider a few questions as you decide. How much visual quiet does the room need? If the space already feels busy, matching frames reduce noise. Are the photos the star, or are the frames? When you’re displaying meaningful family photos, the frames should support the images instead of competing with them. How much time do you want to spend sourcing? Mixed frames usually take longer to assemble into a coherent collection.
A curated, ready-to-hang set from Frameology removes the matching decision entirely. The layout, frame style, and sizing come pre-designed, so you only choose which photos to feature. House Beautiful contributor Janae McKenzie put it simply: “I would absolutely recommend Frameology to anyone who knows they want a gallery wall, but doesn’t know how to make it happen.”
Step-by-step: how to create your gallery wall layout and hang it
A simple sequence keeps you from guessing and patching extra holes. Follow these seven steps in order for a smoother install.
Measure your wall and the furniture below it: Note the wall width and the width of the sofa, console, or bed beneath it. Aim for an arrangement that spans 60–75% of the furniture width.
Choose your anchor piece and your frame count: Use the 3-5-7 rule, pick an odd number of frames, and identify the largest as your anchor. The anchor should be at least 40% wider than the next-largest frame, or it stops functioning as a clear focal point.
Do the floor test: Lay the entire arrangement on the floor first, using the 2–3 inch spacing rule between frames. Photograph it from above so you can compare options without touching the wall.
Cut paper templates for each frame and tape them to the wall: Trace each frame onto kraft paper, cut the shapes, and tape them to the wall with painter’s tape. Live with the arrangement for a day if you can. Photos taken from the doorway reveal imbalances that are hard to see up close.
Mark your nail points: Check that the center of the overall arrangement sits at 57–60 inches from the floor and that gaps between templates measure 2–3 inches. Mark nail positions directly through the paper.
Hang the anchor piece first, then work outward: Remove the paper templates one at a time as you hang. Classic Wall frames start at $59 and Luxe Wall frames start at $79.
Step back, adjust, and level: View the finished wall from at least 12 feet back. Make any small adjustments now while changes stay simple.
Common gallery wall mistakes (and how to avoid them)
A few predictable missteps cause most gallery wall frustrations. Each one has a quick fix you can apply before you pick up a hammer.
Hanging too high: This is the most common mistake. Fix: center the entire arrangement at 57–60 inches from the floor, not each individual frame. Designer Leah Hook of Gray Oak Studio says a gallery hung too high “feels floating and awkward.”
Spacing frames too far apart: Gaps of 4–5 inches make a gallery wall look disconnected and random. Fix: stay within 2–3 inches, as recommended in the core layout rules.
Going too small for the wall: A tiny cluster on a large wall reads as an afterthought. Fix: size the arrangement to 60–75% of the furniture width below it.
Skipping the floor test and drilling blind: A 2025 Apartment Therapy survey found that 71% of readers who attempted a gallery wall reported redoing it at least once, with inconsistent spacing and wrong frame scale cited most often. Fix: always do the floor test and use paper templates before committing a single nail.
Mixing too many frame styles with no unifying thread: More than two frame finish families often reads as unsourced accumulation. Fix: pick one frame color family, or unify mixed frames through a consistent mat color.
Forgetting the 6–10 inch gap above furniture: Frames that sit too close to a sofa or console crowd the furniture and make both elements compete. Fix: leave at least 6 inches of space, with 8–10 inches as the sweet spot.
No anchor piece: Without a dominant frame, the eye has nowhere to land and every frame competes equally. Fix: identify your anchor first and make it at least 40% wider than the next-largest frame.
DIY vs. ready-to-hang: which is right for you
The DIY paper-template method gives you full control. You measure your wall, trace your frames onto kraft paper, cut the templates, tape them to the wall, mark your nail points, drill, and hang. CustomPictureFrames.com estimates the process takes 2–3 hours of layout planning plus 1–2 hours of installation for a typical six-to-nine-piece gallery wall. It calls for a steady hand, a level, and a willingness to patch any holes that miss the mark.
The ready-to-hang alternative removes most of that risk. Frameology’s Classic gallery walls, starting at $198, and Luxe gallery walls, starting at $638, ship as complete, curated layouts. Both include a life-size gallery wall template. For Classic gallery walls, you tape the template to the wall, hammer nails into the marked spots, remove the template, and hang.
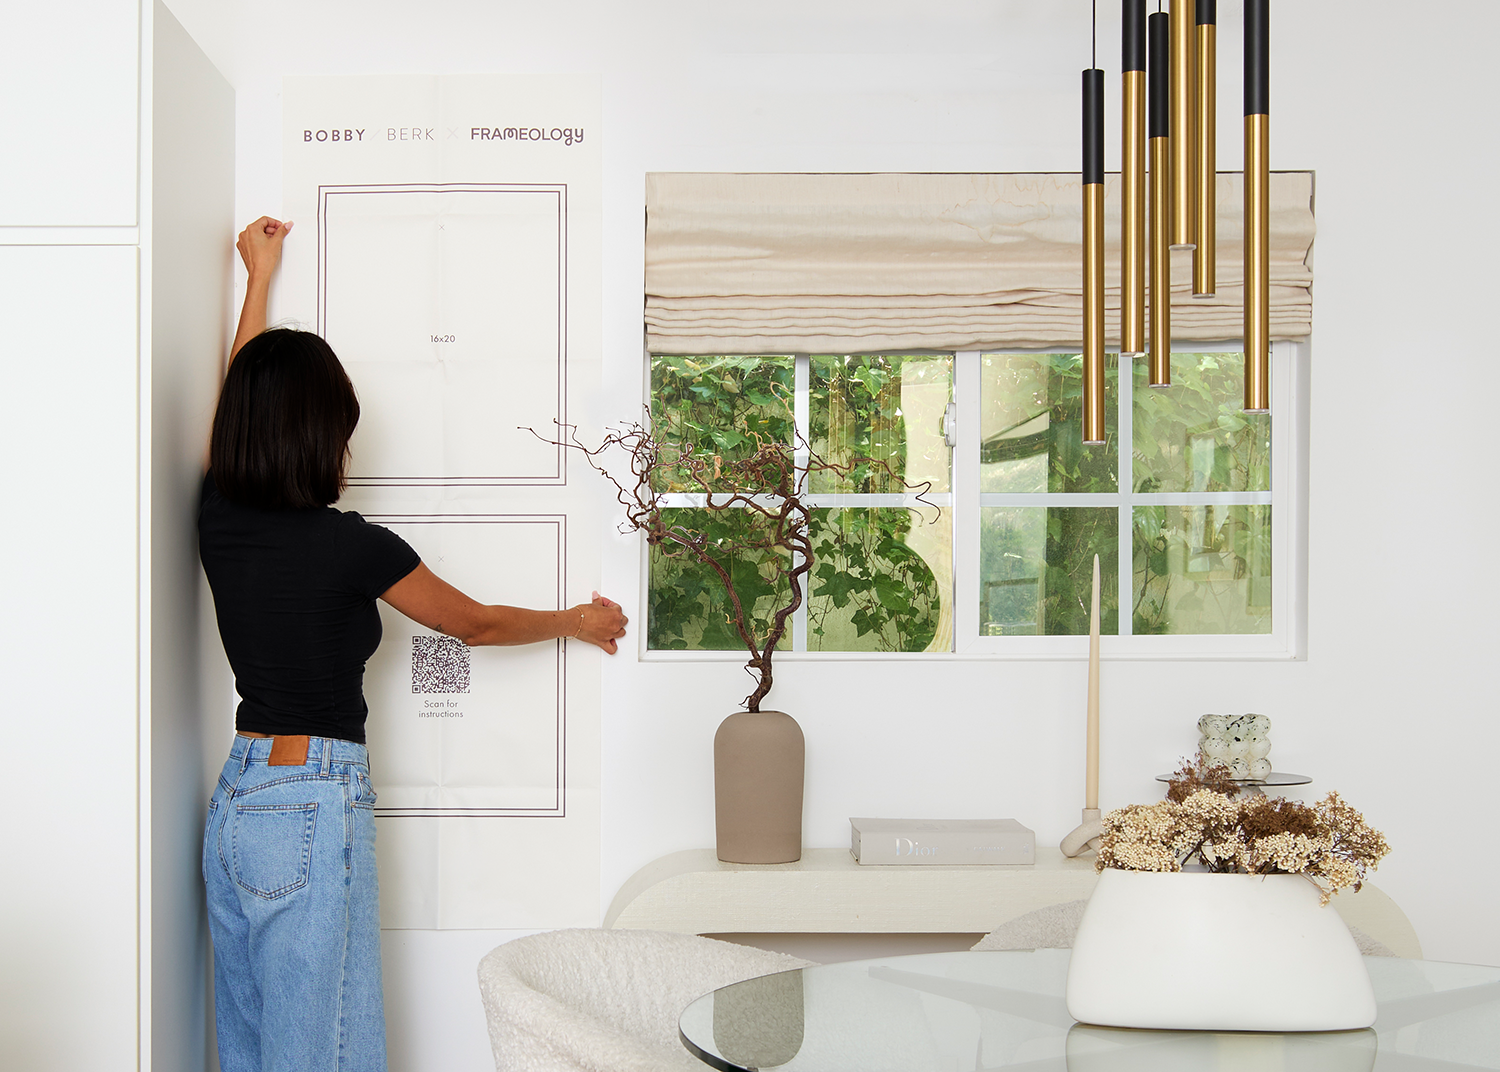
The process usually takes under an hour and avoids unnecessary holes. Classic gallery walls include the necessary hanging hardware for the template-marked spots, though Classic frames themselves require customers to supply their own nails and level. Luxe gallery walls include all hanging hardware, nails, and a mini-level in the box, with a slightly different template process to account for the dual-point hanging system.
CNN Underscored’s Stephanie Griffin tested the Luxe Bricklay, priced at $1,074, and reported: “The Luxe Bricklay is called ‘luxe’ for a reason. Between the premium materials and foolproof hanging system that saved so much time and stress, it’s worth the hype.” Apartment Therapy’s Katie Maguire, who reviewed the Luxe Triptych, priced at $657, described the experience as “seamless from beginning to end.”
One important distinction: Canvas galleries, starting at $135, and gallery walls created through the Gallery Wall Design Service, starting at $99, don’t include gallery wall templates. Their construction and customization work differently and often call for more tailored installation approaches.
Gallery walls by room
The core layout rules stay the same in every space, but each room adds its own twist. Use these room-by-room notes to fine-tune your plan.
Living room
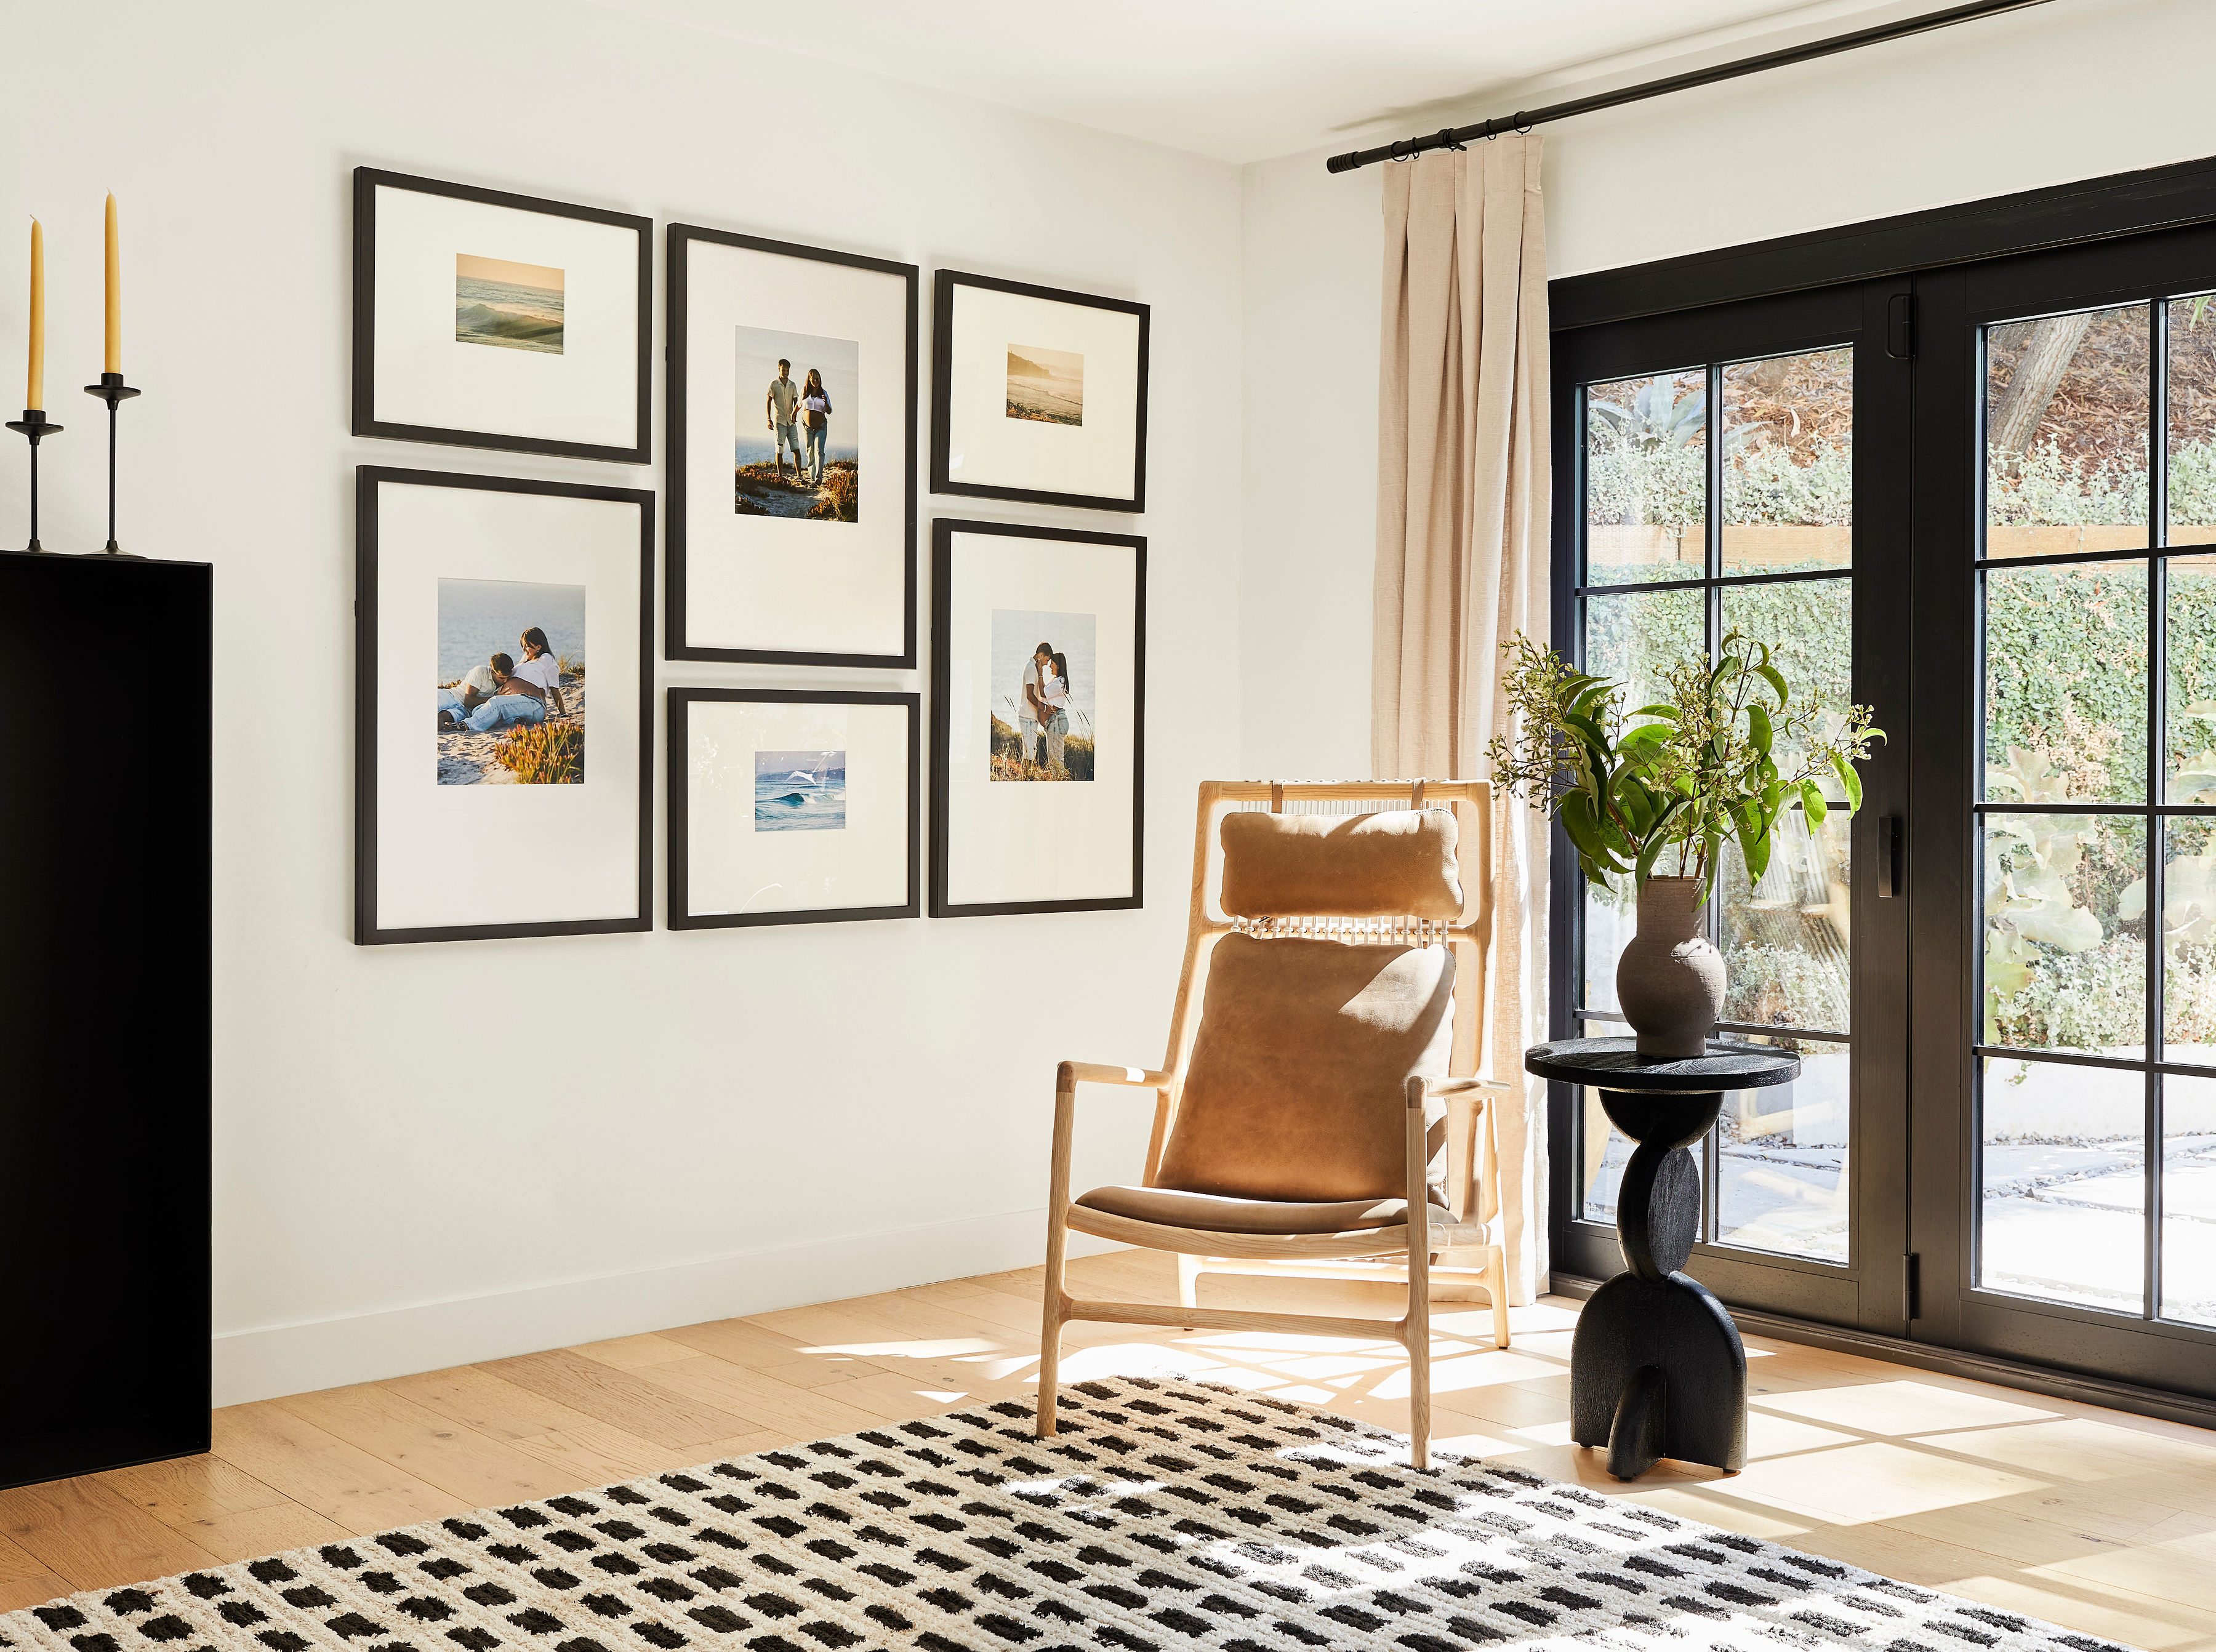
Anchor the gallery above the sofa at 60–75% of the sofa width. Keep the center of the arrangement at 57–60 inches from the floor and leave 6–10 inches of clearance above the cushions. The sofa gives you a natural centering point, which makes this one of the most forgiving spots for a gallery wall. The Luxe Bricklay, priced at $1,074, is designed with this placement in mind.
Bedroom
Above the headboard, keep the bottom of the frames 6–8 inches above the top of the headboard and size the arrangement to roughly two-thirds of the bed width. Fewer, larger pieces usually work best here because the room benefits from visual calm. The Luxe Diptych, priced at $638, is a great option for your bedroom if you wan tto keep it simple.
Hallway
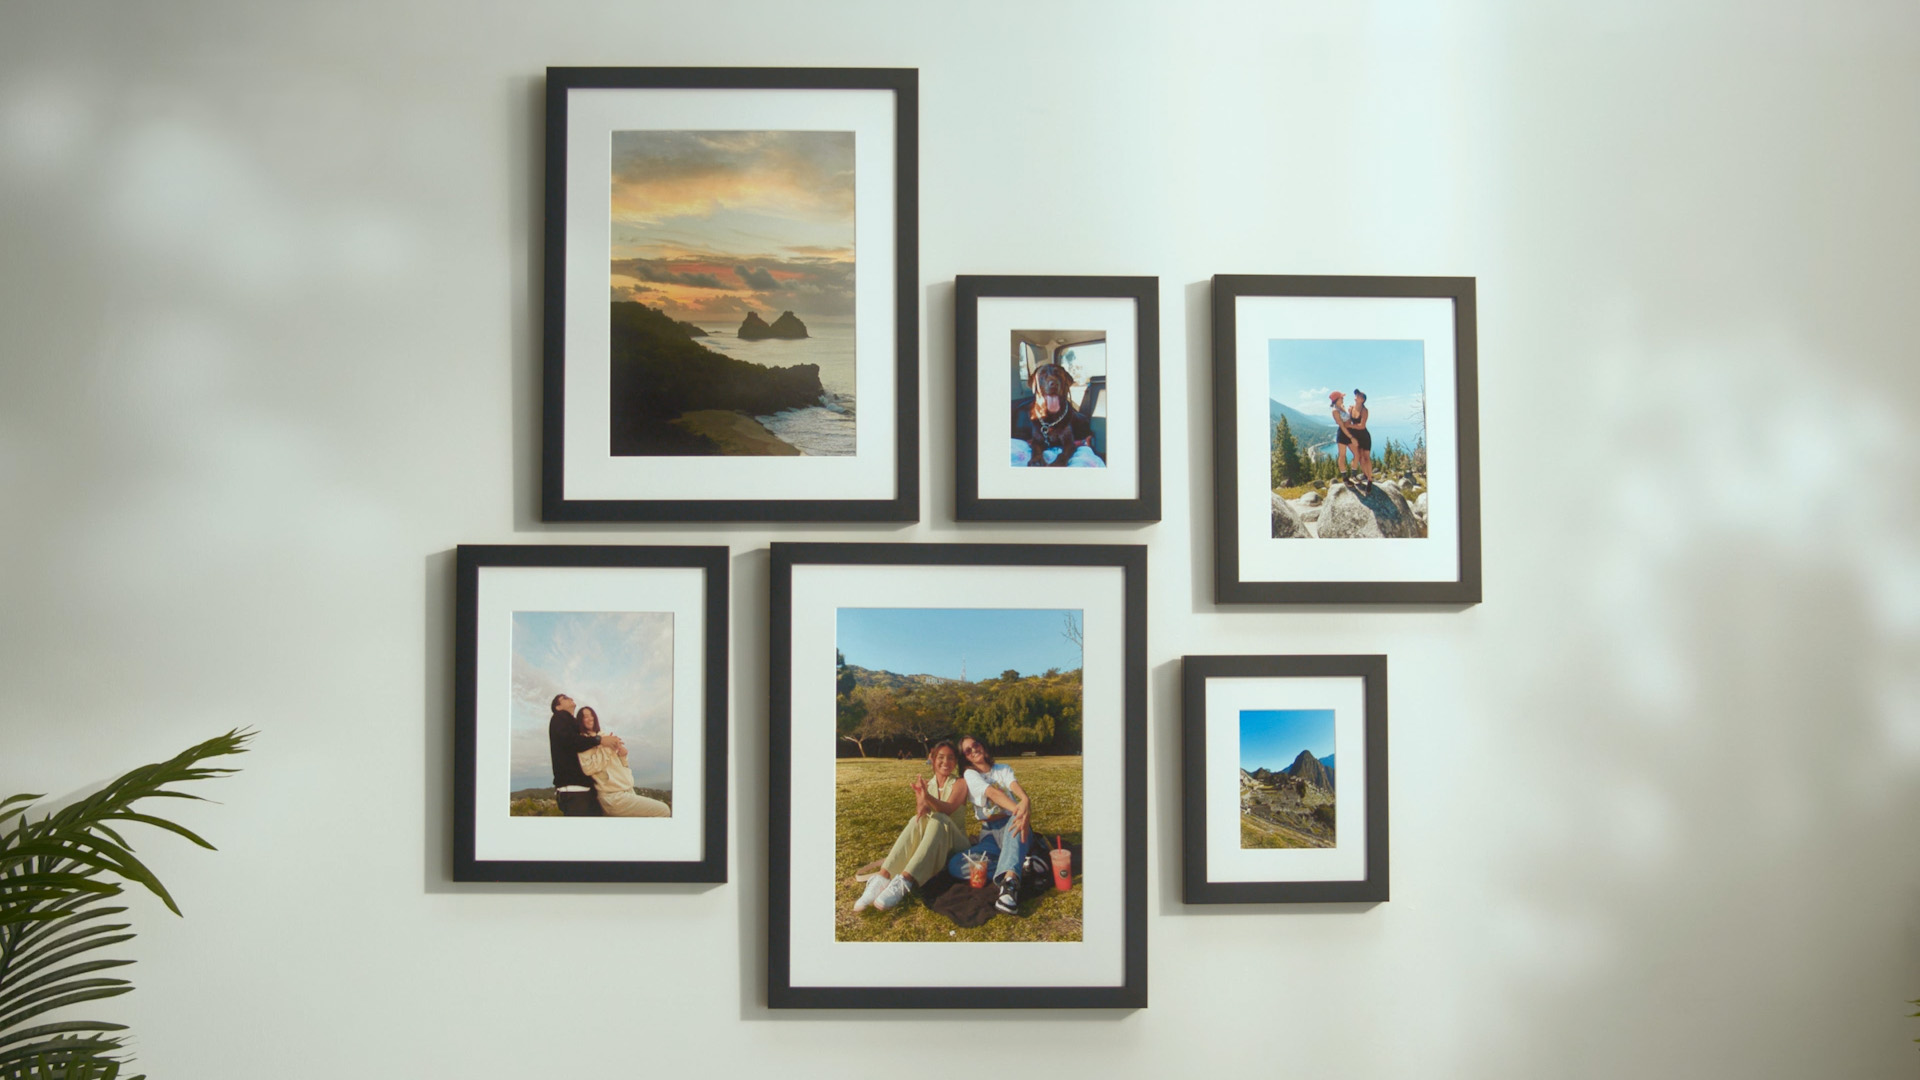
A linear arrangement at eye level works best in narrow spaces. Interior designer Kate Hartman recommends hallways specifically because “the images naturally unfold as you move through the space.” The Classic Hallway, priced at $466, and Luxe Hallway, priced at $914, are purpose-built for this layout.
Staircase
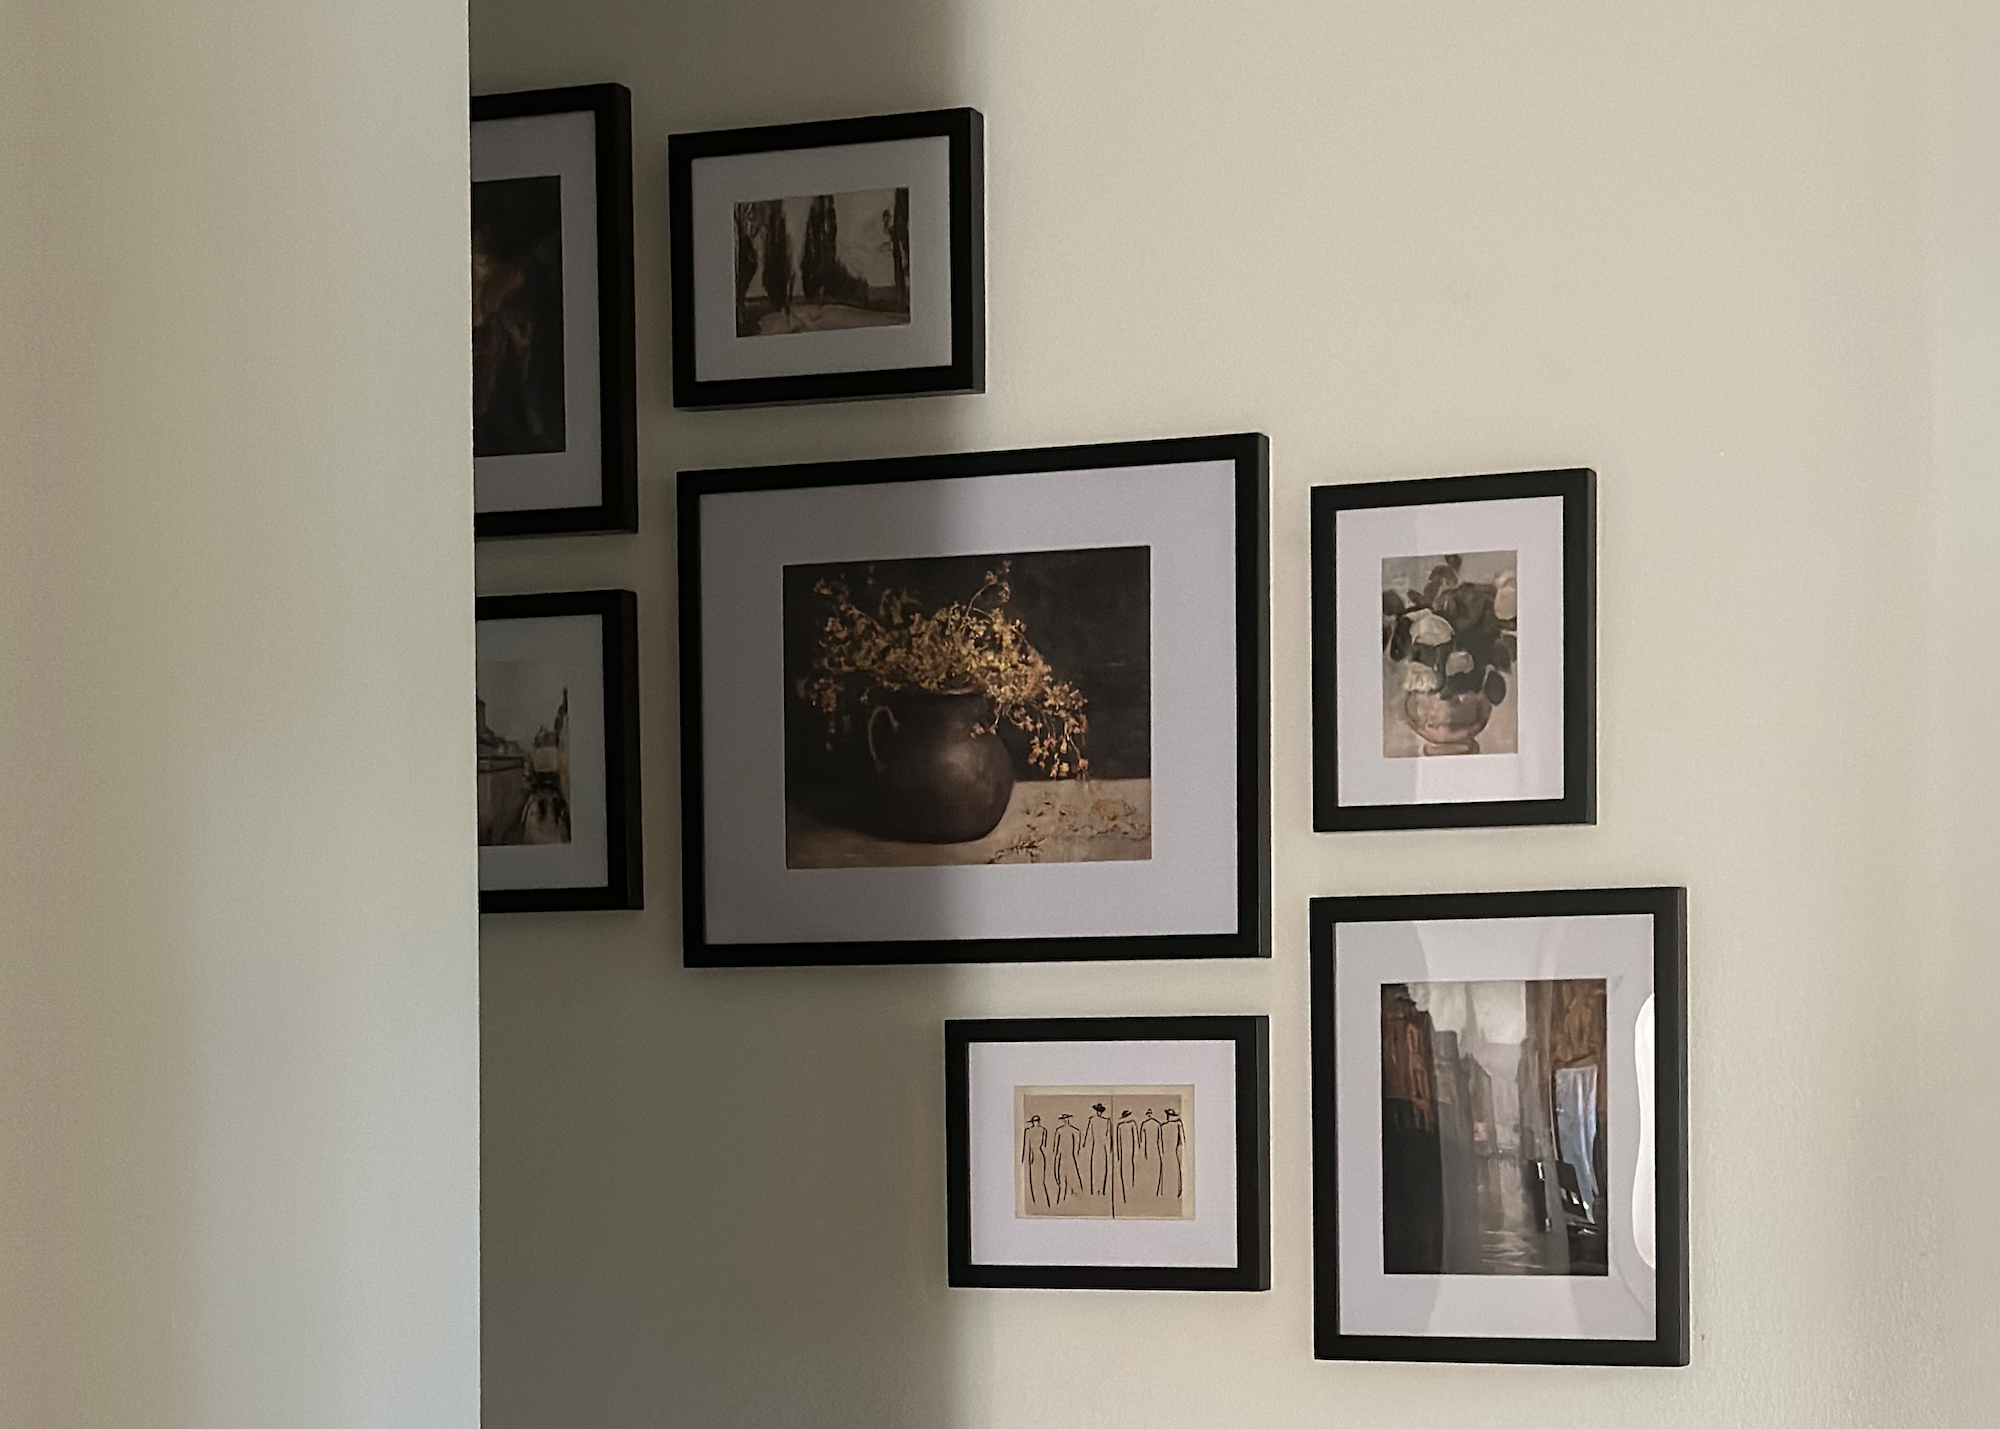
Follow the angle of the stairs instead of a flat horizontal line. The Mod Studio recommends measuring roughly 60–62 inches above each step since stair art is viewed from below. Frameology offers four staircase-specific layouts: the Classic Staircase, priced at $308, Classic Staircase II, priced at $485, Classic Staircase III, priced at $635, and Luxe Staircase, priced at $953.
Frequently asked questions
How far apart should gallery wall frames be?
Keep frames 2–3 inches apart, measured from outer frame edge to outer frame edge. Two inches reads as tight and gallery-like, which suits smaller frames and modern interiors. Three inches gives each piece more breathing room and works well with larger frames or traditional spaces. Consistency matters more than the exact number, so pick one measurement and apply it throughout the arrangement.
How high should you hang a gallery wall?
The center of the entire gallery wall arrangement, not the center of each individual frame, should sit at 57–60 inches from the floor. This standard comes from museums and galleries worldwide and aligns with average adult eye level. Above furniture, keep the bottom of the lowest frame 6–10 inches above the top of the sofa, console, or headboard.
What is the 3-5-7 rule?
The 3-5-7 rule is a styling guideline that says decorative objects, including gallery wall frames, look better in odd-numbered groups of three, five, or seven. Odd groupings create a natural focal hierarchy that keeps the eye moving, while even groupings tend to read as static and symmetrical. Treat it as a helpful guideline. A deliberate grid of six or eight frames can still work beautifully when the layout feels intentional.
How do I create a gallery wall with family photos?
Start by selecting your photos and choosing a frame style that complements them instead of competing with them. Converting family photos to black and white is a reliable way to unify a mixed collection because it removes competing colors and makes varied frame sizes feel intentional. Use the 3-5-7 rule to determine your frame count, do the floor test to find a layout you love, and use paper templates on the wall before you commit any nails. Frameology’s Classic gallery walls and Luxe gallery walls let you upload photos directly from your camera roll and preview the finished layout before ordering.
How long does it take to hang a gallery wall?
A DIY gallery wall using the paper-template method typically takes 2–3 hours of layout planning plus 1–2 hours of installation. A Frameology Classic gallery wall with the included gallery wall template takes under an hour from start to finish. A Luxe gallery wall takes slightly longer because of the dual-point hanging system, but the included hardware, nails, and mini-level keep the process straightforward.
Do all gallery walls include hanging templates?
Classic gallery walls and Luxe gallery walls include life-size gallery wall templates that make installation simple and predictable. Canvas galleries, Metal galleries, and gallery walls created using Frameology’s Gallery Wall Design Service don’t include templates because their construction and customization work differently and often require more tailored installation approaches.
The mistake-proof gallery wall starts here
Gallery walls usually fail because of guesswork, not because of taste. The layout rules you’ve seen here, including spacing, height, proportion, clearance, and a clear anchor, work together as a simple system. Combine those rules with the seven-step process, the floor test, and paper templates, and you give yourself room to adjust before anything touches the wall.
If you’d rather skip the math entirely, Frameology’s Classic gallery walls and Luxe gallery walls ship as complete, curated layouts with a life-size gallery wall template included. Tape the template, hammer the nails, remove the paper, and hang. The process takes under an hour and avoids extra holes. Over 7,500 verified five-star reviews from people who’ve used this system show how much easier it can feel.
