


How to make a gallery wall from iPhone photos
Written by: Daniel Koren, Co-Founder, Frameology
Key takeaways
Check your iPhone photo resolution before printing. Standard 12 MP images support up to 13×10 inches at 300 PPI, while 48 MP Pro shots handle larger sizes.
Edit for print consistency using Lightroom Mobile. Apply the same preset, boost contrast slightly, and match white balance across all photos.
Plan your layout first. Use floor templates and Frameology’s mobile AR preview to test spacing, scale, and eye-level placement before hanging.
Avoid common mistakes like inconsistent spacing, hanging too high, or skipping an anchor piece. Aim for 2–3 inches between frames and 57 inches to center.
Ready-to-hang gallery walls from Frameology include a life-size gallery wall template and AR previews, so turning your iPhone photos into wall art feels simple and stress-free.
Five-step iPhone-to-wall checklist
Use this quick checklist to confirm every iPhone photo is truly ready to become wall art.
Resolution check: Confirm your photo has enough pixels for your target print size. According to print resolution guidance at dblabsapps.com, a standard 12 MP iPhone image (4032×3024 pixels) supports excellent quality up to 13×10 inches at 300 PPI (pixels per inch). An iPhone Pro or iPhone 16 shooting in 48 MP mode (8064×6048 pixels) supports prints up to 27×20 inches at full quality. For an 8×10 print, Austin Gallery's resolution chart confirms you need at least 2,400×3,000 pixels, which every modern iPhone can provide.
Edit for print, not for screen: Apply a consistent filter or preset across all photos in your set, then add slightly more contrast than you would for social media. Prints often look flatter than screen images, as noted by photoeditor.studio.
Crop to your frame's aspect ratio: Crop with your final frame size in mind. Cropping removes pixels, so check resolution against the cropped dimensions, not the original file. A landscape iPhone photo cropped to a square loses a meaningful amount of pixel data.
Choose your layout: Pick one of the eight numbered layouts below that fits your wall space and photo count. Each layout notes whether a life-size gallery wall template comes with the product.
Use AR preview before you commit: On Frameology's mobile site, tap the augmented reality (AR) icon after customizing your frame or gallery wall. Your phone projects a true-to-scale preview directly onto your wall using the camera. This is a mobile-only feature and does not require an app.
Start framing your favorite memories at Frameology.
iPhone photo editing workflow
This editing workflow expands on the checklist and shows you exactly how to create consistent, print-ready iPhone photos. Consistency separates a polished gallery wall from a random collection of prints. When every photo shares the same tonal foundation, the wall reads as one intentional composition instead of disconnected snapshots.
Adobe Lightroom Mobile works especially well for this workflow. Its Light Panel provides sliders for Exposure, Contrast, Highlights, Shadows, Whites, and Blacks, which gives you a full tonal toolkit for print preparation. Start with Exposure to set overall brightness. Then use Highlights to recover blown-out areas and Shadows to lift dark regions. For most iPhone photos destined for print, a contrast adjustment between +10 and +25 adds presence without looking over-processed, per guidance at photoeditor.studio.
For color, Lightroom Mobile's Color Panel lets you correct white balance using the White Balance selector. Drag it over a neutral area in the photo to auto-correct temperature and tint. Apply the same preset or white balance setting across your entire photo set so the colors feel unified. The Texture Slider in the Effects panel accentuates fine detail without changing color, which helps large prints look sharper and more defined.
A practical rule from iPhotography keeps edits in check: a good mobile edit rarely moves any slider more than a third of the way from center. Subtle changes usually create a more polished, professional-looking print.
What are common gallery wall mistakes?
Most gallery wall problems come from spacing, scale, and planning rather than photo quality.
Inconsistent spacing: The Decor Note identifies inconsistent spacing as the most common reason a gallery wall looks unfinished, even when the frames themselves are high quality. The standard is 2–3 inches between frames. A 2-inch gap feels tighter and more formal, while 3 inches feels more relaxed. Anything over 4 inches causes frames to read as separate hanging items instead of a unified arrangement.
Skipping the floor plan: Arrange frames on the floor first to test visual weight and balance before you commit to wall placement. Paper templates cut from kraft paper and taped with low-tack painter's tape let you test the full layout from multiple viewpoints before any nails go in, per Art Hanging Helper.
Hanging too high: The center of the finished arrangement should sit at approximately 57 inches from the floor, which matches standard eye level, as recommended by Giftenova.
Too few pieces: Three frames form the practical minimum for a gallery wall. Five to nine pieces usually feel balanced on most residential walls.
No anchor piece: Every gallery wall benefits from one largest photo placed at or just off center. Supporting prints one or two sizes smaller then organize around that anchor.
How to do a classy gallery wall
A classy gallery wall starts with a unified frame finish, a consistent mat color, and a layout with clear internal logic. Mixing too many frame styles, colors, or sizes without a shared visual anchor creates a cluttered look. A pre-designed layout keeps everything cohesive. Layouts in Frameology's Classic Galleries Collection, starting at $198, and Luxe Galleries Collection, starting at $638, remove the guesswork. Both collections include a life-size gallery wall template so the spacing and alignment are already solved for you.
House Beautiful contributor Janae McKenzie put it this way, "I would absolutely recommend Frameology to anyone who knows they want a gallery wall, but doesn't know how to make it happen."
How many pictures should be on a gallery wall?
Most walls look balanced with three to nine frames, depending on the space and style.
Three is the minimum, and five to nine is the sweet spot for most walls. Anything above nine works well in salon-style organic arrangements with mixed sizes, per Giftenova's July 2026 guide. Wall width also matters. When furniture sits below the arrangement, the full gallery span usually looks best at around two-thirds to three-quarters of the furniture width, according to Art Hanging Helper.
Eight iPhone-optimized gallery wall layouts
These eight layouts pair specific Frameology products with iPhone-friendly print sizes, plus notes on templates and AR preview. Every gallery wall mentioned below includes a life-size gallery wall template for straightforward installation.
1. Classic Stack II: the minimal two-frame starter
The Classic Stack II, priced at $198, gives iPhone users a simple way to start a real gallery wall with just two photos. Two vertically stacked frames create a clean, intentional column that works above a console table, nightstand, or in a narrow hallway. A standard 12 MP iPhone image handles both frame sizes comfortably at 300 PPI. Upload directly from your camera roll on Frameology's mobile site, then use the mobile-only AR preview to confirm scale on your actual wall before ordering.
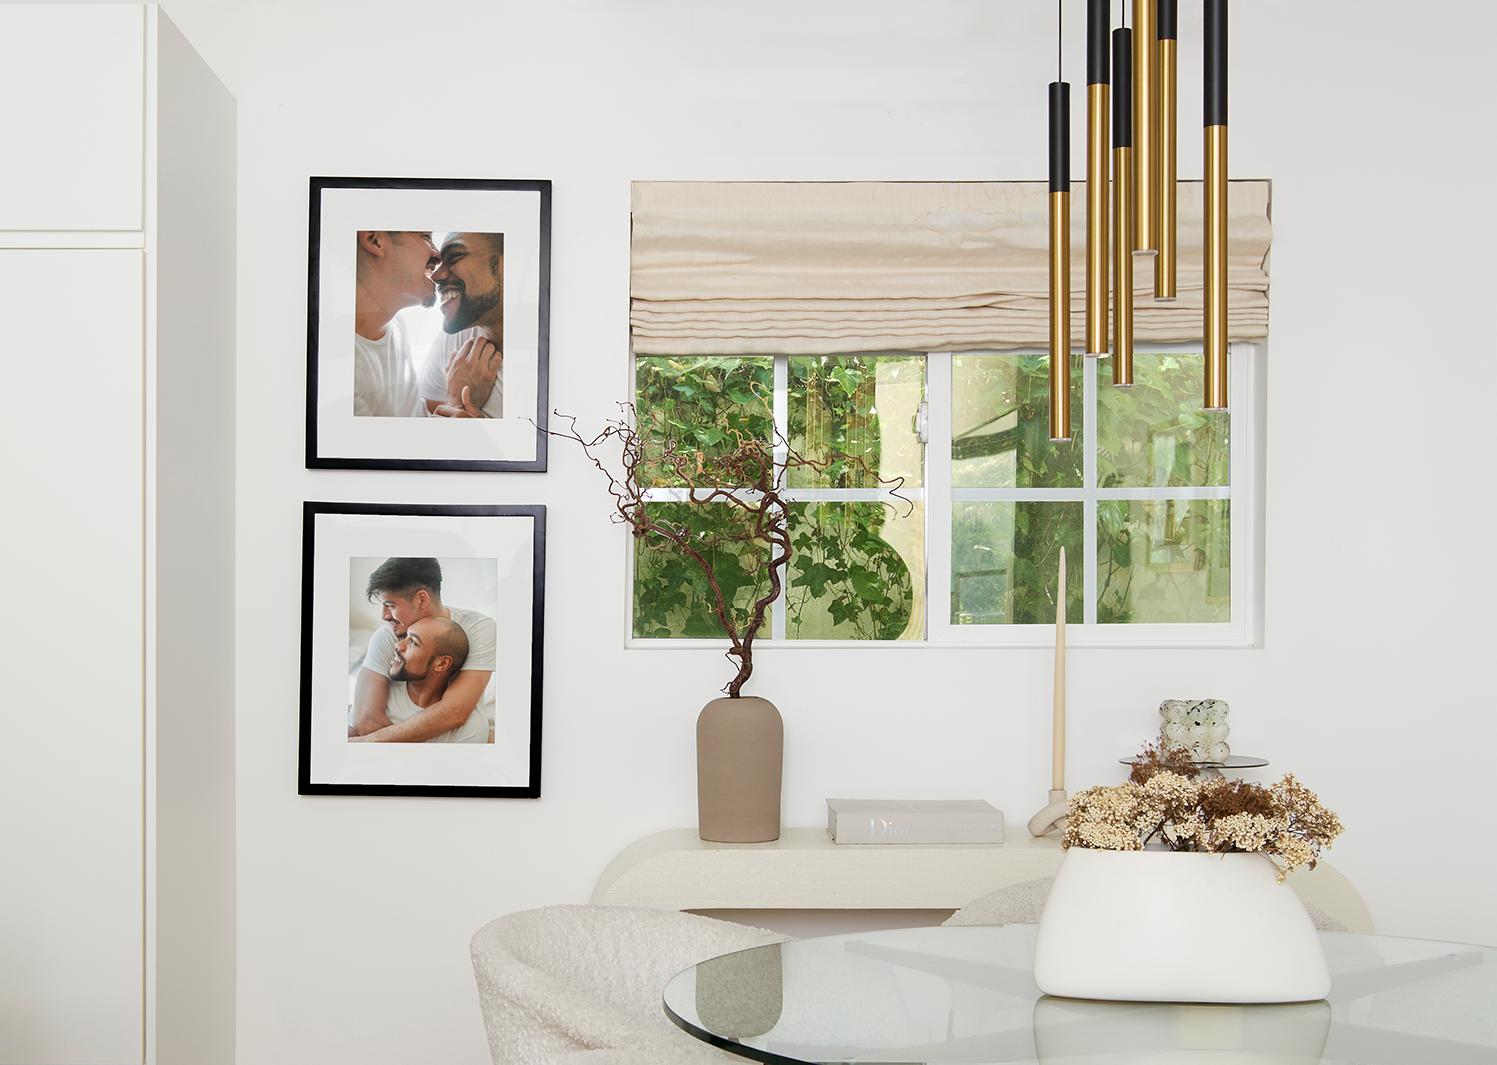
2. Classic Triptych: three photos, one statement
The Classic Triptych, priced at $297, arranges three frames in a horizontal row. It works well for a travel series, a family milestone sequence, or three shots from the same iPhone session that share a consistent edit. Three frames form the practical minimum for a gallery wall, and a horizontal triptych reads as a single unified piece. Use Lightroom Mobile's white balance selector to match color temperature across all three images before uploading.
3. Classic Offset: asymmetry that works
The Classic Offset, priced at $386, uses a staggered arrangement of mixed-size frames that creates visual movement without chaos. It suits iPhone users with a mix of portrait and landscape shots from the same trip or event. The offset layout hides minor size differences between photos better than a strict grid, so it feels forgiving when your camera roll is varied.
4. Classic Hallway: the long-wall solution
The Classic Hallway, priced at $466, is tailored for the expansive real estate of a hallway wall. It stacks and offsets multiple frames along a vertical axis, which makes it one of the strongest layouts for a curated iPhone photo series in a space that usually goes underused.
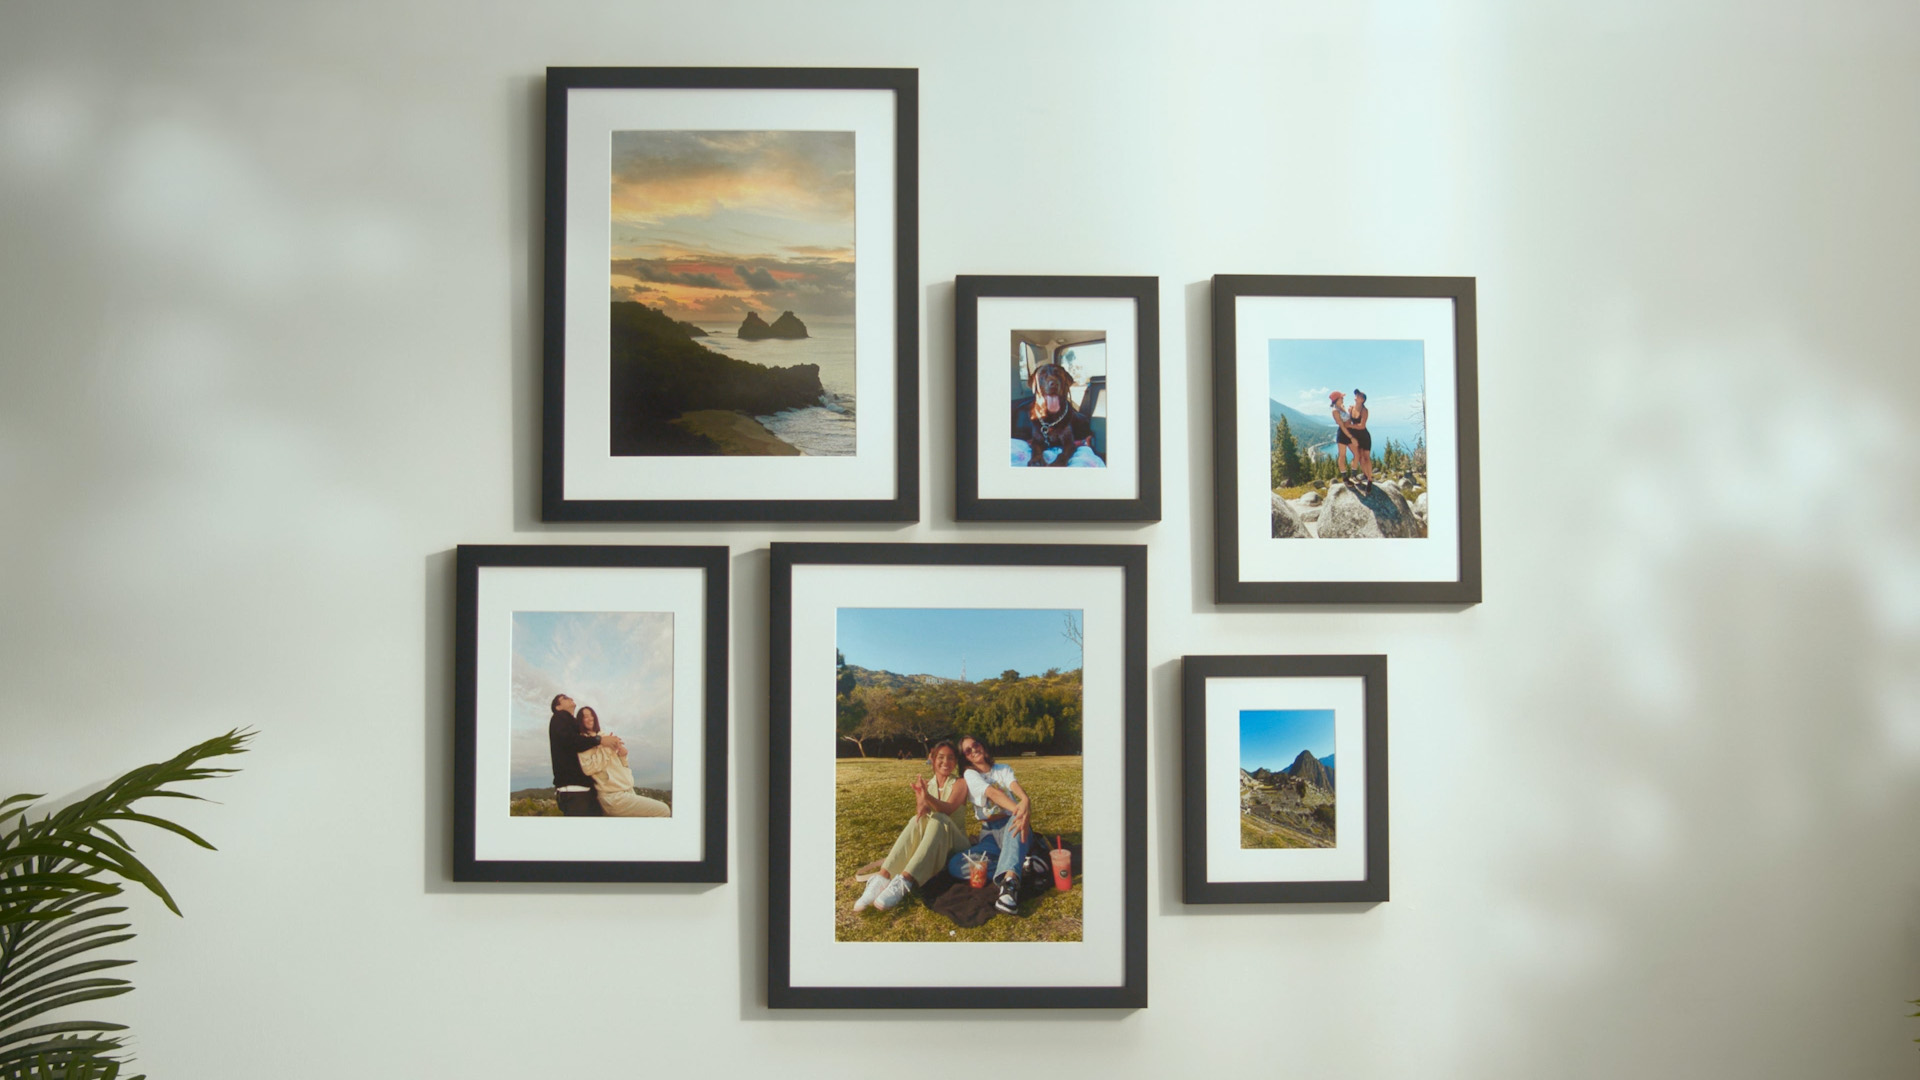
5. Classic Grid: the symmetry lover's layout
The Classic Grid, priced at $594, arranges uniform-size frames in a precise grid for a formal, symmetrical look. It works best when every iPhone photo shares the same aspect ratio and a consistent edit, since the grid format makes tonal differences easy to spot. Art Hanging Helper notes that grid layouts work best for uniform frame sizes when you want a calm, orderly appearance. Use Lightroom Mobile's Color Grading tools to apply the same shadow, midtone, and highlight treatment across every image before uploading.
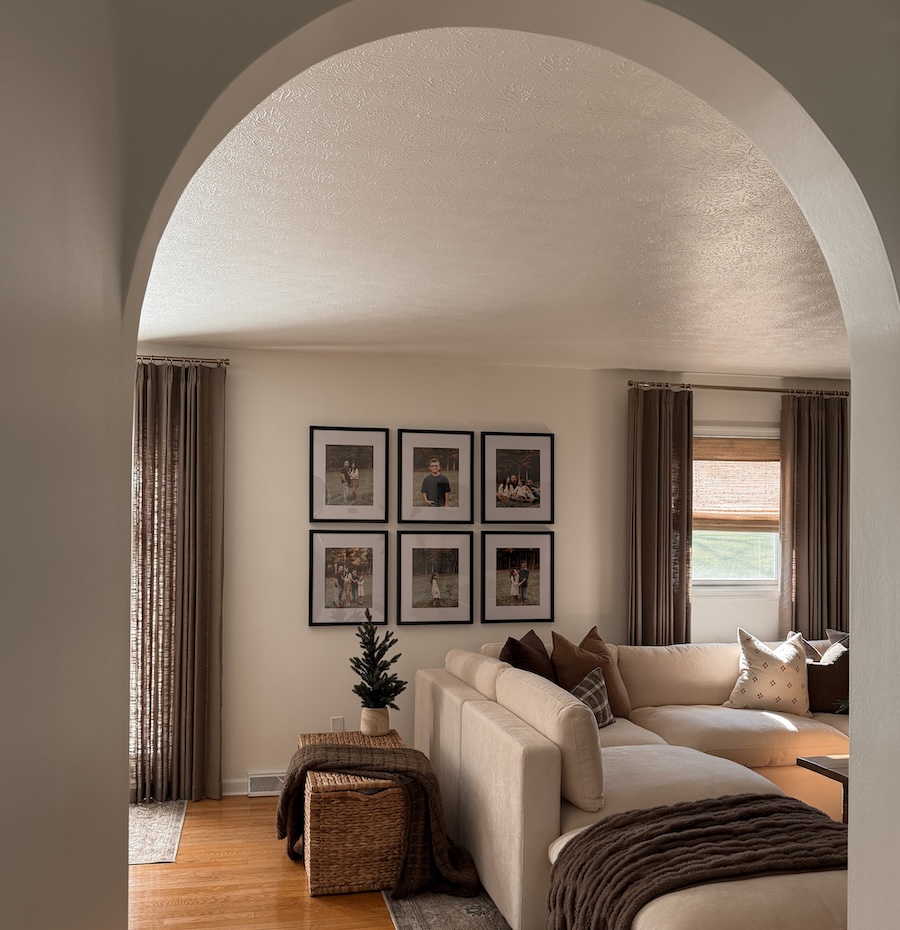
6. Luxe Triptych: museum-quality for three hero shots
The Luxe Triptych, priced at $657, consists of three matching frames crafted from premium wood molding with acid-free 4-ply rag mats and UV-protecting museum-grade acrylic. It suits iPhone users who want their three favorite photos treated as fine art. Apartment Therapy's Katie Maguire shared, "The upload tool made it easy to preview how each photo would look cropped into a 24×30 frame before I committed, which mattered a lot." iPhone Pro users shooting in 48 MP mode can comfortably fill the larger Luxe frame sizes at full 300 PPI quality. This Luxe gallery wall all necessary hanging hardware, including nails, a no-wire hanging system, and a mini-level.
7. Luxe Vertical Grid: the Instagram feed for your wall
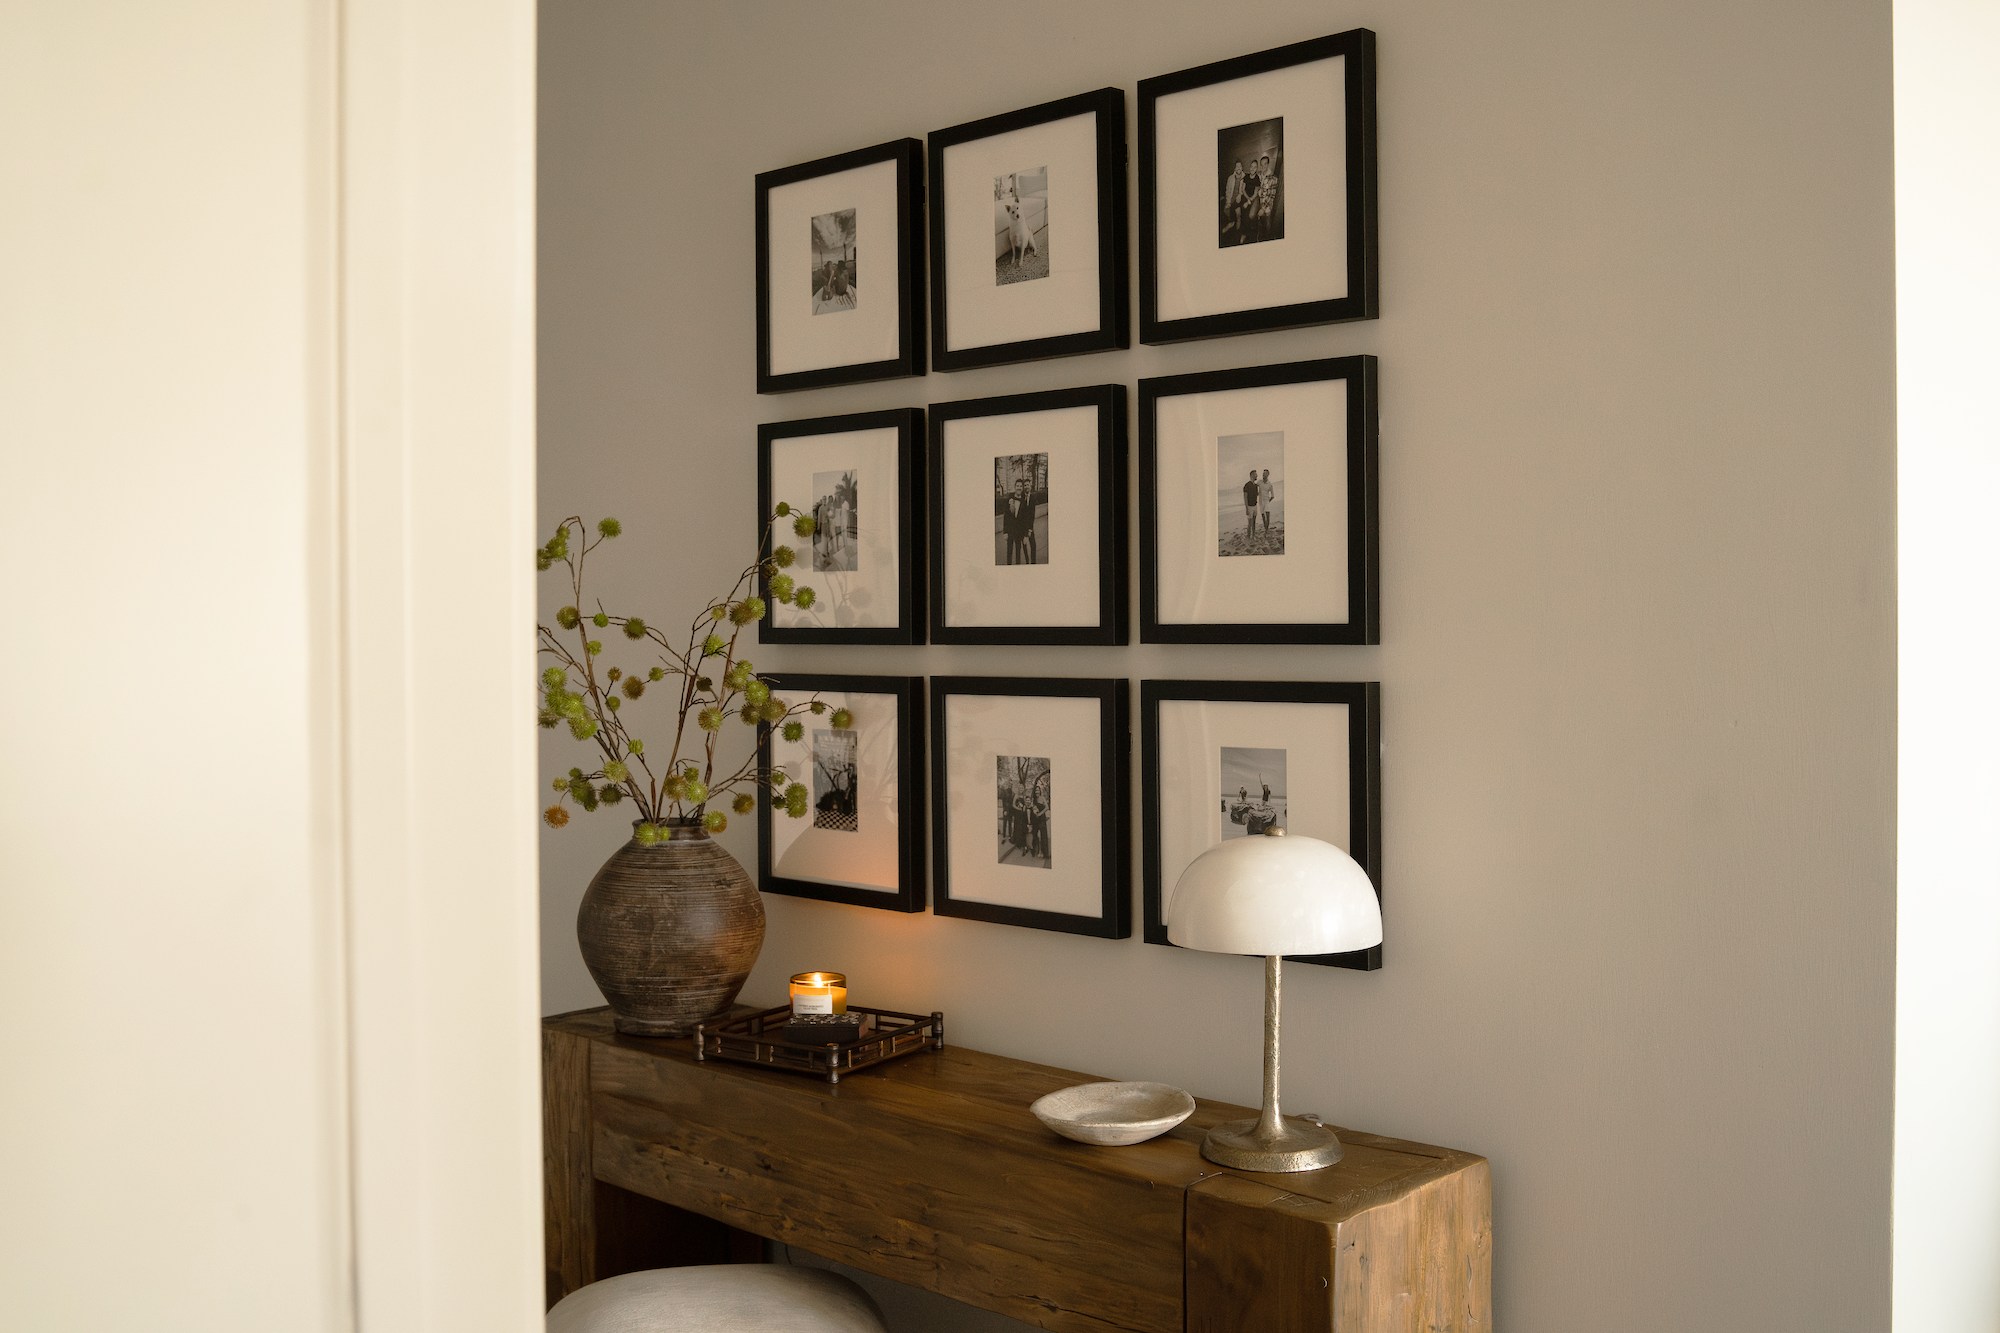
The Luxe Vertical Grid, priced at $981, arranges nine Luxe frames in a 3×3 layout. It works well on a large blank wall above a sofa or console. Bobby Berk described it as "like an Instagram feed for your wall," which makes it a natural fit for iPhone users whose camera rolls already feel curated. The vertical format suits portrait-oriented iPhone shots especially well.
8. Luxe Bricklay: the editorial statement wall
The Luxe Bricklay, priced at $1,074, uses two different frame sizes arranged in a staggered brick pattern. The layout feels versatile and symmetrical while filling a large wall with strong visual impact. CNN Underscored's Stephanie Griffin reported that the result looked professionally installed, adding, "The Luxe Bricklay is called 'luxe' for a reason. Between the premium materials and foolproof hanging system that saved so much time and stress, it's worth the hype." iPhone Pro users in 48 MP mode can handle the larger frame sizes in this layout at full quality.
Advanced considerations for planning and hanging
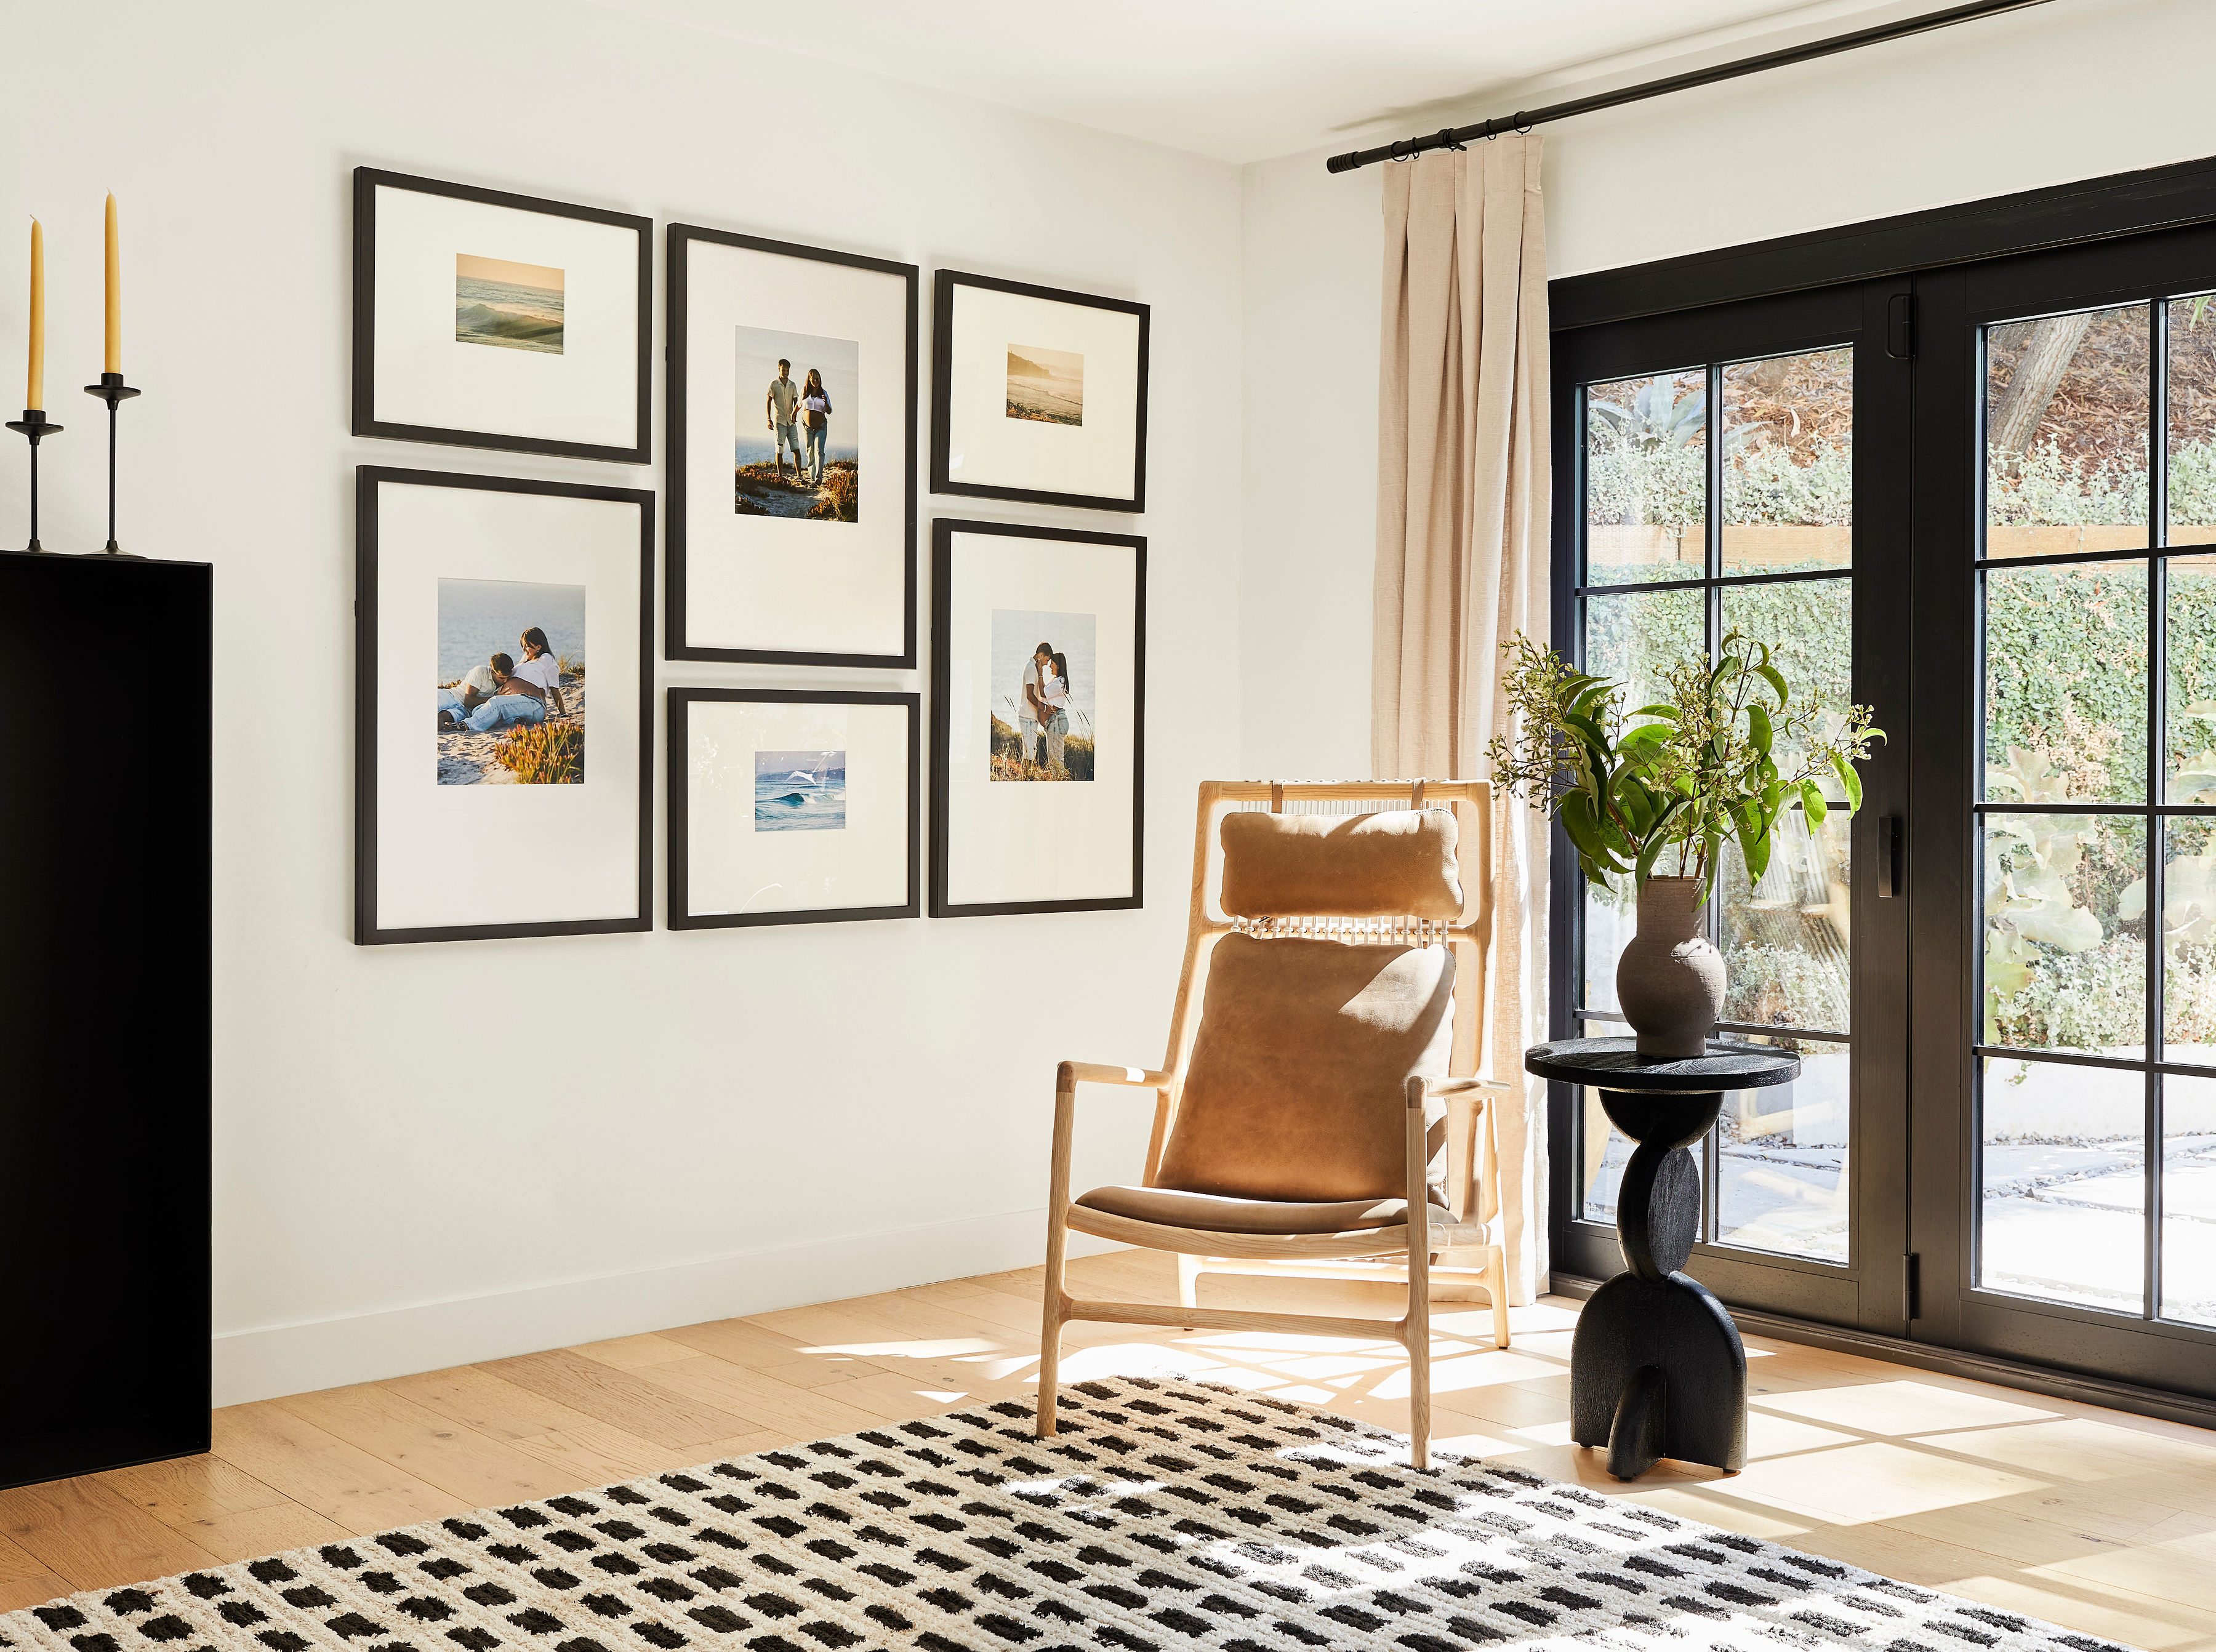
A few planning principles turn a basic gallery wall into something that feels intentional and professionally installed. The first is the 57-inch rule. The center of your finished gallery wall arrangement should sit at approximately 57 inches from the floor, which matches standard eye level in most residential spaces, per Giftenova. Measure to the center of the arrangement, not the top edge of the highest frame.
The second is a simple floor-planning framework. Before any nails go in, lay all frames on the floor in your intended arrangement and photograph the layout from above with your iPhone. That reference photo becomes your blueprint when you compare it against the mobile-only AR preview on Frameology's site. Art Hanging Helper recommends taping out the full outer rectangle footprint on the wall first, since the overall shape determines balance more than internal gaps alone.
If you rent or want to avoid wall damage, canvas prints are lightweight and work well with damage-free mounting strips or velcro wall adhesives. Classic frames can also pair with Command strips on smooth painted drywall, according to guidance at Austin Gallery. Adhesive strips need a smooth, fully cured painted surface, so wait at least seven days after painting before you apply them, as confirmed by Wellfizz.
The global wall art market is projected to grow from $59.51 billion in 2025 to $63.67 billion in 2026 at a 7.0% compound annual growth rate (CAGR), according to The Business Research Company's Wall Art Global Market Report 2026. Much of that growth comes from people treating personal smartphone images as interior design elements. Your iPhone camera roll already holds a gallery. It just needs a wall.
Frequently asked questions
What iPhone resolution do I need for gallery wall prints?
A standard 12 MP iPhone produces excellent quality prints up to about 13×10 inches at 300 PPI, which aligns with the resolution guidance in the checklist. For 8×10 prints, any modern iPhone handles the resolution comfortably. For 11×14 prints, a 12 MP image sits close to the limit, so avoid heavy cropping. For 16×20 prints and larger, iPhone Pro models shooting in 48 MP mode deliver the pixel count needed for full quality at that size. If you're unsure, upload your photo to Frameology's site and use the preview tool to check how it crops to your chosen frame size before ordering.
Do all gallery walls include hanging templates?
Classic and Luxe gallery walls include life-size gallery wall templates that make installation simple and straightforward. Canvas galleries, Metal galleries, and gallery walls created using Frameology's Gallery Wall Design Service don't include templates because their construction and customization work differently and often need more tailored installation approaches.
What's the difference between Classic and Luxe gallery walls?
Classic gallery walls, starting at $198, use Classic frames with a single center-point hanging system. They include a life-size gallery wall template and work with Command strips for damage-free hanging on smooth painted drywall. Classic frames ship quickly and typically arrive in about a week.
Luxe gallery walls, starting at $638, use top-of-the-line frames made from premium wood molding with acid-free mats and UV-protecting museum-grade acrylic. They include a life-size gallery wall template plus all hanging hardware, including a no-wire dual-point hanging system, nails, and a mini-level, in the box. Luxe frames have a sealed, permanent kraft paper backing and an artisan production timeline of 7–10 business days.
Can I use the AR preview to plan my gallery wall layout?
Frameology's mobile-only AR tool lets you preview how a frame or gallery wall will look on your actual wall before you buy. Open Frameology's site on your iPhone, customize your frame or select a gallery wall, and tap the AR icon to project a true-to-scale preview using your phone's camera. No app download or login is required. This step removes the guesswork of ordering something you have not yet seen in your space.
How do I keep my iPhone photos looking consistent across a gallery wall?
The most reliable method uses Adobe Lightroom Mobile as your editing base. Apply the same preset or white balance setting to every photo in your set, then make individual tonal adjustments from that shared baseline. Commit to one editing direction, whether that feels clean and neutral, warm and cinematic, or bright and airy, and apply it consistently across all images before uploading. When prints share the same color temperature and contrast foundation, the gallery wall reads as one cohesive composition instead of a collection of unrelated snapshots. Also add slightly more contrast than you would for a screen-only image, since prints can appear flatter than they look on your phone's display.
Start framing your favorite memories at Frameology.
