


How to design a family photo gallery wall
Written by: Daniel Koren, Co-Founder, Frameology | Last updated: October 31, 2026
Key takeaways
Center the entire gallery wall arrangement 57–60 inches from the floor and keep 2–3 inches of consistent spacing between frames.
Edit your family photo set first for color harmony, portrait-to-candid balance, and resolution before you order any frames.
Choose your layout and wall type early: grids for formal spaces, offset or staircase layouts for casual or architectural walls.
Limit frame finishes to two complementary options and keep mat widths uniform so the wall reads as one cohesive composition.
Frameology offers ready-to-hang Classic Gallery Walls and Luxe Gallery Walls with life-size templates that eliminate measuring and reduce installation stress.
Who this is for and what you’ll need
This guide walks first-time gallery wall planners through a simple, repeatable process. It’s ideal for busy parents with years of family photos on phones and in cloud albums, new homeowners staring at a bare wall, and renters who want a designed look without a wall full of extra holes.
Gather a few basics before you start:
Tape measure
Painter’s tape or kraft paper
Pencil and level
Nails or damage-free adhesive strips (if compatible)
Your phone for augmented reality (AR) previews
Additionally, here are a a few terms you should know so the rest of this guide feels easier to follow:
Centerline: The horizontal midpoint of your entire arrangement, measured from the floor, with a target of 57–60 inches.
Anchor frame: The largest frame in your layout, hung first, that everything else builds around.
Spacing: The gap between outer frame edges, ideally 2–3 inches, kept consistent across the wall.
Gallery wall template: A life-size paper template included with Frameology’s Classic Galleries and Luxe Gallery Walls that marks exact nail positions on the wall.
Mat consistency: Using the same mat width across all frames so the wall reads as one composed piece.
Step 1: Choose the wall and set your centerline
Start with the largest uninterrupted wall in a main living space. Look at the sightlines from doorways and seating. The wall you see first when you enter the room, or the wall behind the main furniture grouping, usually works best.
The standard centerline rule, used by galleries and museums, is simple. Hang the midpoint of the entire arrangement 57–60 inches from the floor. That measurement applies to the midpoint of the whole arrangement’s bounding box, not to any single frame. When you hang above furniture, two extra guidelines help. Aim for a total arrangement width that spans roughly two-thirds to three-quarters of the furniture width. Keep the bottom of the lowest frame about 6–8 inches above a sofa and about 6–10 inches above consoles or beds.
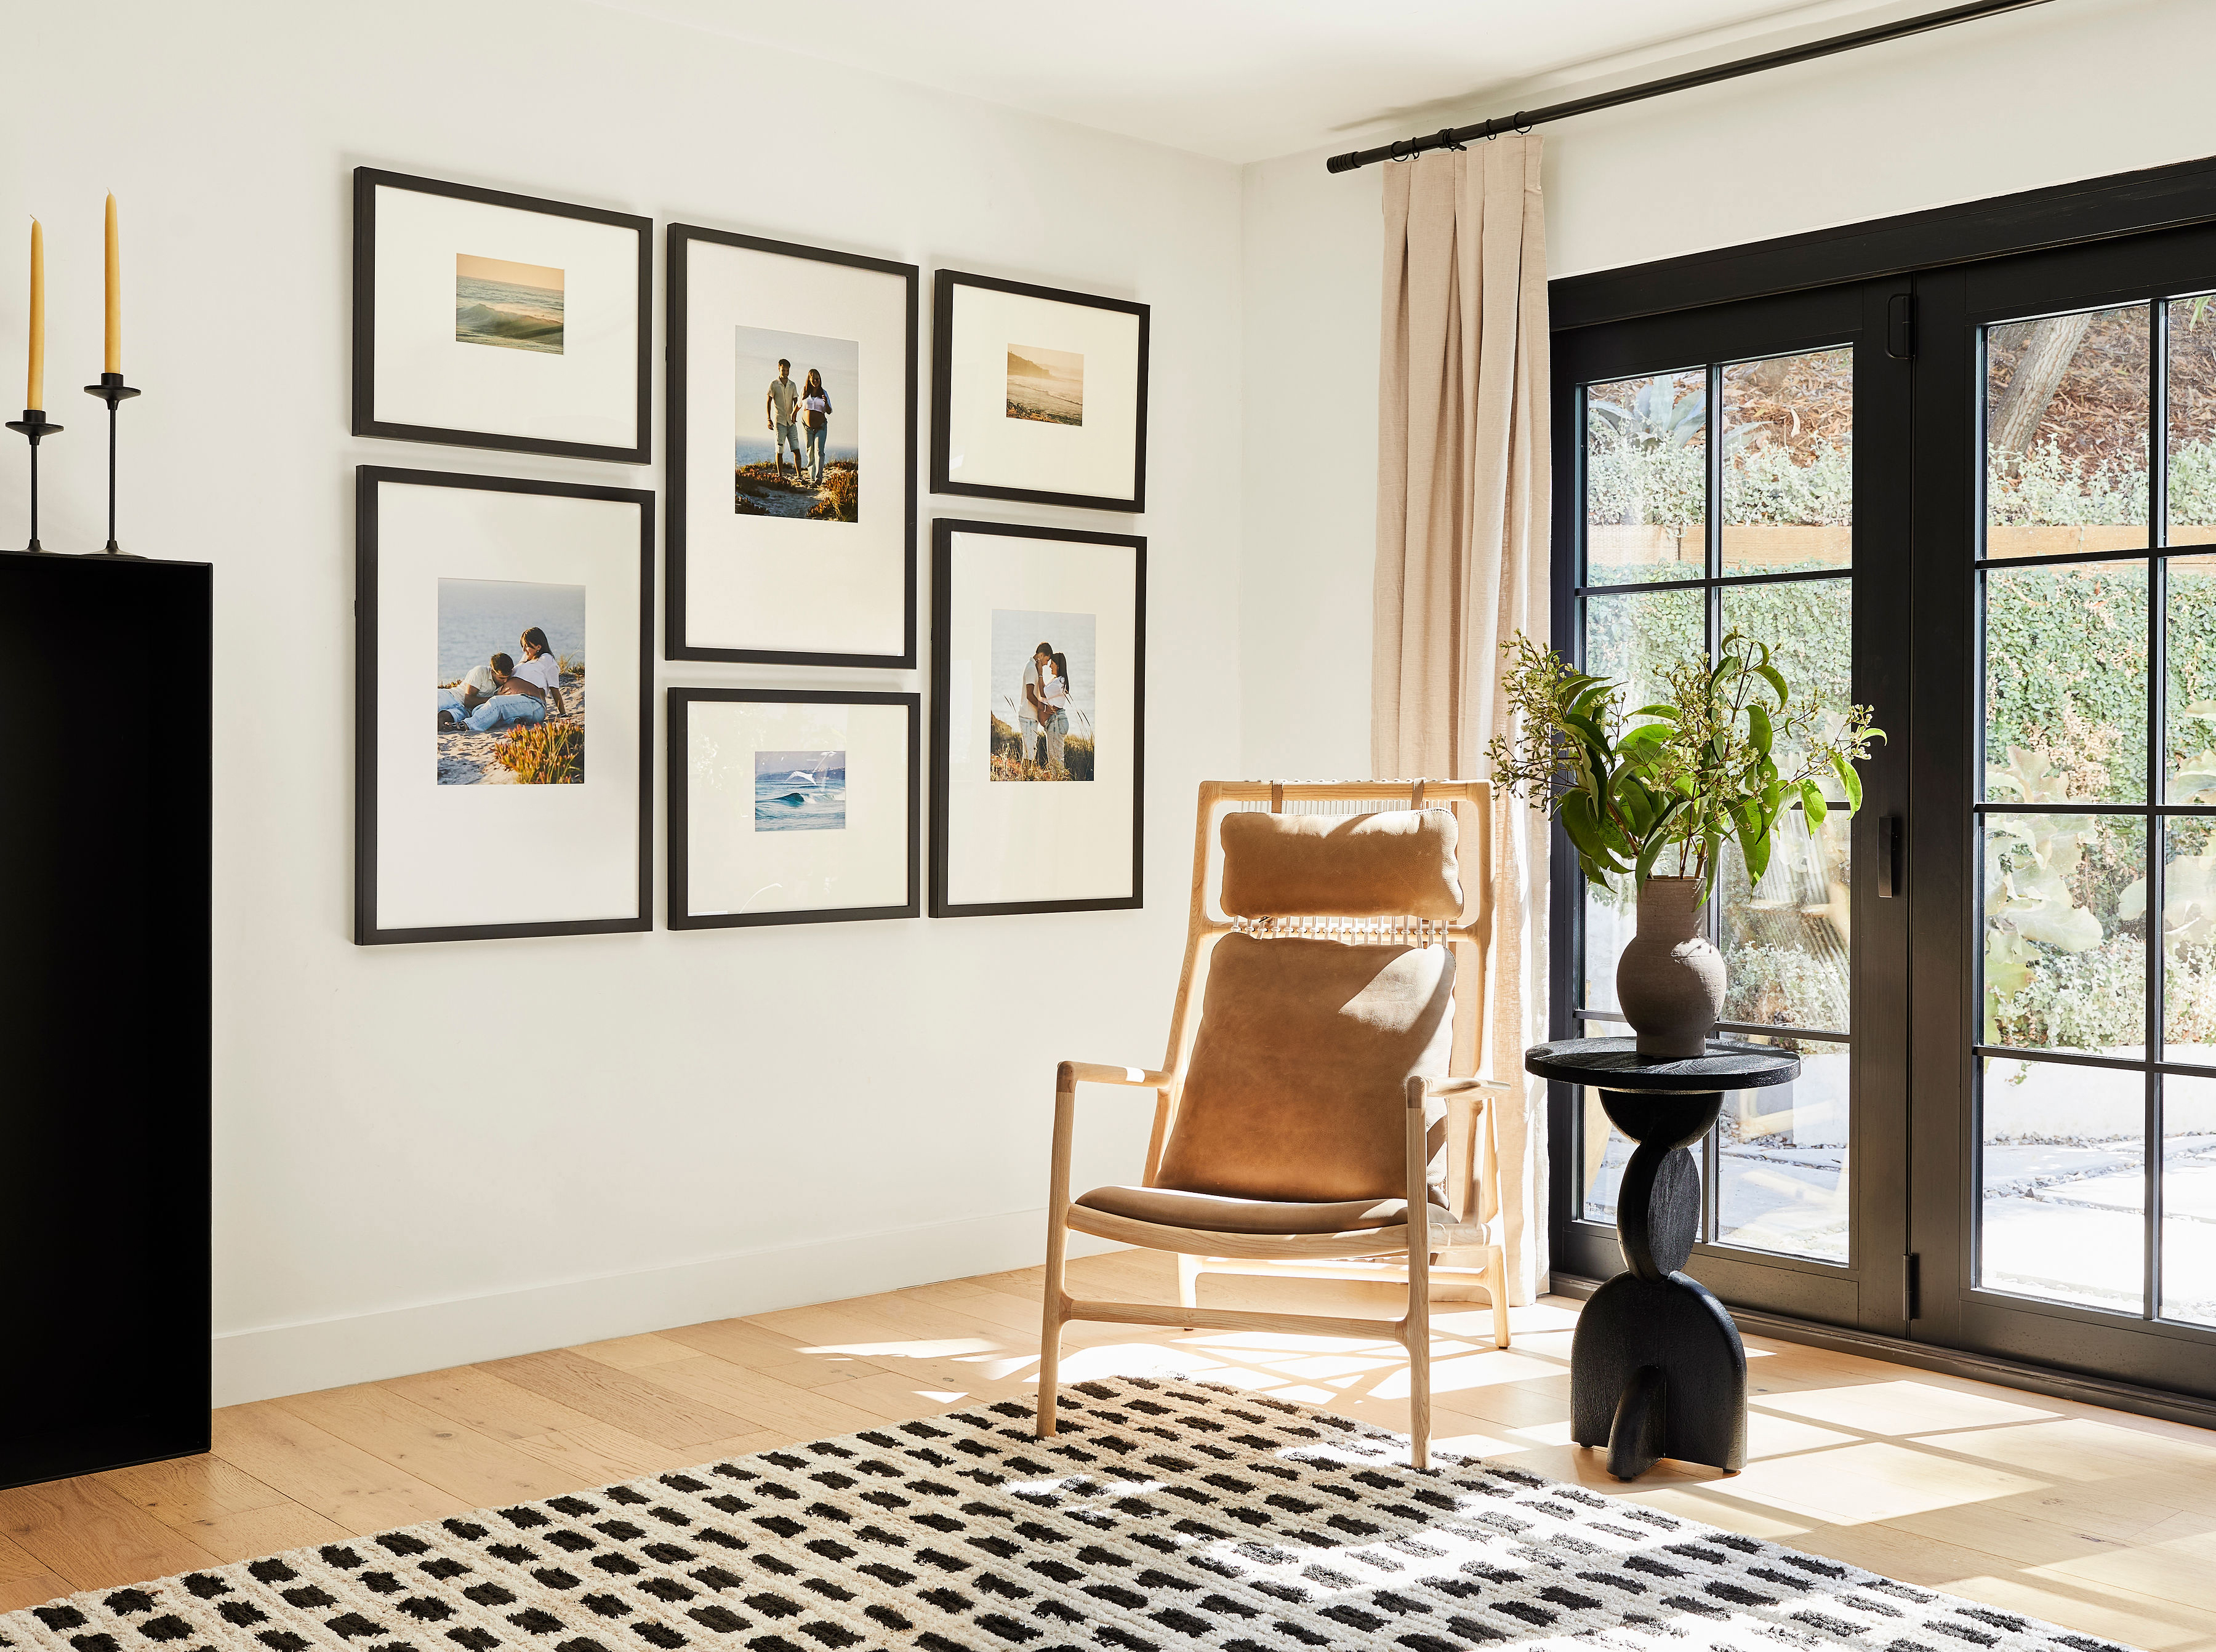
Different wall types benefit from slightly different approaches:
Sofa walls: center the arrangement on the sofa, not on the full wall.
Staircase walls: let frames follow the incline of the stairs, with each frame’s centerline measured a consistent perpendicular distance above the stair nosing.
Hallways: use tighter spacing, consistent sizing, and a single horizontal line, since people rarely stand far back.
Entry nooks: keep the frame count smaller and the footprint tighter so the space still feels open.
Test the footprint before you commit to nails. Use painter’s tape or kraft paper cutouts to sketch the arrangement on the wall. Laying the full arrangement out on the floor at scale and photographing it straight-on is a reliable way to catch spacing and proportion issues before they turn into holes in the drywall.
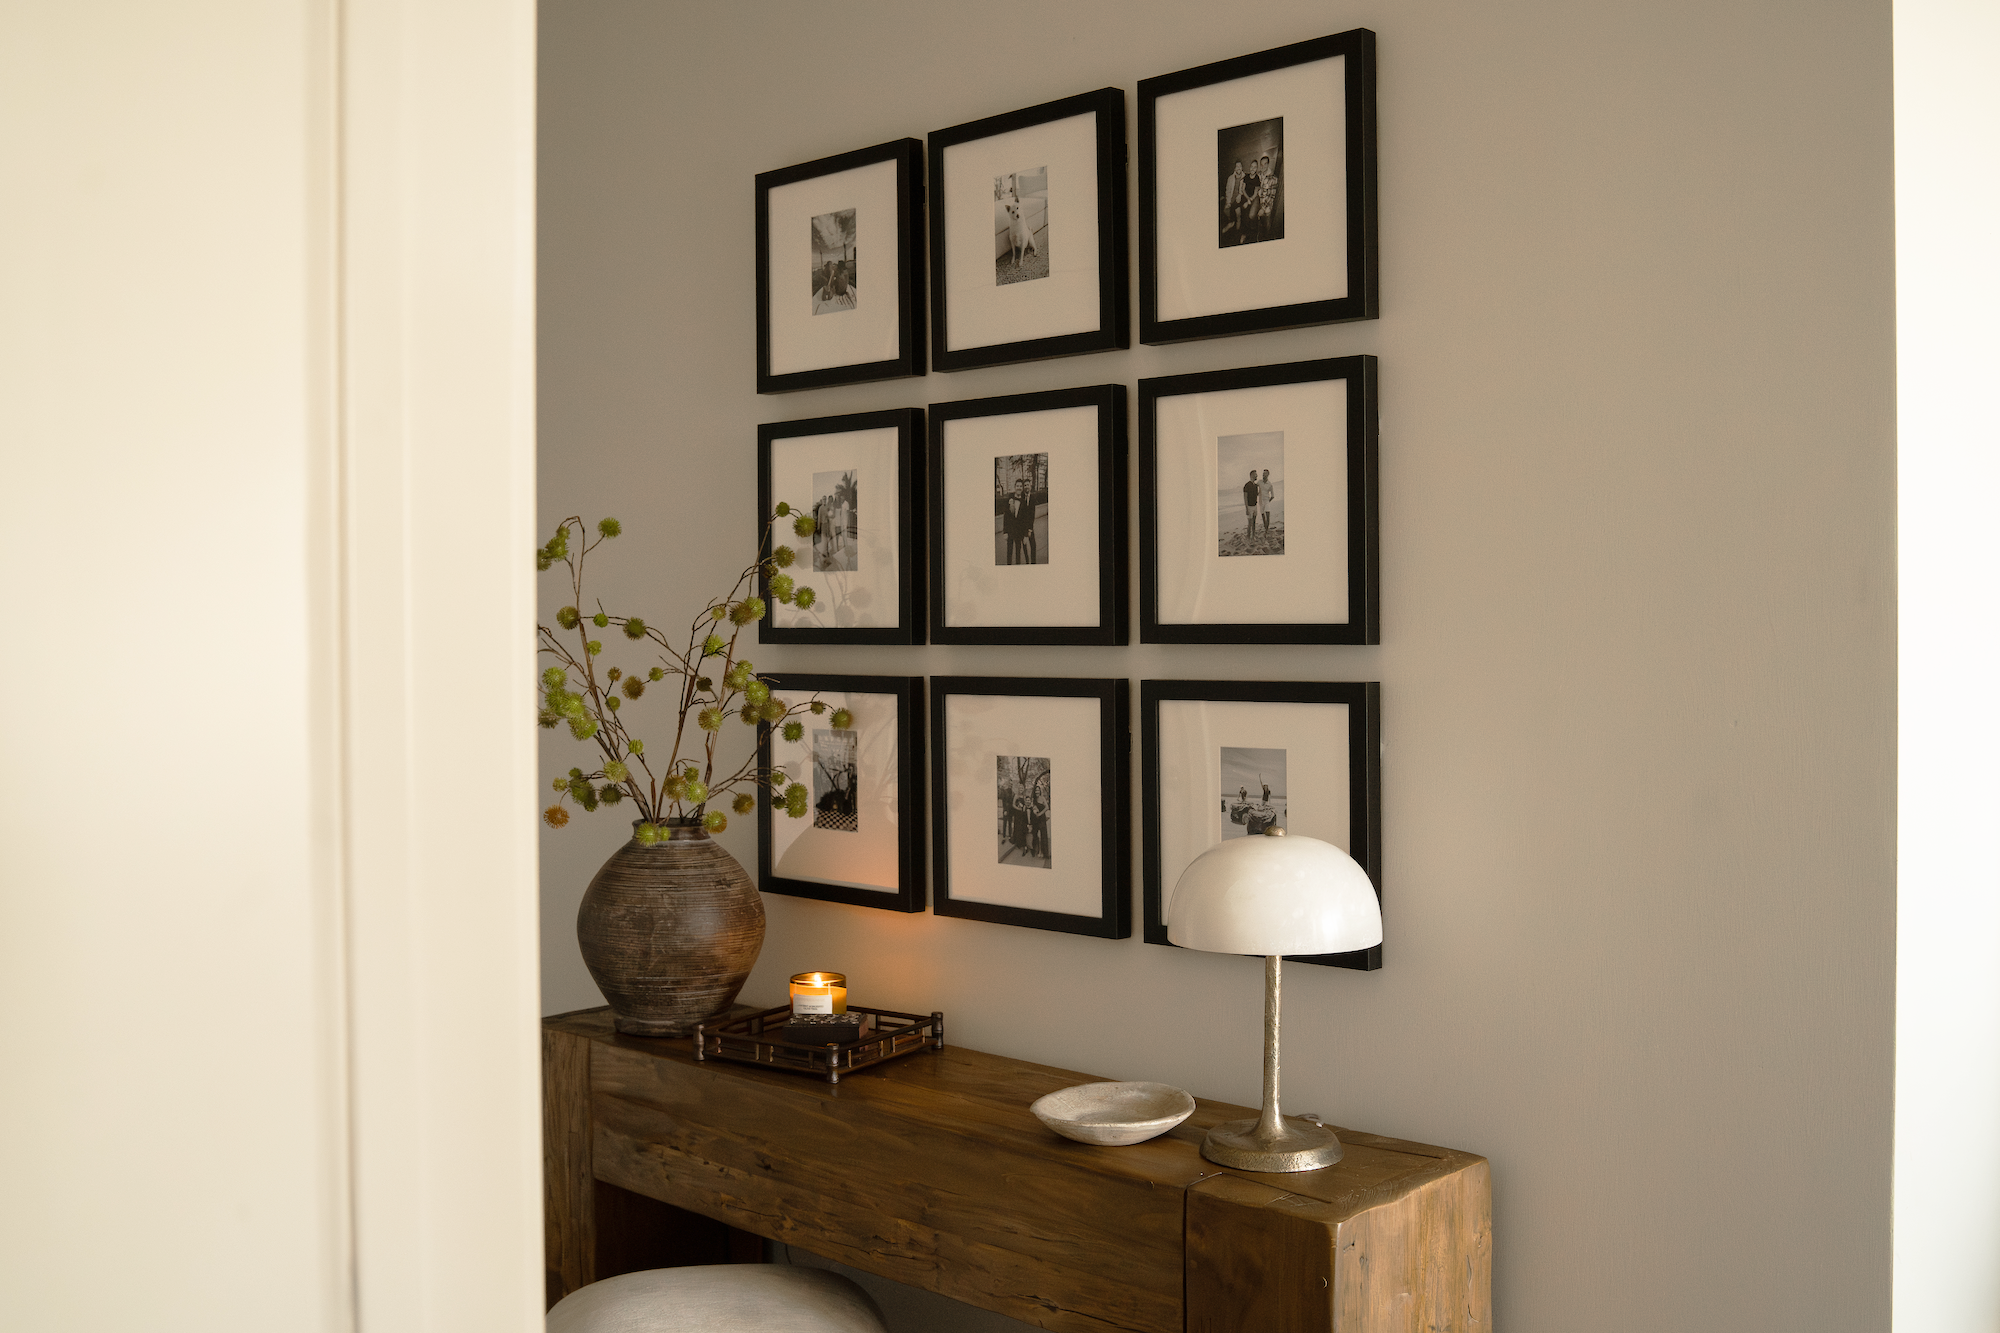
Step 2: Edit your family photo set for cohesion
With your wall and centerline set, the next step is to curate the photos themselves. This step is often overlooked, yet it’s the most important for a cohesive wall. Family photo walls feel busy when planners try to include every milestone in one dense cluster. Editing the set down to a deliberate selection before you order frames separates a designed wall from a cluttered one.
Four decisions drive photo cohesion:
Color harmony: pick a loose palette of warm, cool, or black-and-white tones and stick with it. Black-and-white conversion works especially well for photographs from different years and cameras because it minimizes differences in lighting and backgrounds. If you mix color and black-and-white, do it on purpose with a single accent image rather than a 50/50 split. Even one color photo in an all-black-and-white portrait wall pulls focus from the rest of the set.
Portrait-to-candid ratio: blend candid photographs, milestone pictures, and quiet everyday moments with formal portraits so the collection feels personal and welcoming. A wall of only school-photo-style portraits reads stiff, while a mix of posed and candid moments feels alive.
Photo count: match the number of photos to the wall size and layout. A few large, high-quality pieces usually have more emotional and visual impact than many small prints that get lost on the wall.
Resolution: check image resolution before you order prints. A photo that looks sharp on a phone can print soft at 16×20 inches. If a file is too low-resolution for the size you want, choose a smaller size or a different photo.
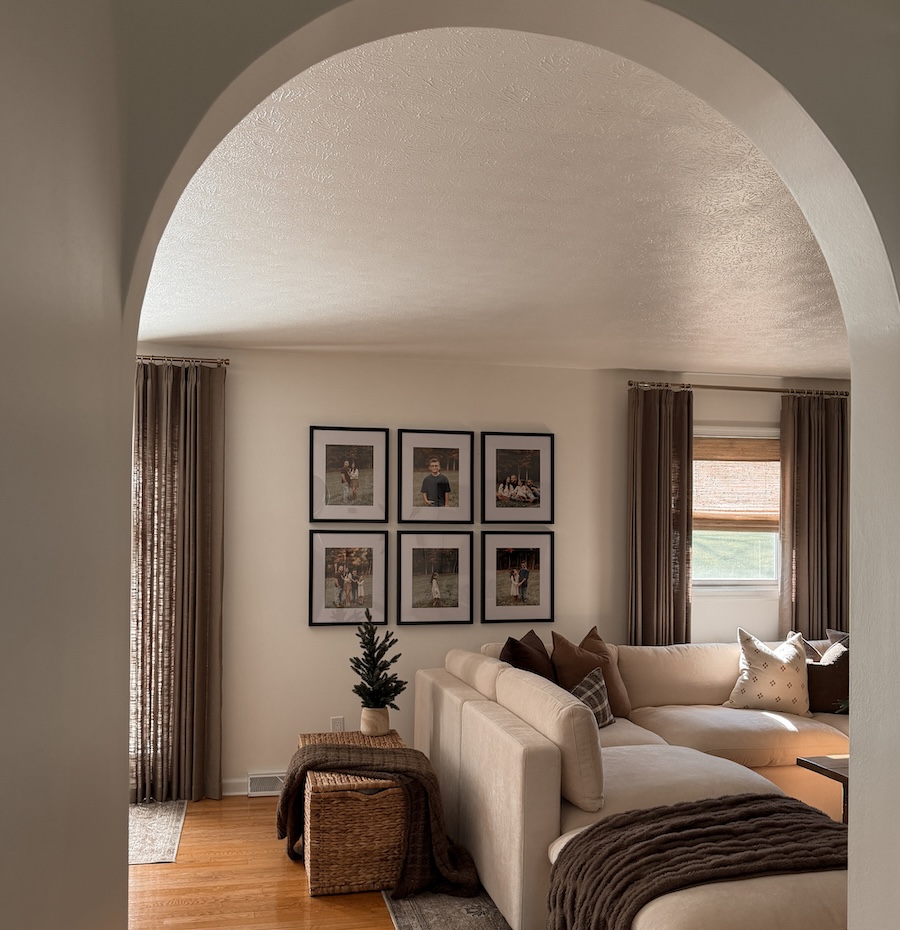
Step 3: Pick a layout by wall type for your family photos
The layout should fit both the wall type and the mood you want. A grid layout with uniform sizes and equal spacing suits formal, symmetrical spaces and feels low-risk for a first gallery wall. An offset or stacked arrangement works well for casual walls where a bit of asymmetry feels collected. Staircase layouts follow the incline of the stairs instead of a level horizontal line. Hallway runs usually look best with consistent sizing and a single horizontal line at eye level.
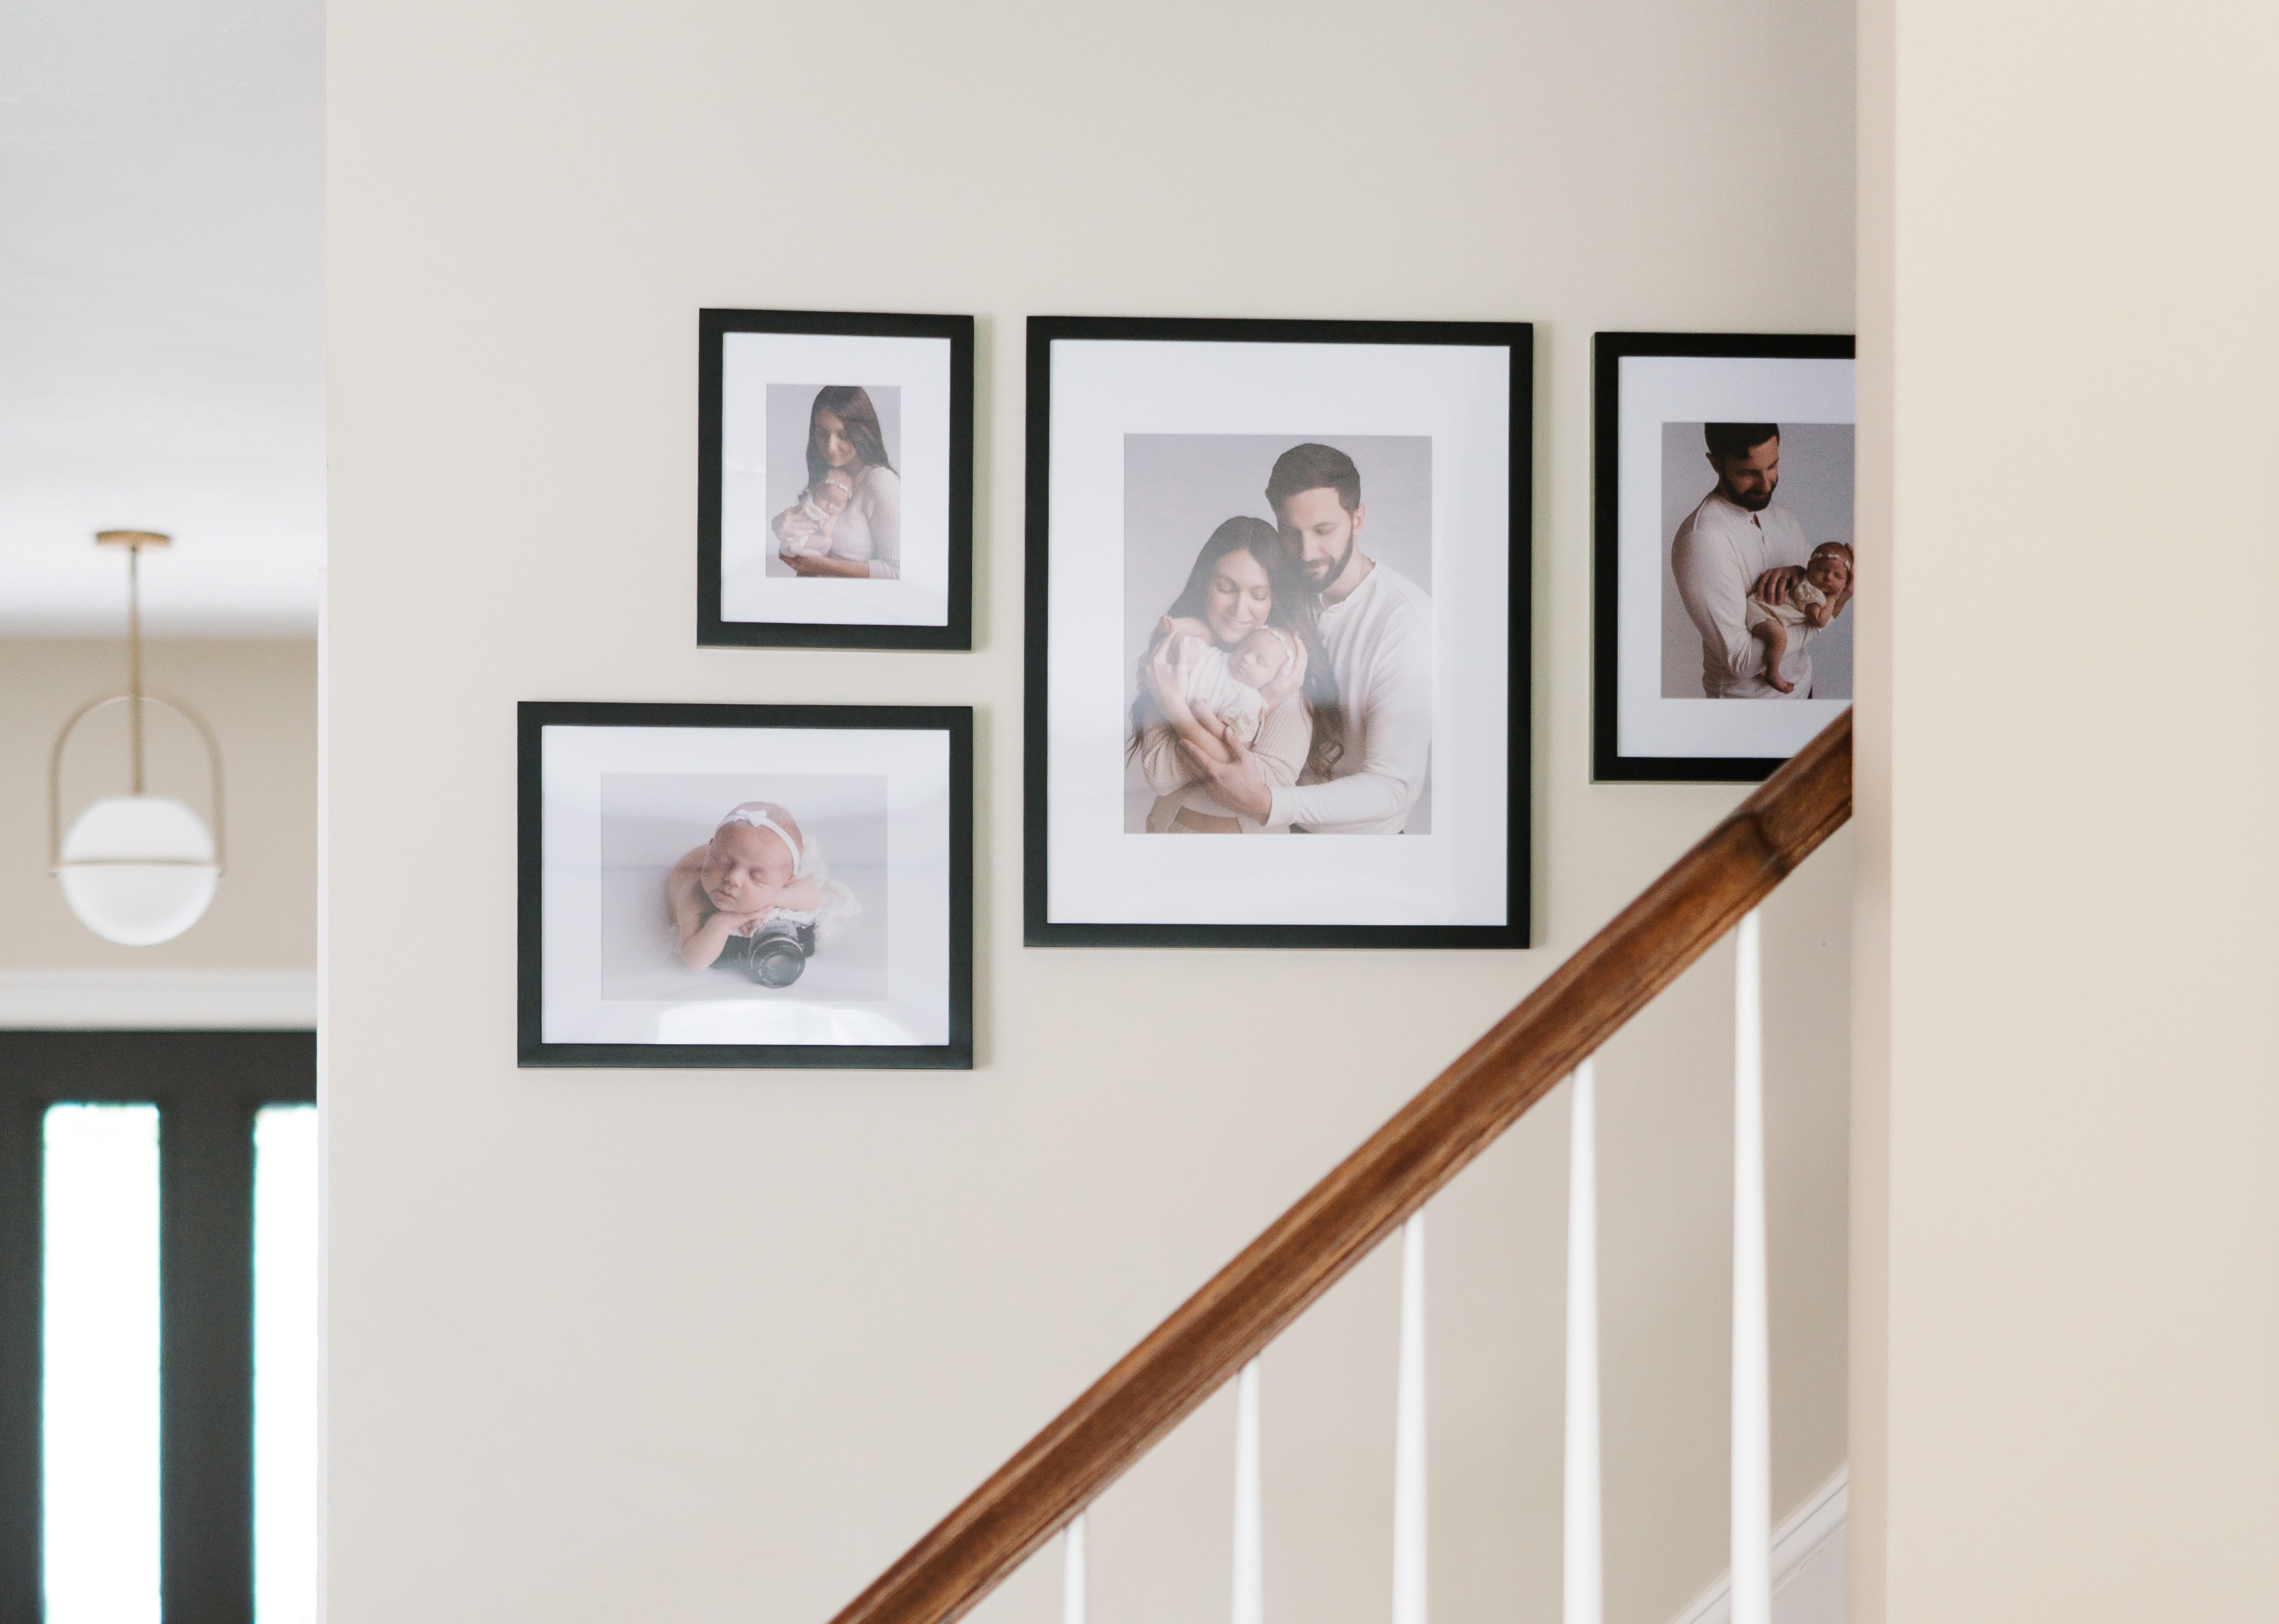
One spacing rule keeps everything looking intentional. Leave 2–3 inches between frames, measured from outer frame edge to outer frame edge, and keep that gap consistent across the arrangement. Uniform spacing makes a wall look designed even when the frames vary.
Pre-designed gallery wall layouts remove the sizing and spacing math entirely. Frameology’s Classic Galleries and Luxe Gallery Walls handle those details for you. As designer Bobby Berk said about the Luxe Vertical Grid, starting at $981, “This is like an Instagram feed for your wall. I think it would look very cool over a sofa, a console or to fill a large wall with amazing memories. And the fact that it comes with a template for hanging makes it so much easier than trying to do this on your own!”
Step 4: Pair frame finishes like a designer
Once your layout is set, the next decision is how to finish the frames. Frame finish is the choice many first-time planners underestimate. Gallery wall designers suggest limiting a mixed-frame wall to two finishes and repeating each finish at least twice so it feels intentional. Choose one dominant finish such as black, wood, or metal and one accent, then repeat them across the wall. Too many finishes create a disjointed, “yard sale” look.
Mat consistency plays an equally big role. Mat board color is one of the strongest visual unifiers on a gallery wall, because identical mats make varied frames read as a single composition. Frameology’s Classic frames use a 4-ply, acid-free mat, while the Luxe line comes with acid-free mats. Keeping mat widths consistent across your wall helps the whole arrangement feel like one piece instead of a group of separate frames.
A curated gallery wall set gives you instant finish cohesion. When every frame in the set shares the same finish, profile, and mat treatment, you skip a major design decision and still get a polished result.
Step 5: Hang your gallery wall without the headache
The traditional DIY method uses kraft paper templates cut to each frame’s outer dimensions. You tape them to the wall, mark hook positions through the paper, then hang the anchor frame first and build outward. This technique costs about $5 in materials and saves hours of patching nail holes later. It works well, but it takes time and a steady hand.
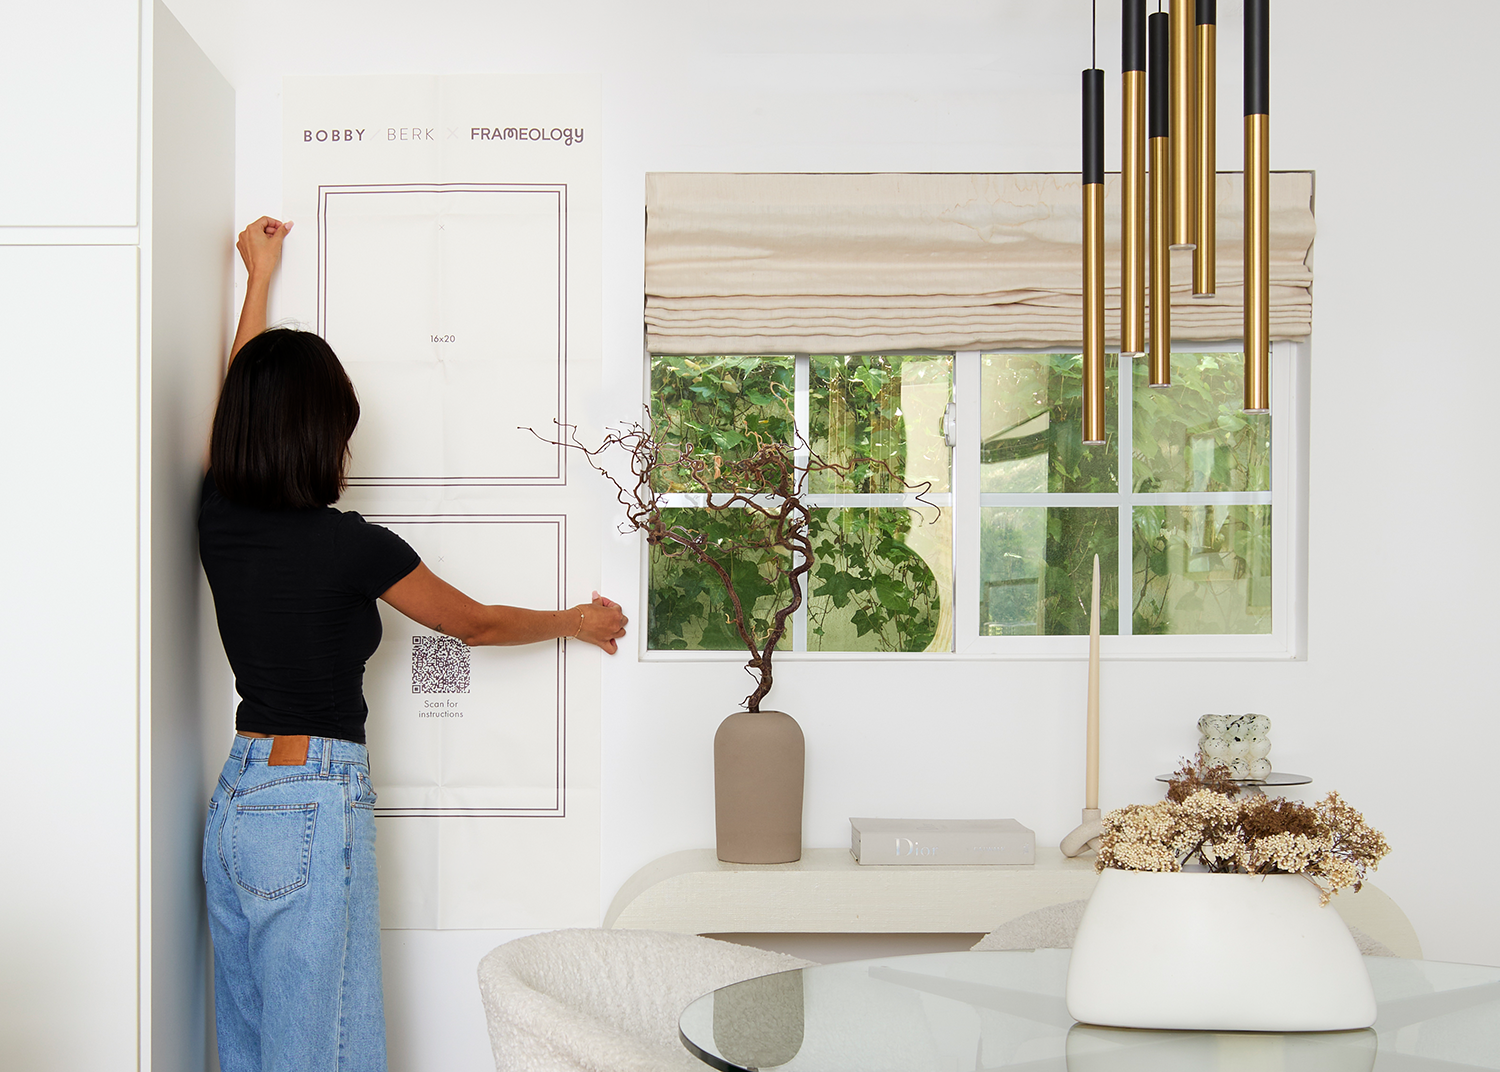
A Frameology gallery wall speeds things up. Classic Galleries, starting at $198, and Luxe Gallery Walls, starting at $638, each include a life-size gallery wall template. For Classic Gallery Walls, tape the template to the wall, hammer nails into the marked spots, remove the template, and hang. Classic Gallery Walls include the hardware needed for installation. For Luxe Gallery Walls, the process uses a dual-point hanging system: tape the template, create dimple marks, hammer nail holes, remove the template, hammer plastic markers and nails into the wall, and hang. All hanging hardware, nails, and a mini-level come in the box.
House Beautiful contributor Janae McKenzie wrote, “I would absolutely recommend Frameology to anyone who knows they want a gallery wall, but doesn’t know how to make it happen.” CNN Underscored’s Stephanie Griffin reported after testing the Luxe Bricklay, “The Luxe Bricklay is called ‘luxe’ for a reason. Between the premium materials and foolproof hanging system that saved so much time and stress, it’s worth the hype.”
One detail to remember: Canvas Galleries and gallery walls created through the Gallery Wall Design Service don’t include a gallery wall template.
How to keep a family photo wall from looking cluttered
A clean, calm family photo wall starts with the photo edit. A wall of unedited, mixed-era, mixed-tone photos in mismatched frames feels cluttered even when it’s hung precisely. Consistent color treatment, a deliberate portrait-to-candid balance, and a photo count that fits the wall size do most of the work.
Beyond the photo set, a few common mistakes quickly add visual noise:
Skipping the centerline measurement and hanging too high. Hanging art too high is the most common hanging mistake, and the center of the arrangement should sit at eye level.
Letting spacing drift, even by an inch, between pairs of frames.
Using more than two frame finishes, which reads as accumulation instead of design.
Mixing sizes without an anchor frame, so every piece competes equally and the wall feels busy.
Hanging before you edit the photo set, which leaves you with a perfect layout filled with photos that don’t belong together.
Placement also matters. Some spots are tough on family photos, no matter how strong the layout looks:
Direct sunlight: UV exposure causes irreversible fading, and the damage is cumulative, even if the wall only gets sun for a few hours.
Humid rooms like bathrooms: steam and moisture encourage mould, weaken adhesives, and damage backing materials and matting.
High-traffic bump zones near doors and stair landings, where frames get knocked and shifted over time.
Directly above radiators or heating vents: rising heat can soften adhesives in mounting and hinging materials, which can cause artwork to peel away from its mount.
Create your family gallery wall
Gallery wall kit vs. buying frames individually
Now that you’ve planned your family photo wall, you can decide whether a gallery wall kit or individual frames fit your project better. Buying frames individually works well when the wall is small, the layout is simple, or the photo set is still evolving. Individual frames give you flexibility to swap photos, add pieces over time, and adjust the layout without committing to a fixed arrangement. Frameology’s Classic Wall, starting at $59, uses a standard removable backing, so you can swap photos whenever you want, which helps parents who like to refresh displays as new memories are made.
A ready-to-hang gallery wall kit fits larger walls, more complex layouts, and projects where you want a designed look without doing the math. Every Frameology Classic Gallery, starting at $198, and Luxe Gallery Wall, starting at $638, includes a life-size gallery wall template, so the measuring and spacing work is already done. Classic Gallery Walls usually ship the next business day and typically arrive within a week. Luxe Gallery Walls use top-of-the-line, museum-quality frames with premium wood and metal moldings, acid-free 4-ply rag mats, UV-protecting museum-grade acrylic, and all hanging hardware included. They take 7–10 business days because of their artisan craftsmanship. For more detail on why Frameology is a strong choice for online framing, read why Frameology is the best online framing service.
Find the perfect gallery wall layout
