


How to design a cohesive gallery wall on a staircase
Written by: Daniel Koren, Co-Founder, Frameology
Key takeaways
Staircase gallery walls work best when you follow a diagonal baseline that matches the stair pitch instead of a level line.
Keep spacing consistent, with 2 to 3 inches vertically and 2 to 4 inches horizontally, and use identical frame finishes and mat colors for a cohesive look.
Ready-made kits like Frameology’s Classic Staircase and Luxe Staircase remove guesswork with pre-designed layouts and a life-size gallery wall template.
Create a polished staircase gallery wall without extra holes or stress when you start framing your favorite memories at Frameology.
Why staircase walls need a diagonal approach
On a flat wall, you pick a height, draw a level line, and hang. On a staircase, that approach fails quickly. The slope of the stairs means there’s no single floor level, so a horizontal baseline makes frames look like they’re sliding downward as the staircase rises.
Viewers also see the wall from three main vantage points: the bottom, the middle, and the top of the stairs. A layout that feels balanced from one angle can look lopsided from another. Add the challenge of placing a ladder safely on steps, and standard hanging methods often end in extra holes, crooked lines, and frustration.
7-step staircase gallery wall hanging checklist
Use this checklist from start to finish for a clean diagonal installation with no wasted nail holes.
Measure the staircase pitch: Calculate the slope by dividing the rise of three steps by their combined run. A common ratio is around 0.64, such as 18 cm of rise over 28 cm of run. This ratio sets the angle your frame centers should follow.
Mark the diagonal baseline: Stretch a taut string line or painter’s tape parallel to the banister or stair nosing from the bottom to the top of the wall. This line becomes your central alignment axis.
Set frame-center height: Mark each frame center roughly 145 cm above the tread directly below it, not from a fixed floor level. This keeps viewing height consistent as you climb.
Mock up with paper templates: Cut paper templates the same size as each frame, label them, and tape them to the wall before you drill a single hole. Check the layout from the bottom, middle, and top of the stairs.
Apply the 2-to-3-inch spacing rule: Maintain 2 to 3 inches of vertical spacing and 2 to 4 inches of horizontal spacing between frames so the arrangement feels unified and connected.
Mark nail positions and remove templates: Once you like the layout, mark nail positions through the templates, remove the paper, and hammer nails at the marked spots.
Hang frames and check from all angles: Hang each frame, then walk the full length of the stairs to confirm the diagonal flow looks smooth from every vantage point. Add a picture hanging strip to the bottom of each Classic frame to keep it from shifting in this high-traffic area.
How to arrange photos on staircase walls
The 7-step process above gives you the full installation sequence, and the baseline-tape method in step 2 does the heavy lifting. This diagonal guide line keeps your layout aligned without trial and error.
Run a strip of painter’s tape diagonally along the wall, parallel to the handrail, at the height where your frame centers will sit. Aim for roughly 60 to 62 inches above each step, which sits slightly higher than standard eye level because viewers look up at the art as they climb.
With the tape in place, mark each frame-center position along it, maintaining the 2-to-3-inch spacing guideline from step 5. The spacing rule matters because it prevents the most common mistake: stair-stepping each frame in a rigid up-and-over pattern that copies the steps below. To avoid that, keep the horizontal distance between frame centers constant, around 35 to 40 cm, and let the shared slope line handle the vertical offset automatically.
Use identical frame styles across a staircase gallery wall, including frame finish and mat color. The diagonal composition already adds visual complexity, so mixed finishes can make the wall feel noisy instead of curated.
Staircase gallery wall ideas for enclosed stairways
Enclosed stairways feel tricky because the wall is narrow, the ceiling drops at one end, and you have limited room to step back. A vertical approach works better than trying to spread frames across the full width of the wall.
Four effective ascending layouts for enclosed stairways include a single line of identical-size frames, a single line of mixed sizes with larger frames at the ends, a two-line stagger with a secondary line offset 30 cm above the primary, and a salon-style cluster on the landing that transitions into an ascending line on the climb.
Frameology’s Classic Staircase II ($485) suits this kind of narrow vertical run. The layout follows the diagonal and removes the need to calculate spacing from scratch. For a more editorial look in a tighter space, the Luxe Staircase ($953) creates a clean, museum-quality diagonal arrangement with sealed Luxe frames hung from two points for extra stability.
Best frame sizes for a staircase gallery wall
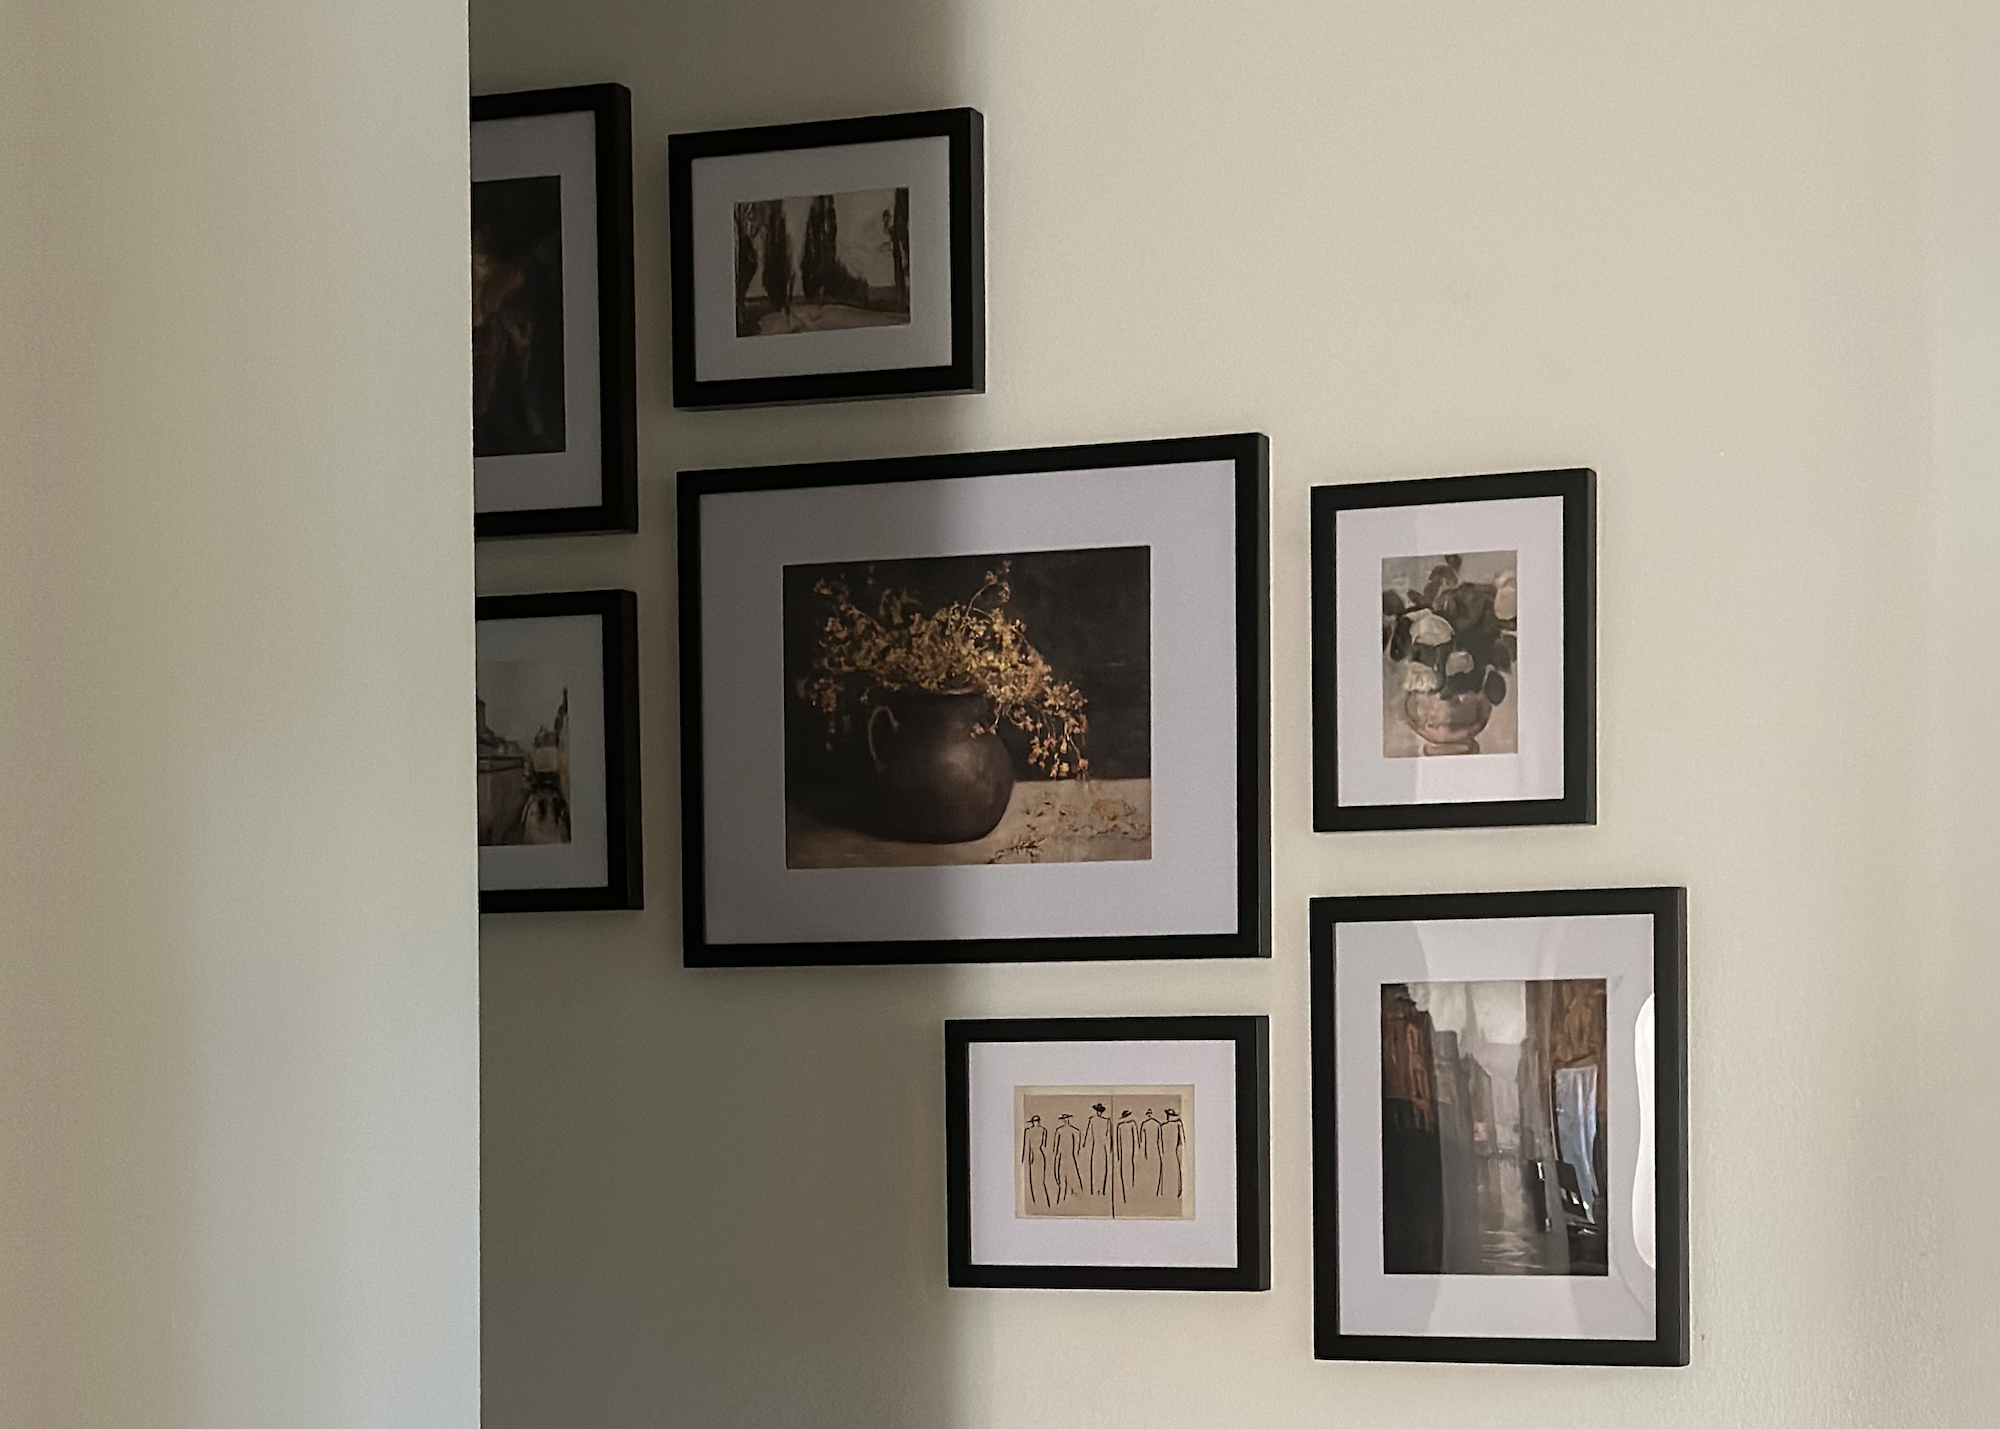
Frame size on a staircase wall depends on wall height and viewing distance from the steps. For a typical 8-foot stair rise, frame sizes between 11×14 and 24×36 inches work well. These sizes stay readable from the stairs without overwhelming the diagonal layout.
Progressive sizing adds a subtle sense of movement. Start with a smaller frame at the bottom, move to a medium frame in the middle, and finish with a larger frame at the upper landing to visually echo the ascent. This technique shines on longer stair runs where the wall has room to build momentum.
For a cohesive look, stick to one frame finish, such as black, white, or natural wood, and one mat color across all frames. Mixed finishes on a diagonal wall increase visual complexity in a way that feels chaotic instead of intentional. Frameology’s Classic and Luxe lines both offer consistent finishes across their staircase layouts, so every frame in the kit matches without any guesswork.
Ready-made staircase gallery walls that remove the guesswork
Pre-designed staircase kits give you a reliable way to get a cohesive gallery wall without doing diagonal math or layout planning. Frameology offers two staircase-specific options designed with Queer Eye’s Bobby Berk, who said of the collection, “The gallery wall up the stairs is the perfect place to display family photos, and I think my staircase collection makes it so much easier to curate all your favorite memories into a layout that looks great.”
Classic gallery walls for your staircase
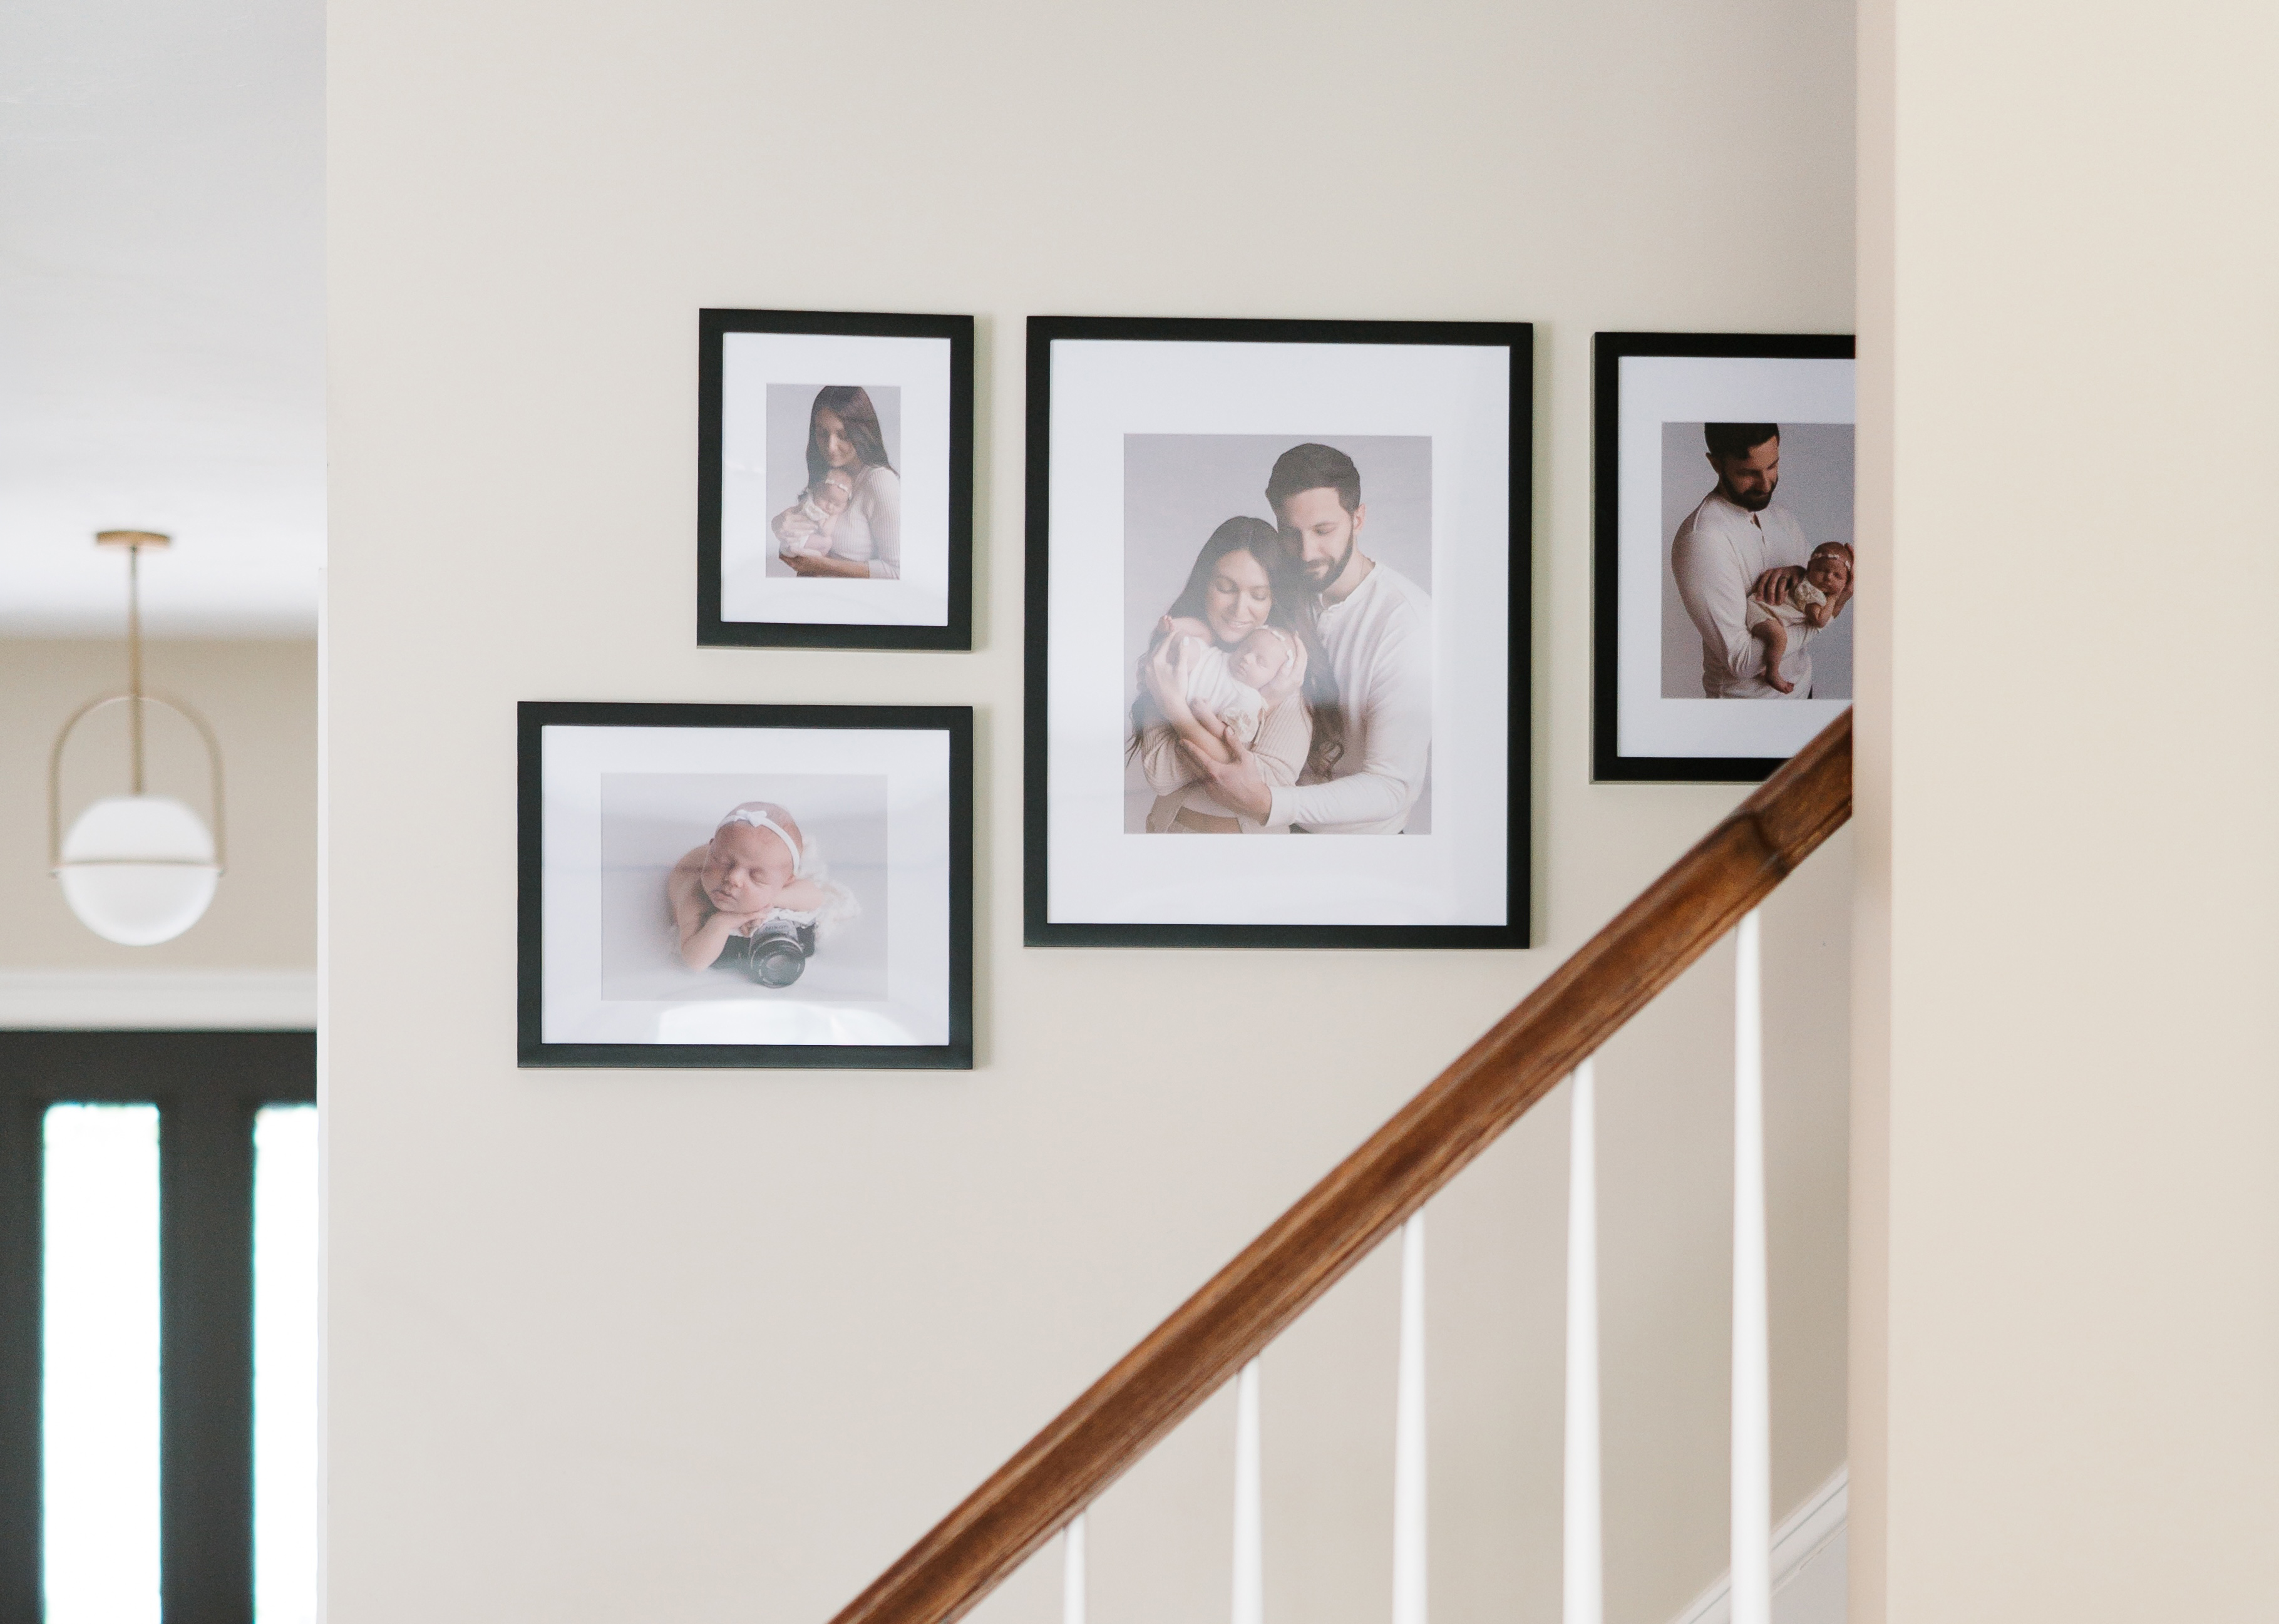
The Classic Staircase line uses Frameology’s value-tier Classic frames, which offer strong quality, fast shipping, and a removable backing so you can swap photos anytime. Three layouts are available:
Classic Staircase ($308): A streamlined diagonal arrangement for shorter stair runs.
Classic Staircase II ($485): A fuller layout suited to enclosed stairways and longer runs.
Classic Staircase III ($635): The most expansive Classic staircase layout for tall, open stair walls.
Every Classic Staircase gallery wall includes a life-size gallery wall template. Tape it to the wall, hammer nails into the marked spots, remove the template, and hang your frames. Frameology ships frames with a true-to-size paper template and nails to mark exact hanging positions on the wall, so there’s no measuring, no math, and no extra holes. Classic products typically ship the next business day and arrive within a week.
Luxe gallery wall for your staircase
The Luxe Staircase ($953) uses museum-quality Luxe frames, which are USA-crafted from premium wood and metal moldings with acid-free mats, UV-protecting museum-grade acrylic, and continuous-tone archival printing on premium photo paper. Each Luxe frame has a sealed, permanent kraft paper backing and a no-wire hanging system with two side hangers for precise leveling and strong stability. All hanging hardware, including nails, a mini-level, and the hardware itself, comes in the box.
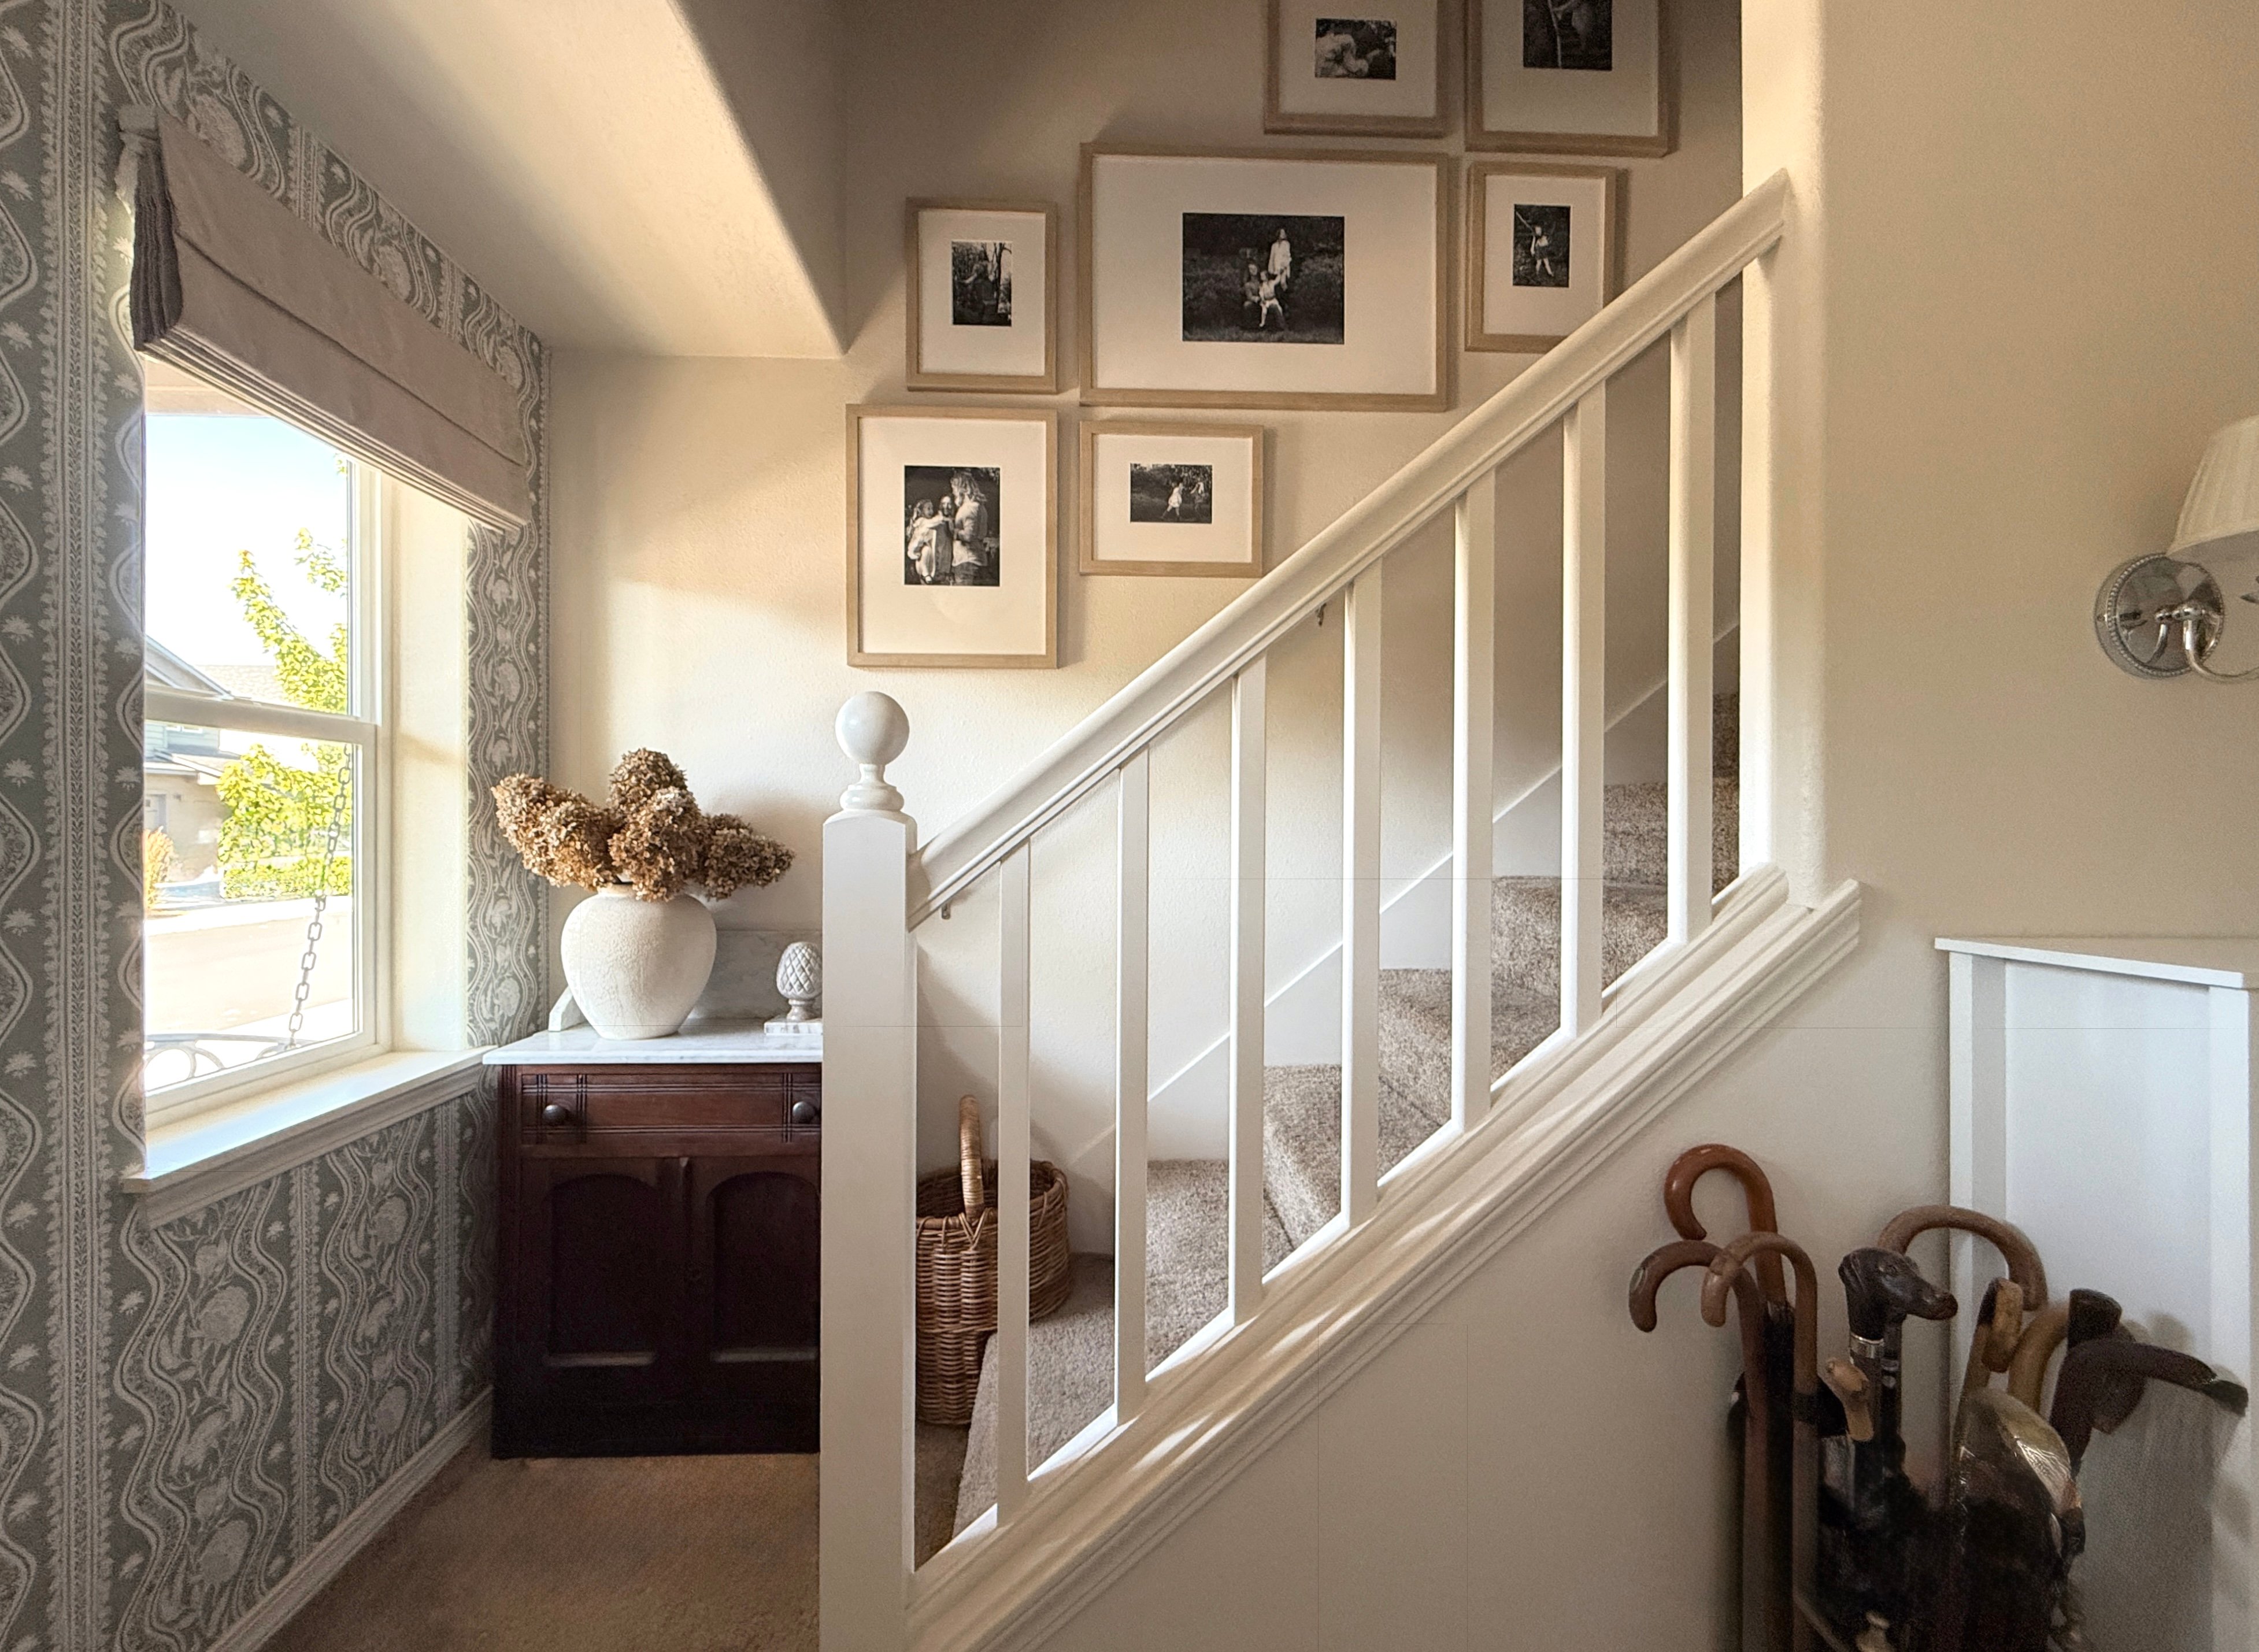
The Luxe Staircase also includes a life-size gallery wall template with slightly different instructions than the Classic version because of the dual-point hanging system. Luxe products take 7 to 10 business days, reflecting their artisan craftsmanship. “I would absolutely recommend Frameology to anyone who knows they want a gallery wall, but doesn’t know how to make it happen,” wrote Janae McKenzie for House Beautiful.
Browse Bobby Berk’s Classic and Luxe staircase collections at Frameology, where every kit includes a life-size template for effortless installation.
Troubleshooting common misalignments
The most common staircase gallery wall issue is a layout that stair-steps rigidly. Each frame sits at a fixed vertical and horizontal offset that copies the steps below instead of following a smooth diagonal. Frame centers should follow a continuous diagonal line that matches the stair slope, not a choppy stair-stepped pattern. If your layout looks broken or jumpy, re-mark the diagonal baseline with painter’s tape and re-check frame centers against it before you re-hang.
Uneven spacing is the second most common issue. When the gap between frames changes from one pair to the next, the arrangement feels disconnected instead of unified. If your frames feel scattered, measure the horizontal distance between each pair of frame centers and adjust until the interval matches throughout. One consistent spacing number helps the display read as a single unit.
Frameology’s life-size gallery wall templates prevent both problems before they start. The template marks every nail position at the correct diagonal spacing, so the layout is locked in before you put a single nail into the wall.
Frequently asked questions
How long does it take to hang a staircase gallery wall?
With Frameology’s life-size gallery wall template, a Classic Staircase gallery wall usually takes less than an hour to hang. The template marks every nail position in advance, so there’s no measuring or mid-installation adjusting. The Luxe Staircase takes a bit longer because of the dual-point hanging system, but the included template and hardware keep the process straightforward even if you’ve never installed a gallery wall before.
Do all gallery walls include hanging templates?
Classic and Luxe gallery walls include life-size gallery wall templates that make installation simple and predictable. Canvas galleries, Metal galleries, and gallery walls created using Frameology’s Gallery Wall Design Service don’t include templates because their construction and customization work differently and often need more tailored installation approaches.
What’s the difference between the Classic Staircase and Luxe Staircase gallery walls?
The Classic Staircase gallery walls starting at $308 use Classic frames, which offer strong value and fast shipping. Classic frames have a removable backing so you can swap photos whenever you like, and they use a single center-point hanging system. Classic products typically ship the next business day and arrive within a week.
The Luxe Staircase ($953) uses the museum-quality Luxe frames described earlier, with premium materials, archival construction, and UV protection. Luxe frames have a sealed, permanent kraft paper backing, so photos can’t be swapped, and they use a no-wire dual-point hanging system for precise leveling. All hanging hardware comes in the box, and Luxe products take the 7 to 10 business days noted earlier, reflecting their artisan craftsmanship.
Can renters hang a staircase gallery wall without damaging walls?
Classic Staircase gallery walls work better for renters. Classic frames use a single center-point hanger, and adding a picture hanging strip to the bottom of each frame helps prevent shifting in busy staircase areas. Renters should always check lease terms about wall fasteners before they start. The Luxe Staircase uses a dual-point hanging system that needs nails, so it suits owned homes or rentals where nail holes are allowed.
What photo resolution do I need for staircase gallery wall frames?
For sharp prints, photos should be at least 300 DPI (dots per inch) at the intended print size. Recent smartphone photos usually have enough resolution for frame sizes up to 16×20 inches. For larger sizes, such as 20×24 and above, photos from a DSLR (digital single-lens reflex) or mirrorless camera give the best results.
Frameology’s continuous-tone archival printing on premium photo paper applies to all framed prints, so color and clarity stay as strong as the source file allows. If you’re unsure whether a photo will print well at a certain size, Frameology’s team can help you choose.
