


Cheap but good ways to frame photos at home
Written by: Daniel Koren, Co-Founder, Frameology
Key takeaways
Budget framing methods like washi tape, binder clips, and poster rails keep upfront costs low but often damage or fade prints within months to a couple of years.
Thrift-store frames and clipboard displays create a more structured look but still lack UV protection and acid-free materials, so photos visibly degrade over time.
Each DIY option eventually forces you to reprint and re-mount, which makes the long-term cost and effort higher than it first appears.
Proper custom frames become the smarter investment once prints need frequent replacement or displays start looking temporary instead of intentional.
When you’re ready to upgrade, start framing your favorite memories at Frameology for durable, affordable options that protect photos for years.
Washi tape borders for casual, short-term displays
Washi tape borders create a quick, low-cost way to “frame” photos by applying decorative tape directly around the edges of a print. A roll of washi tape costs $2 to $8, so this method has one of the lowest entry costs and requires no tools, hardware, or holes in the wall.
The trade-offs show up quickly. Professional conservator Chloe Lucas warns that adhesive tape applied to photographs will yellow, become brittle, fall off, and stain the photograph surface over time, and that risk applies to decorative tapes too. The look also stays casual, since most people read washi tape as temporary, which can work in a craft room but undercuts a polished living room or hallway display.
This method often starts to look worn within weeks in humid rooms or near windows. Once the tape lifts at the corners or the color fades, the display looks neglected instead of intentional. Treat it as a short-term fix for renters who need zero wall damage and plan to rotate photos often.
Binder clips and twine for flexible rotation
A string-and-clip display uses twine, wire, or string lights stretched between two anchor points, with binder clips or clothespins holding prints in place. Total material cost usually runs $5 to $20 depending on the length of the run and the clips you choose. String-and-clothespin displays let users pin frameless prints to walls and swap photos whenever they want, which genuinely helps anyone who likes to rotate their collection.
Durability is where this method falls short. The clips themselves hold up well, but the prints they’re gripping don’t. A print exposed to direct light for a few hours a day can show visible fading within a year or two, and frameless prints hanging in open air have no UV protection at all. The look skews casual or rustic, which can feel charming in a dorm or studio but rarely reads as intentional in a main living space.
Curled edges, uneven fading, and sagging twine all signal the same problem: the display has slipped into maintenance debt and needs a full refresh. That point usually arrives within six to eighteen months in a well-lit room.
Clipboard displays for structured, semi-temporary grids
Clipboard walls use mounted clipboards to hold prints flat and make swaps fast. You can attach them with adhesive strips or small nails, and a standard clipboard costs $2 to $6, so a set of four to six creates a simple grid. Clipboard displays mounted with adhesive strips provide a simple, inexpensive method to display and frequently swap art prints.
The look feels more structured than tape or clips because the hard edges of the clipboard give each print a defined border that reads closer to a frame. Durability sits in the middle. The clipboard itself holds up, but the prints stay exposed to UV light and humidity. Standard pulp mats and unprotected prints in acidic environments will visibly stain within a few years, and clipboards don’t add any protection.
The display starts to feel tired once dust builds up in the clip hardware, prints fade or curl, or adhesive strips fail and a clipboard falls. Most adhesive mounting products carry temporary use ratings of weeks to a few months, so you’ll need to replace or reinforce them regularly.
Thrift-store or discount-store frames for low-cost “real” framing
Thrift-store, dollar-store, or discount frames usually cost $2 to $20 and feel like the closest thing to “real” framing on a budget. They give you a defined border, a backing, and some form of glazing, often thin styrene or basic acrylic instead of glass.
The material trade-offs are real and they build on each other over time. Styrene glazing in many low-cost frames is lightweight and resists shattering but lacks a substantial appearance for quality framing projects. That thin glazing usually sits against paperboard backings that bow over time and offer no moisture protection, which creates gaps and lets humidity in. At the same time, basic acrylic can appear hazy and distort colors compared with glass or high-quality acrylic. Standard shop-bought frames made with acidic wood pulp release lignin over 5 to 10 years, which causes yellowing, brittleness, and acid burn on photographs, so the frame slowly harms the image it’s meant to protect.
Visually, a mix of discount frames can look intentional if you commit to one color and even spray-paint them to match. Over time, though, the lightweight feel and inconsistent sizing start to show. When the backing bows, the glazing hazes, or the corners separate, replacement becomes the only fix, and at $5 to $15 per cycle those swaps add up quickly.
Poster rails and wood strips for minimal, exposed prints
Poster rails use two thin strips of wood or metal that clamp a print at the top and bottom to create a clean, minimal display. Sets usually cost $10 to $30. Picture ledges let users display prints of varying sizes, overlap them for visual interest, and swap photos at any time without tools or wall damage, and simple wood strip rails work in a similar way. You can even DIY wood strips from hardware store materials for under $10.
The look feels modern and intentional when you install them carefully, since thin rails read as a design choice instead of a budget workaround. The hardware itself is durable and rarely fails. The print, however, stays fully exposed with no UV protection, humidity barrier, or acid-free backing. Without any glazing, poster rails leave prints open to UV damage, and even standard glass only slows that process, allowing up to 45% color saturation loss within three years.
The setup starts to disappoint once the print fades, curls at the edges from humidity, or yellows from light exposure. At that point, the rails still look fine but the photo needs replacing, which means reprinting and re-clamping every one to three years depending on light levels in the room.
When to upgrade to long-term frames
Every budget method has a clear failure point: tape lifts, prints fade, backings bow, or clips sag. Once you’re reprinting and re-mounting photos every year or two, or a display that should feel intentional keeps looking temporary, the ongoing cost and effort of budget options start to outweigh the one-time cost of proper frames.
A $350 conservation frame that protects artwork for 40 years works out to roughly $5 per year, while budget setups can damage prints in as little as five years because of acidic materials. The math shifts faster than most people expect once you factor in reprints and replacements.
Quality framing solves that problem, and Frameology narrows the gap between “budget hack” and “custom framing tax.” Classic Table frames, starting at $39, and Classic Wall frames, starting at $59, ship quickly, usually the next business day, and typically arrive within a week. Classic frames use a removable backing, so you can swap photos whenever you want without replacing the frame, which beats both budget frames that degrade and traditional custom framing that locks everything in place.
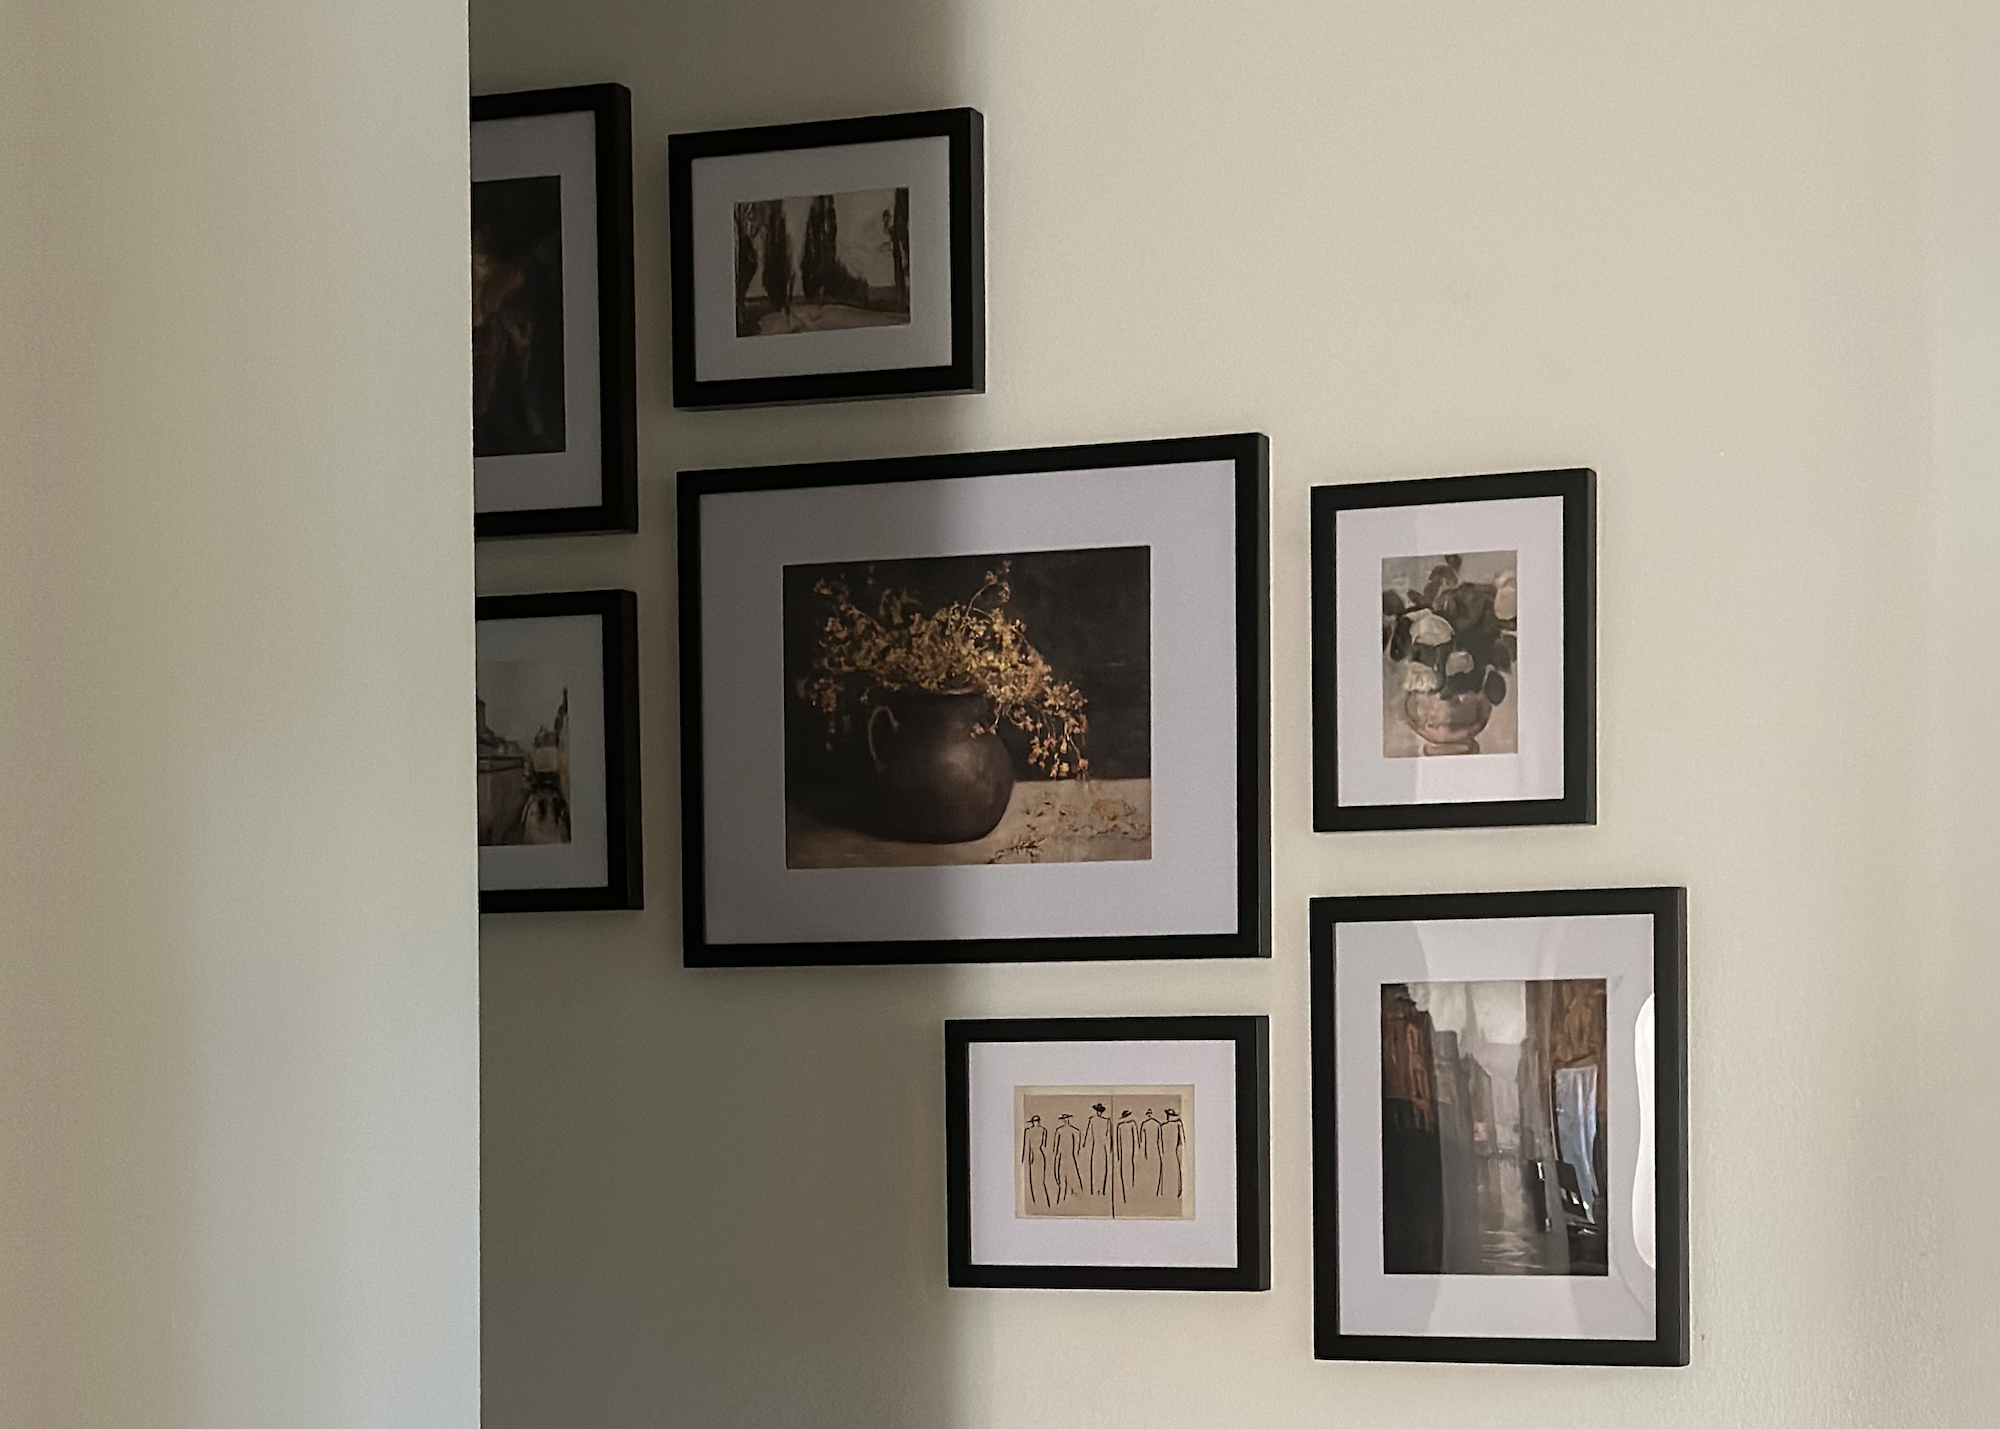
When you’re ready for upgraded materials, Luxe Wall frames, starting at $79, are made in the United States from premium wood molding and metal moldings with acid-free mats and UV-protecting museum-grade acrylic. Every Luxe frame ships with nails, a mini-level, and a no-wire hanging system, and arrives within 7 to 10 business days. Luxe frames feature a sealed, permanent backing that protects your photo for the long term, so you can’t swap the image once it’s framed.
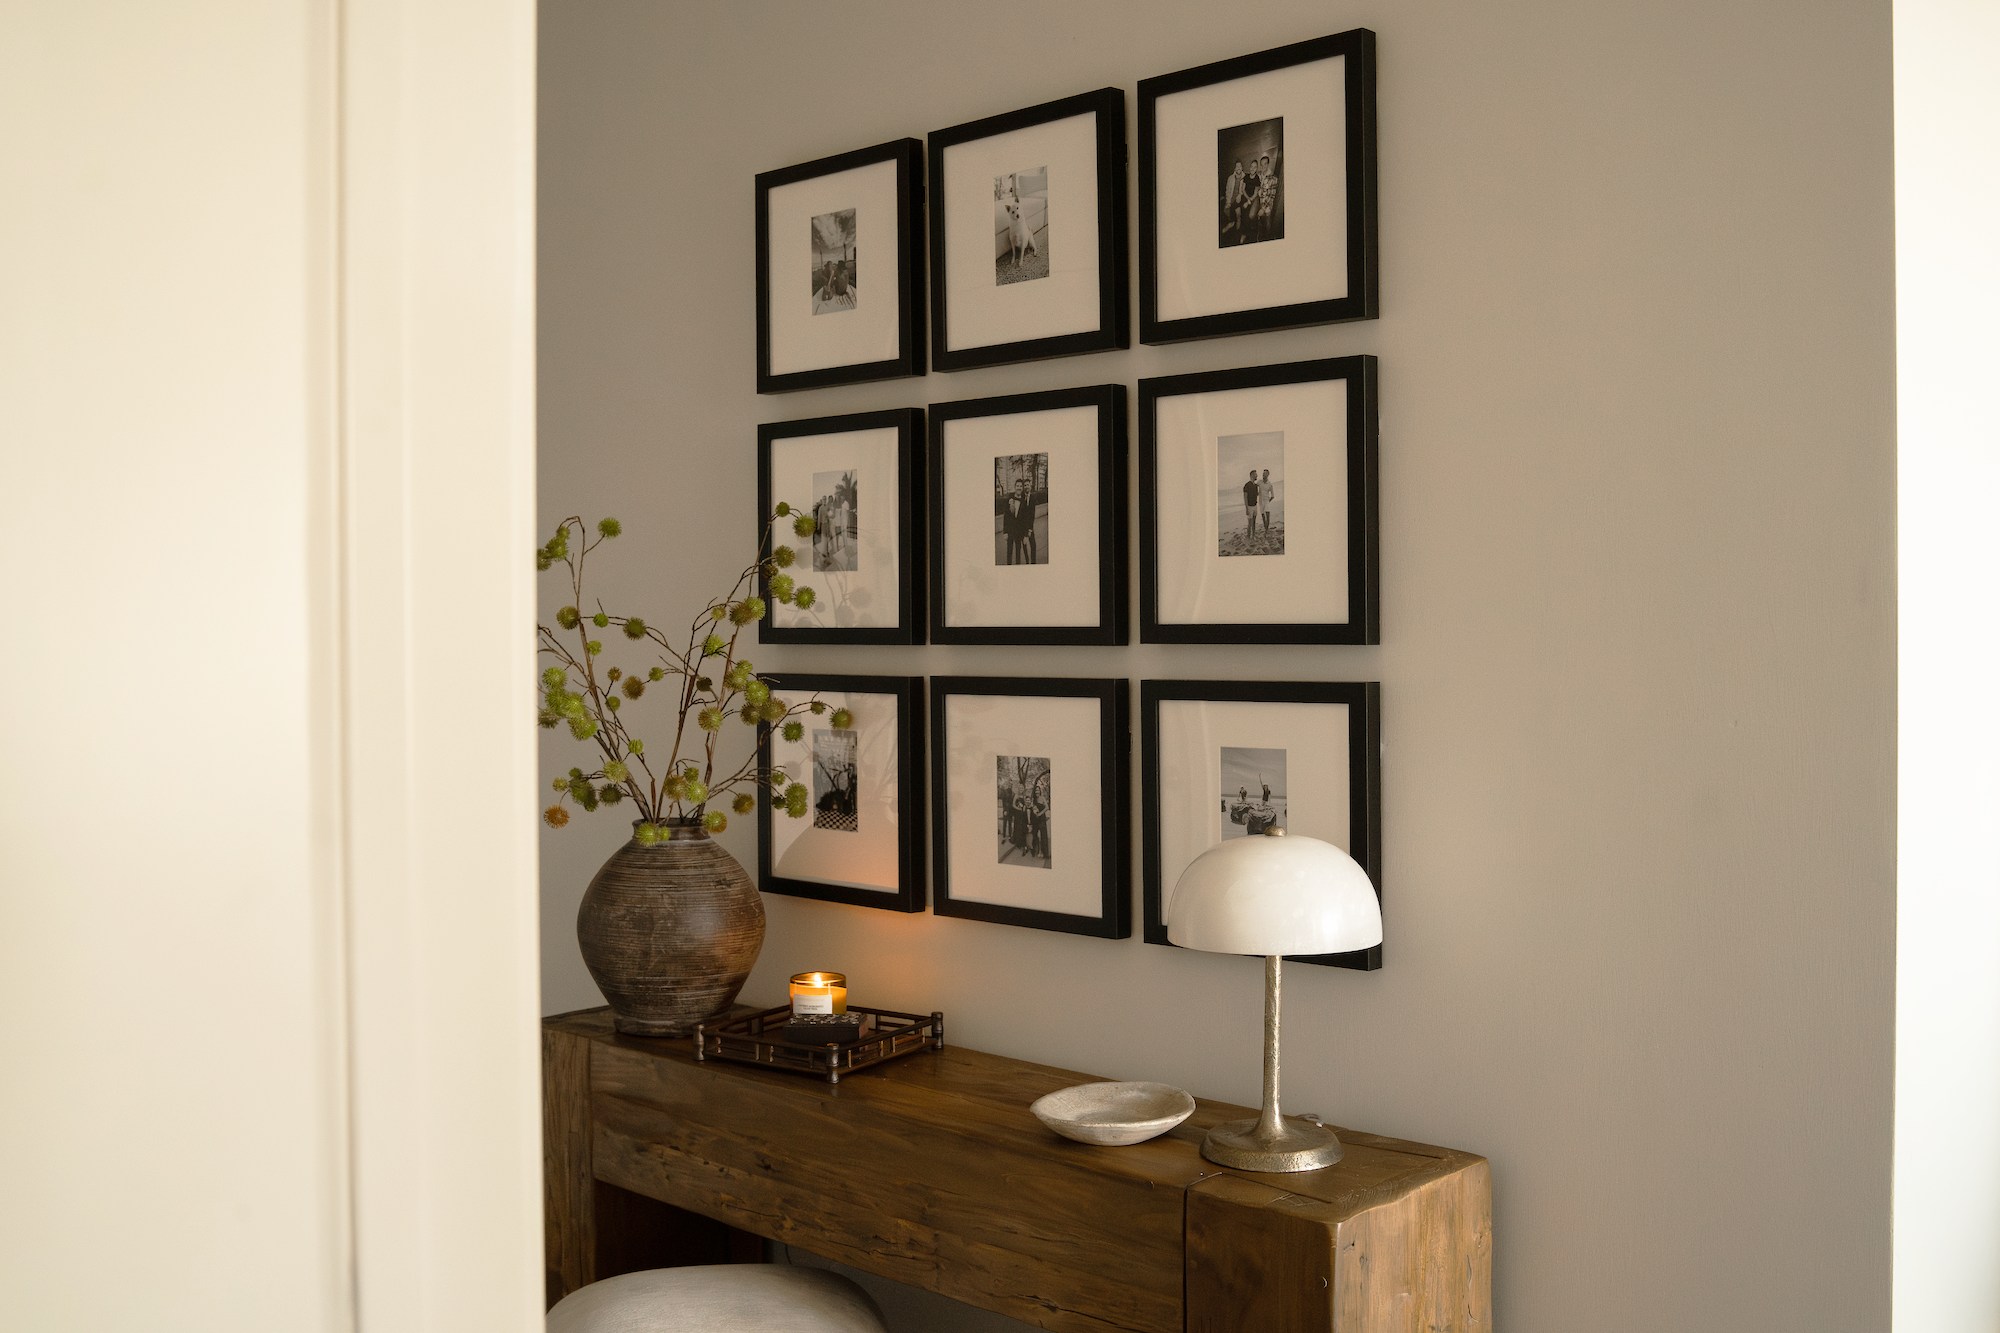
Frameology’s mobile-only augmented reality (AR) preview tool helps you see a true-to-scale version of your exact frame on your wall using your phone. You get a clear preview before you buy, which reduces guesswork and returns, and the tool is free to use.
If you want more detail on how Frameology compares with other online framing options, this overview covers the full picture.
Frequently asked questions
How long do budget photo display methods typically last?
Longevity depends on the method and the room conditions. Washi tape and other adhesive-based displays can start to lift, yellow, or stain prints within weeks to a few months, especially in humid spaces. String-and-clip displays and poster rails often stay intact for years, but the unprotected prints usually show visible fading in well-lit rooms long before the hardware fails. Discount-store frames with paperboard backings and basic glazing tend to bow, haze, or separate at the corners within two to five years. In most cases, the hardware outlives the print, so the real replacement cost is the photo itself.
What’s the minimum budget for a display that looks intentional?
A single Classic Wall frame, starting at $59, creates a clean, finished look that feels intentional instead of temporary. For a multi-frame display, Classic gallery walls, starting at $198, include a life-size gallery wall template that makes installation straightforward: tape it to the wall, hammer nails into the marked spots, remove the template, and hang your frames. That setup gives you a clear upgrade from DIY methods without reaching custom framing prices.
Does image resolution affect how a framed photo looks on the wall?
Image resolution has a major impact on how a framed photo looks once it’s printed. A low-resolution image that seems fine on a phone screen will show pixelation or softness at larger sizes. As a general guideline, a photo needs at least 150 to 300 dots per inch (DPI) at the intended print size for a sharp result. Most recent smartphone photos have enough resolution for prints up to 8x10 or 11x14 without visible quality loss. For larger sizes, it’s worth checking the pixel dimensions of your image before ordering, and most online framing services, including Frameology, flag potential resolution issues during upload.
How do light and humidity affect framed photos over time?
Light is the main cause of visible fading in photo prints. A print exposed to direct sunlight for a few hours a day can show noticeable fading in a relatively short time, while the same print kept out of direct light may take decades to change. Humidity creates different problems. It can warp paperboard and MDF backings, promote mold growth in acidic materials, and cause prints to stick to glazing when there’s no air gap between the photo and the glass or acrylic. Frames with UV-protective glazing and acid-free materials, like Frameology’s Luxe frames with museum-grade acrylic, handle both light and humidity more effectively than budget options.
Do all gallery walls include hanging templates?
Gallery wall templates are included with some, but not all, gallery wall options. Classic and Luxe gallery walls come with life-size gallery wall templates that make installation simple and predictable. Canvas galleries, Metal galleries, and gallery walls created using Frameology’s Gallery Wall Design Service don’t include templates because their construction and customization work differently and often call for more tailored installation.
What’s the risk of using adhesive strips to hang frames on rental walls?
Adhesive strips can work well for lighter frames when you respect the weight limits. Most standard strips are rated for only a few pounds each, and exceeding that rating or sticking them to textured, painted, or wallpapered surfaces raises the chance that the frame will fall and damage both the wall and the print. For Classic frames, adhesive strips are a reasonable choice for smaller sizes. For Luxe frames, it’s safer to use the included nail-based hardware, since the sealed kraft paper backing can tear if you apply and remove adhesive strips. Always compare the adhesive product’s weight rating with your frame’s weight before hanging.
Start framing your favorite memories at Frameology.
