


How to plan a balanced gallery wall layout
Written by: Daniel Koren, Co-Founder, Frameology
Key takeaways
Gallery walls are a major decor trend, and a balanced layout depends on spacing, visual weight, and height.
Use a simple 7-step workflow: measure for proportion, choose an anchor piece, test layouts with paper cutouts, apply consistent spacing, balance visual weight, hang at the right height, and finish with a life-size gallery wall template.
Consistent spacing and even visual weight across the wall create a cohesive, intentional look.
Life-size gallery wall templates remove guesswork and help you avoid unnecessary wall damage.
Frameology’s ready-to-hang Classic and Luxe gallery walls include custom templates and hardware, so you can start framing your favorite memories with confidence.
Why a balanced gallery wall matters
A balanced gallery wall keeps the focus on your memories instead of distracting mistakes. Uneven spacing, frames hung too high, or a layout that leans heavily to one side all pull attention away from the photos. A well-planned arrangement reads as one composition, so the moments in your frames feel connected and intentional.
Key gallery wall terms to know before you start
A few shared definitions make the planning process much easier to follow.
Gallery wall: A curated arrangement of multiple frames on a single wall that’s meant to feel like one unified display, not a random collection.
Visual weight: The perceived heaviness of a frame or image based on size, color, and density. A large dark frame carries more visual weight than a small light one, even if they weigh the same.
Anchor piece: The largest or most visually dominant frame in the layout. You use it as the starting point and build the rest of the arrangement around it.
Life-size gallery wall template: A printed paper template that matches the exact footprint of your gallery wall. You tape it to the wall, mark nail positions through the paper, and hang directly through it so it tears away cleanly, which prevents extra holes and guesswork.
Step 1: Measure your wall and furniture for proportion
Begin by measuring the width of the wall section you’ll use, or the width of the furniture below the gallery wall. The overall gallery wall should span 60% to 75% of the furniture width beneath it so the pieces feel visually connected. A narrow gallery wall above a wide sofa looks like it’s floating, while an overly wide one can overpower the furniture. Write down your target width and height range before you pick any frames.
Step 2: Choose an anchor piece at eye level
Place the largest or most important frame slightly off-center or aligned with the furniture below, then build outward in all directions while keeping the gaps identical on every side. This anchor piece sets the visual center of the layout. Positioning it slightly off-center instead of perfectly centered creates a more dynamic composition than strict symmetry.
Step 3: Test layouts with paper cutouts
Emily Henderson Design suggests laying frames on the floor inside a taped-off area that matches your wall space, rearranging until the layout feels balanced, then photographing it from above before you move anything to the wall. This method lets you experiment freely without risking wall damage. Mocking up the layout at full scale with paper templates before you touch drywall prevents most regret-driven rehangs.
Step 4: Apply consistent 2–3 inch spacing
Aim for 2–3 inches between frames and keep that gap consistent so the wall reads as one cohesive composition. If your frames are all similar in size, you can adjust the spacing slightly: tighten to 1.5–2 inches for small frames (8×10 and under), keep 2–3 inches for medium frames (11×14 to 16×20), and increase to 3–4 inches for large frames (18×24 and above). When you’re mixing frame sizes, choose one gap, such as 2.5 inches, and repeat it everywhere instead of scaling gaps to each frame. This single, repeated spacing keeps the layout visually calm.
Step 5: Balance visual weight across the composition
Visual balance in an asymmetrical gallery wall doesn’t require perfect symmetry, but every piece should feel intentional and part of the same conversation. Spread heavier frames, such as larger sizes, darker finishes, or bolder images, across the wall instead of clustering them in one area. Step back often and judge the wall as a whole instead of focusing on single frames. A quick photo from across the room reveals weight imbalances that are easy to miss up close.
Step 6: Hang at the correct height relative to furniture
Treat the entire gallery wall as one imaginary rectangle and center that rectangle so its midpoint sits at 57 inches from the floor, which matches the standard gallery eye-level line used by museums worldwide. When the gallery wall hangs above furniture, the furniture creates a new visual baseline, so the rules shift slightly. Anchor the bottom row 6–8 inches above the back of a sofa, or leave 4–8 inches between the furniture and the bottom of the lowest frame for consoles and credenzas. The 57-inch center rule still applies to the midpoint of the full arrangement, but furniture clearance takes priority, so you may need to adjust the overall height to satisfy both guidelines.
Step 7: Use a life-size gallery wall template for zero-error results
When you have a large paper template, tape it directly to the wall, mark nail positions through the paper, and drive nails through it so the paper tears away cleanly once you’re done. This step has the biggest impact on accuracy and stress levels. Taping full-size paper templates to the wall before drilling turns an abstract plan into a real-scale preview you can tweak. Every Classic gallery wall and Luxe gallery wall from Frameology includes a custom, life-size gallery wall template, so this step is already built into the process.
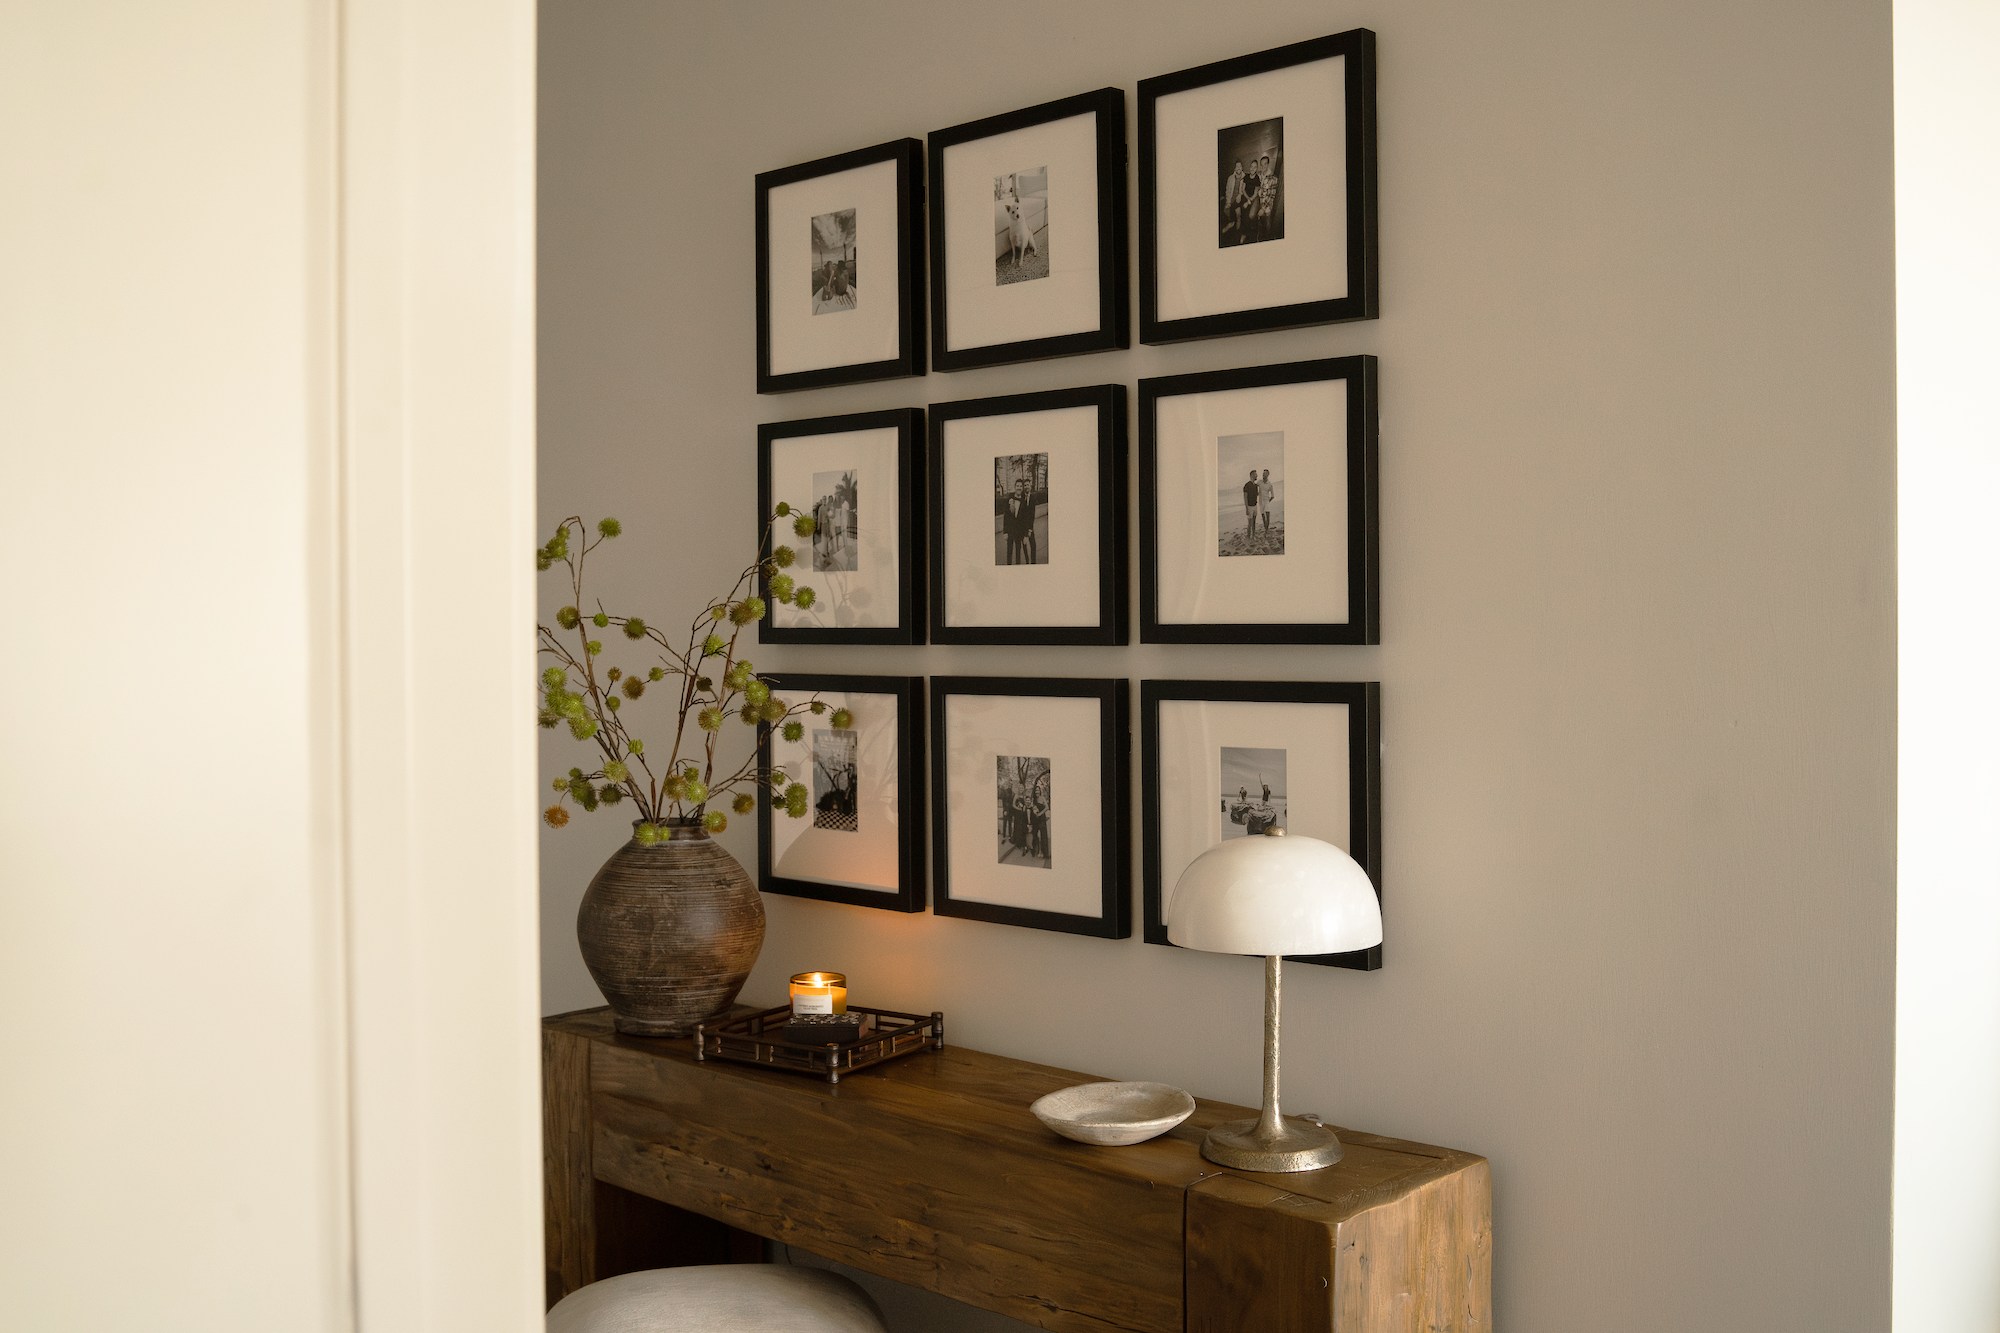
Visual-balance checklist
Before you move from planning to installation, use this checklist to confirm that your layout is ready for the wall.
The overall arrangement spans 60%–75% of the furniture width below it.
The visual center of the arrangement is at the correct height.
The bottom frame has proper clearance above the furniture.
Spacing between frames is consistent throughout the arrangement.
The anchor piece was placed first and sits at or near the visual center.
Visual weight feels spread across the wall, not clustered on one side.
The layout has been tested on the floor or with paper cutouts before any nails go in.
DIY vs. ready-to-hang gallery walls
The workflow above gives you full control over every design decision, but it also takes careful measuring, multiple test rounds, and some tolerance for trial and error. If that sounds like more process than you want to manage, there’s a faster path to a similar professional result. The 7-step process works well, yet it still asks for time, patience, and a willingness to live with a few test holes in the wall. For renters, first-time decorators, or anyone who wants polished results without the full DIY process, Frameology’s ready-to-hang gallery walls offer a simple alternative.
Classic gallery walls, starting at $198, use flexible Classic frames and include the template system described in Step 7. Tape the template to the wall, hammer nails into the marked spots, remove the template, and hang your frames. The whole process usually takes less than an hour and avoids extra holes. House Beautiful contributor Janae McKenzie noted that Frameology ships frames with a true-to-size paper template and nails to mark exact hanging positions on the wall, adding, "I would absolutely recommend Frameology to anyone who knows they want a gallery wall, but doesn’t know how to make it happen."
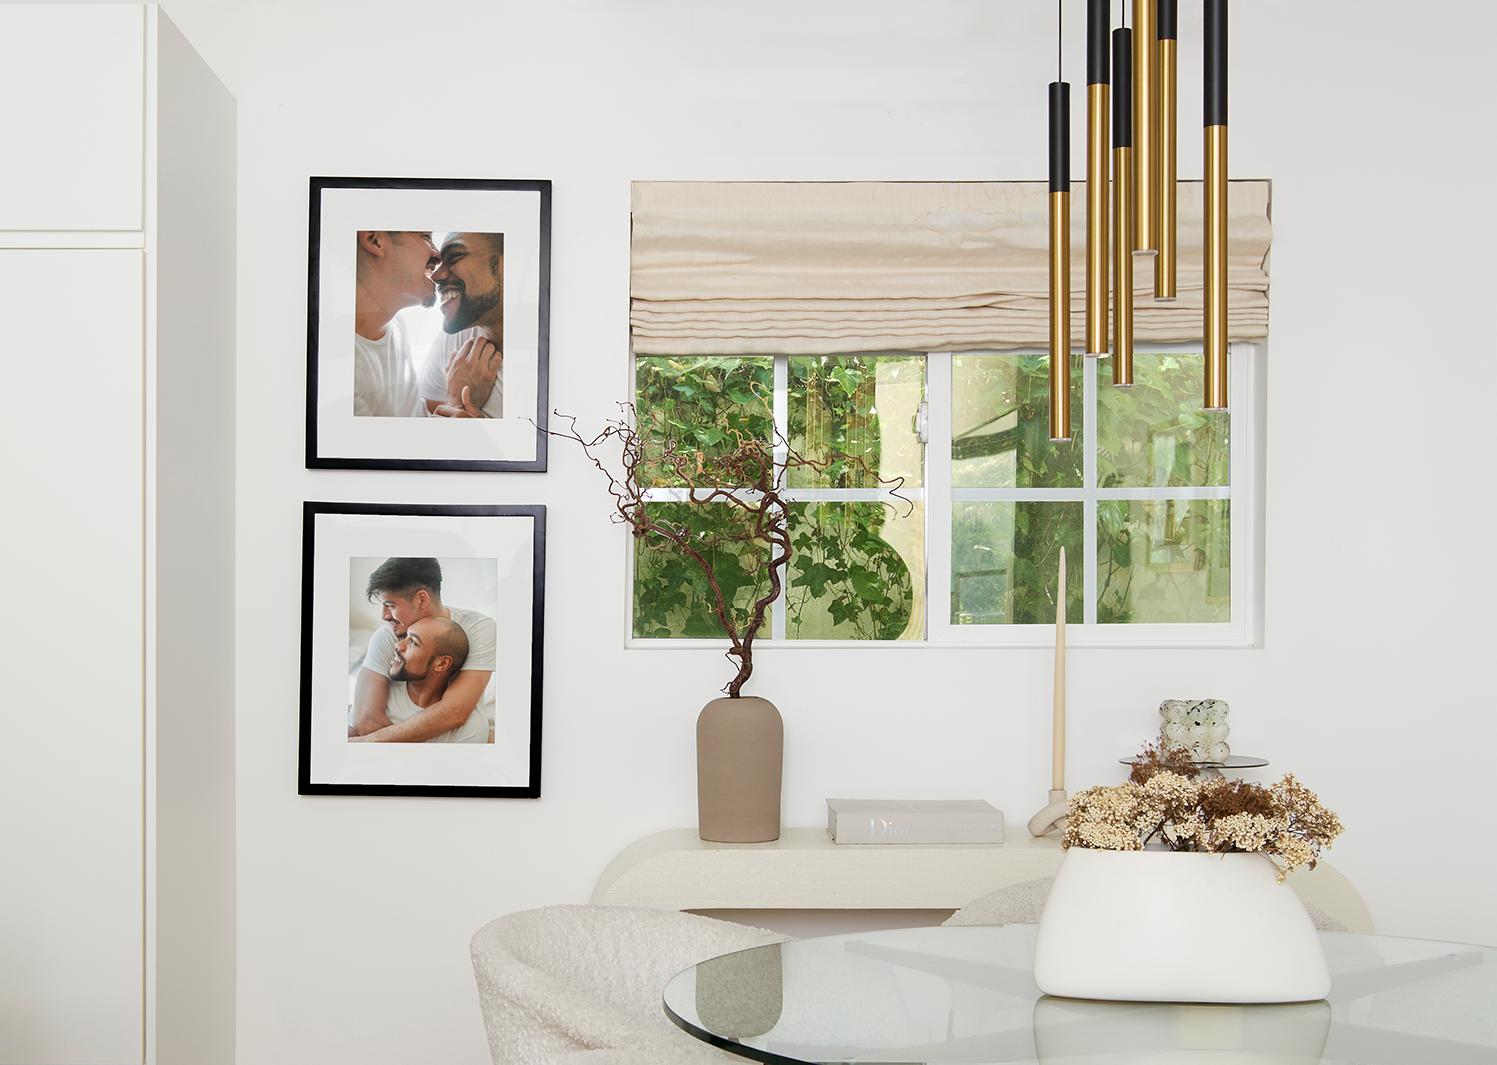
Luxe gallery walls, starting at $638, use museum-quality, USA-crafted frames with premium wood and metal moldings, acid-free mats, and UV-protecting museum-grade acrylic. The Luxe line also includes a custom, life-size gallery wall template, with slightly different instructions than Classic because of the dual-point hanging system, plus all required hardware. CNN Underscored’s Stephanie Griffin tested the Luxe Bricklay ($1,074) and reported that the gallery wall looked professionally installed after using the Frameology system, stating, "The Luxe Bricklay is called ‘luxe’ for a reason. Between the premium materials and foolproof hanging system that saved so much time and stress, it’s worth the hype."
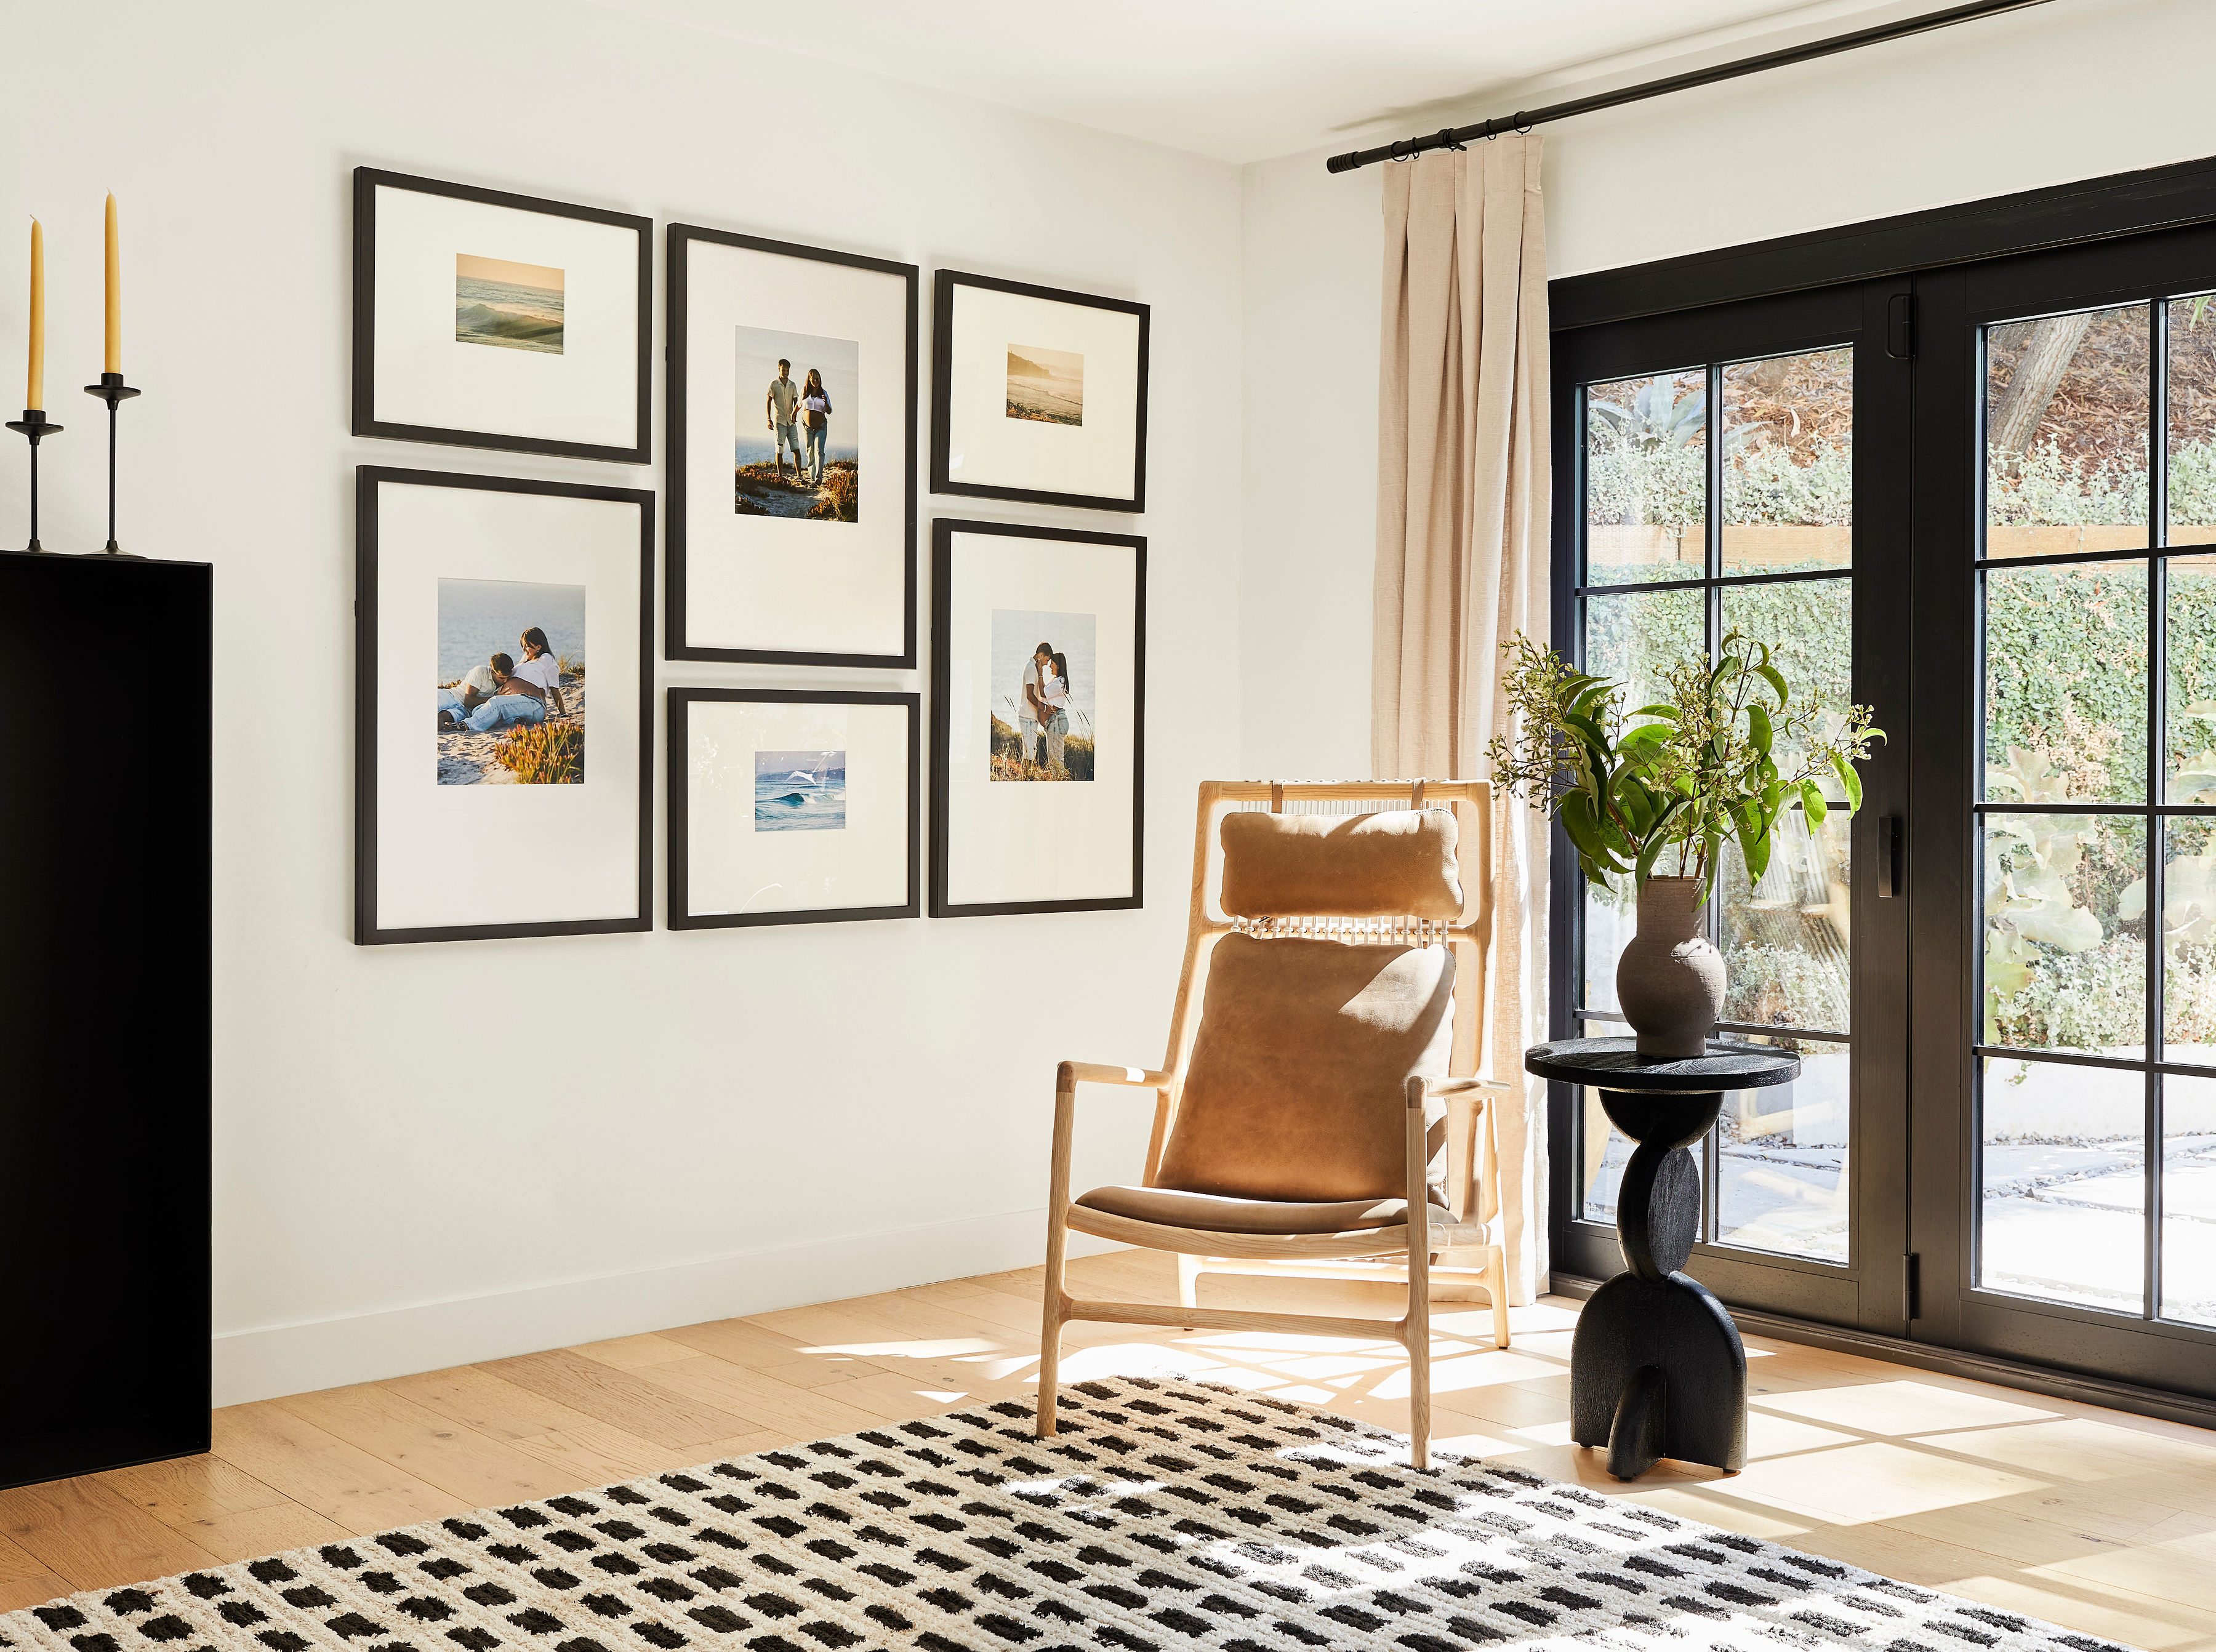
Common challenges and practical fixes
Even with a strong plan, a few common issues can throw off a gallery wall. These quick fixes help you correct them.
Uneven spacing: Gaps over 4 inches between frames can make each piece feel separate instead of part of one arrangement. If spacing looks off after hanging, use a small ruler or a spacer card cut to your target gap and check each distance before you add the next nail.
Furniture proportion errors: When the gallery wall feels too narrow or too wide above a sofa or console, adjust the total width. Aim for the art group to span about two-thirds, or roughly 66%, of the furniture width for a clean visual connection. Change the number of frames or their sizes before you commit to hanging.
Renter restrictions: If you’re worried about wall damage, test layouts with paper cutouts and painter’s tape before you add any nails. Frameology’s gallery wall templates make nail placement so precise that you only need one hole per frame for Classic gallery walls and two per frame for Luxe gallery walls.
Measuring-success checklist
After you’ve hung the gallery wall, use this checklist to confirm that everything landed where it should.
The visual center of the arrangement is at the correct height.
Spacing between every frame is consistent across the composition.
The bottom frame has proper clearance above the furniture.
No frame looks crooked when viewed from across the room.
The overall width of the arrangement feels proportional to the wall or furniture below.
Visual weight feels distributed, and no corner or side looks noticeably heavier than the rest.
The steps and checklists above cover the core workflow, but a few practical questions tend to come up as you plan and hang your gallery wall. The answers below address the most common ones.
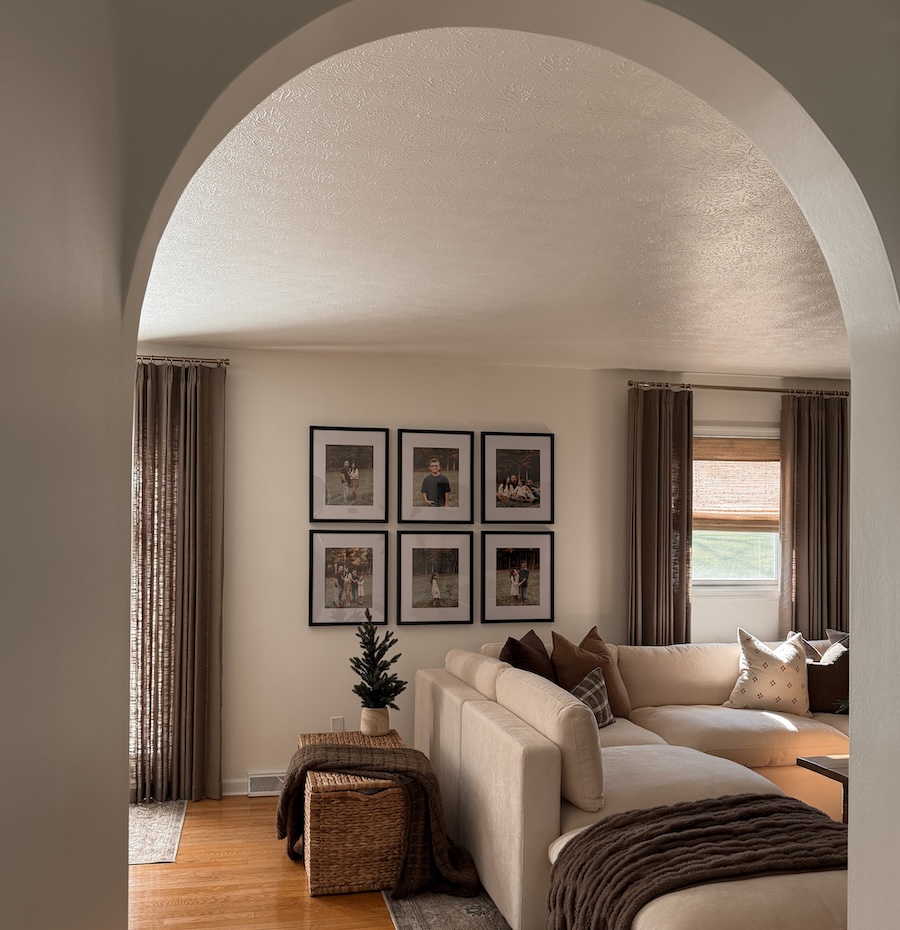
Frequently asked questions
How long does it take to hang a gallery wall?
With a gallery wall template, hanging a Classic gallery wall usually takes less than an hour from start to finish. DIY layouts without a template often take much longer, since planning, measuring, testing paper cutouts, and fixing mistakes can stretch across an afternoon or several sessions. Luxe gallery walls involve a slightly more detailed installation because of the dual-point hanging system, but the included gallery wall template keeps the process clear and manageable.
Do all gallery walls include hanging templates?
Classic gallery walls and Luxe gallery walls include life-size gallery wall templates that make installation simple and predictable. Canvas galleries, Metal galleries, and gallery walls created using Frameology’s Gallery Wall Design Service don’t include templates because their construction and customization work differently and often need more tailored installation approaches.
What image resolution do I need for gallery wall prints?
For framed prints, aim for at least 150–300 DPI, or dots per inch, at the final print size. Most photos from modern smartphones meet this standard for typical gallery wall frame sizes. If you’re unsure whether a photo will print well at a certain size, Frameology’s ordering interface flags resolution concerns during upload so you’re not surprised when the frames arrive.
What’s the budget range for a gallery wall?
Frameology’s Classic gallery walls start at $198. The Classic Stack II ($198) is a strong entry point. Larger Classic layouts like the Classic Wide II ($792) are also available. Luxe gallery walls start at $638 with the Luxe Diptych ($638) and go up to $1,074 for the Luxe Bricklay. Your ideal budget depends on how many frames you want, the overall size of the layout, and whether you prefer the value-focused Classic line or the museum-quality Luxe line.
Can I preview how a gallery wall will look before buying?
Frameology’s augmented reality, or AR, tool on mobile lets you project a true-to-scale preview of your frame directly onto your wall using your phone. You can use the AR tool for both individual frames and photo gifts, which gives you confidence in your choices before anything ships. It works in your browser, so you don’t need an app download or a login.
Getting your gallery wall on the wall
Planning a balanced gallery wall layout is a skill you can learn. The 7-step workflow in this guide, from measuring for proportion through using a life-size gallery wall template, gives homeowners and renters a repeatable method for professional-looking results. If you’d rather skip detailed measuring, Frameology’s Classic gallery walls and Luxe gallery walls arrive with the template system already covered, so you can go from box to wall in under an hour. With over 7,500 verified 5-star reviews and a 4.98/5 star rating, Frameology has helped more than a million customers turn favorite memories into something worth hanging. You can learn more about why Frameology stands apart in the full breakdown of what makes Frameology the best online framing service.
