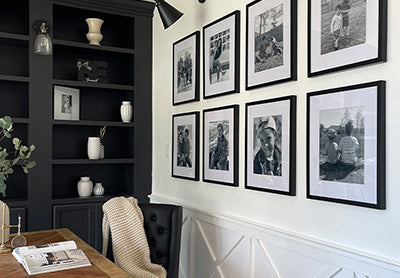
How to use our luxe gallery wall template in six easy steps
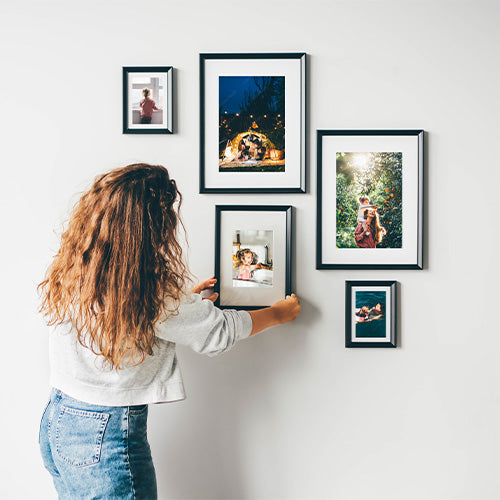
When we launched our collaboration with Bobby Berk, we ventured where no other online framing company has gone before: we created gallery wall templates to make the decorating and hanging process as seamless as possible! Gone are the days of figuring out how to arrange photos on a wall stylishly — these templates remove the guesswork, while elevating your space with expert-level gallery wall layouts designed by Bobby Berk himself.
For those who are curious about how it works, here’s a step-by-step guide of how to use our templates to create the perfect gallery wall layout in six simple steps. We highly recommend hanging the template with a friend to make it even easier, but it’s not required.
To get started, you’ll need:
- Your gallery wall template *
- Nails for hanging your frames *
- Plastic markers *
- Rubber bumpers *
- Level *
- Hammer
-
Tape
* The following items are included with your luxe gallery wall
Step 1: Tape your gallery wall template on your desired wall
Once your gallery wall arrives, it’s time to transform your walls! Open up the gallery wall template and securely tape it up on your desired picture wall. Use the level provided with your gallery wall to make sure that the template is as straight as possible. You’ll know it’s leveled if the bubble is in the center.

Step 2: Mark your gallery wall template
Attach two plastic markers onto the metal brackets on the back of each frame, sliding them to the top to match how the frame will hang. Hold the frame in position against the wall, then press firmly on the wall to create dimple marks. Make sure the dimple marks are visible on the paper template — there should be one on either side of each frame! Repeat this process for all the frames.
Step 3: Hammer nail holes over each dimple mark
Now that you have dimple marks for each frame in the template, use one nail to hammer a hole through each of the dimple marks on the template. Repeat this process for all the frames.

Step 4: Remove gallery wall template
Once you’ve created nail holes in all the proper places, you can gently take down the gallery wall template from your wall. It’s totally normal if the paper rips — you won’t need it anymore.

Step 5: Hammer plastic marker and nails into the walls
After taking the template down, all that's left on your walls should be the nail holes you created. You'll notice that each of the plastic markers have a sharp point on the back of it, which is what created the dimples in your template. Be sure to have your plastic markers, nails, and hammer handy for this next step.
Align the sharp point of the plastic marker with each nail hole. Hammer the marker flat against the wall, then add a nail through it and use the hammer again. Make sure the nail head is pointed toward the ceiling and that the nail head is flush against the marker when finished nailing. Repeat this process for the remaining frames.
Step 6: Hang your frames in the right places
With nails and markers in place, hang each frame according to your chosen photo wall layout. Before final placement, you can also attach the included rubber bumpers to the bottom back corners so frames sit level.

There you have it: your very own Frameology gallery wall designed by Bobby Berk. We hope you loved using our gallery wall templates as much as we enjoyed designing them. Don’t forget to take photos and tag us @frameologynyc for a chance to be featured on Instagram 💙
