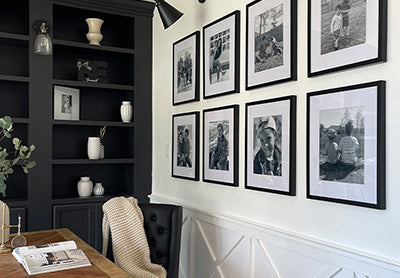
How to Hang Your Restickable Photo Tiles
Excited to display your new Frameology restickable photo tiles? You've come to the right place!
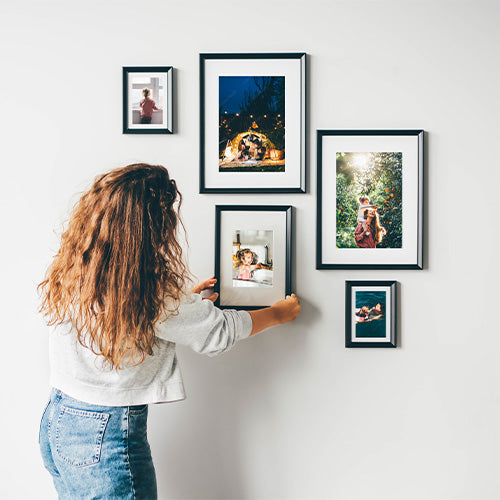
Hanging these tiles is a breeze, and we’ve got all the tips you need to create a stunning display.
1. Prepare your wall
Start by wiping your wall with a clean, dry cloth to remove any dust. This ensures that your tiles will adhere securely and stay in place.
2. Plan your layout
Before you peel off the adhesive backing, take a moment to plan your layout. This will help you avoid unnecessary adjustments and ensure your design looks perfect on the first try.
3. Measure for even spacing
To ensure a polished look, measure the space between your tiles. A measuring tape or ruler works great for this.
4. Level your tiles
For that perfect, professional finish, use a level to make sure your tiles are straight.
5. Stick them on the wall with our easy-to-use adhesive backing
- Peel and stick. Carefully peel the protective sheet off the adhesive backing.
- Apply pressure. Gently press around the edges of the tile to ensure a secure grip.
- Adjust a make it perfect. The restickable adhesive makes it easy to reposition if needed without damaging your walls.
It's that easy. Now you’re ready to enjoy your beautiful, personalized gallery wall!
Need Some Inspiration?
Check out Frameology.com for gallery wall ideas. Simply head to the "Gallery Walls" section for curated designs that can help spark your creativity.
Looking for even more ideas? Search for "restickable tile displays" on Instagram to see how other customers have styled their spaces. It’s a great way to gather some fresh ideas for your wall.
